110
Maintenance & Troubleshooting
Upgrading the Multiviewer Using a USB Key
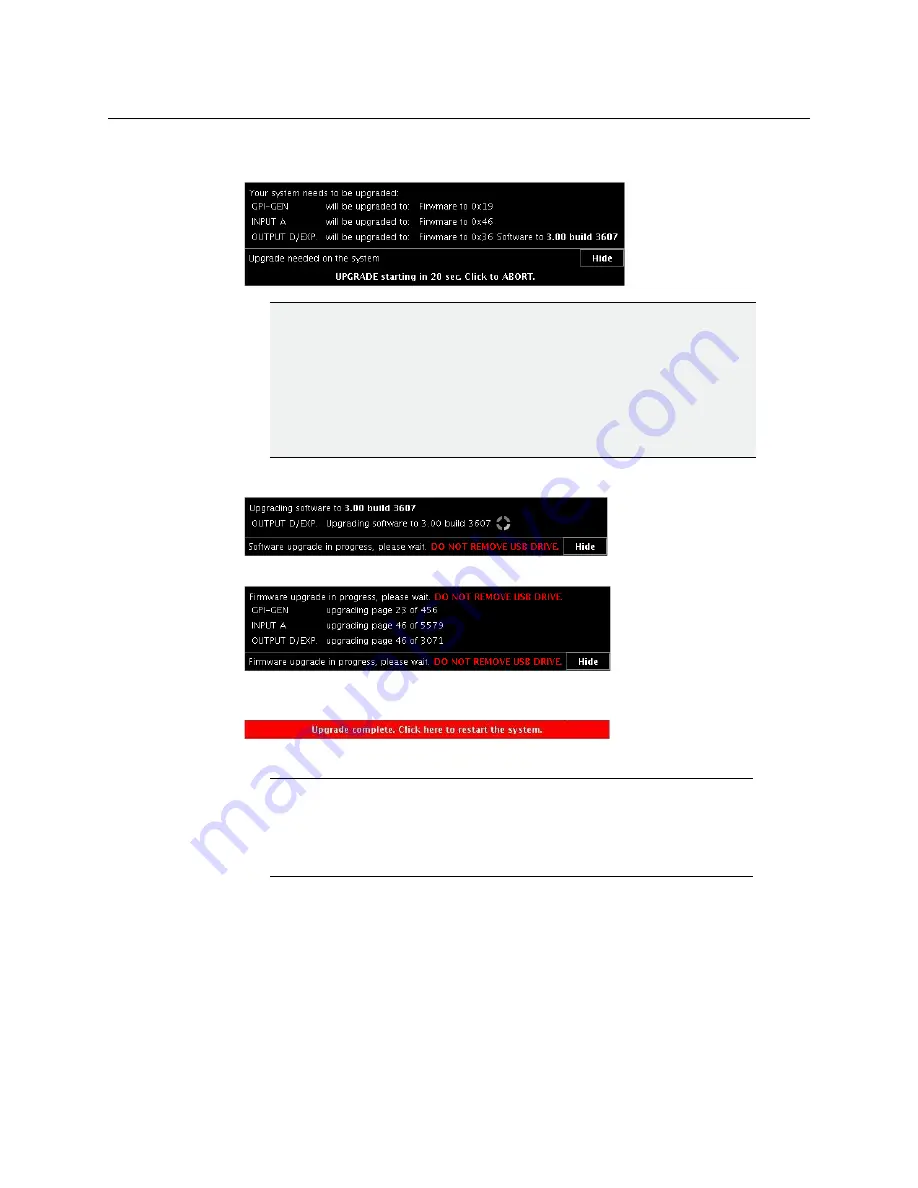
2 Once the verification process is complete, you will be advised what upgrade action, if
any, needs to be performed.
3 The upgrade process begins automatically, starting with the software upgrade.
4 Once the software upgrade is complete, the firmware upgrade begins.
When the entire upgrade process has successfully completed, a red button appears at
the bottom of the dashboard on all displays that are connected to the system.
5 Click any of the
Upgrade complete
buttons to restart the system.
The multiviewer now restarts.
IMPORTANT
To cancel the upgrade process, you must click to ABORT within 30
seconds.
During the 30-second countdown period, you may expect that removing the
USB key will cancel the upgrade. However, if you do so, the system will still
report that it is updating the software, but the upgrade will fail after a minute
or so.
Insert the USB key again to properly update your system.
Note:
When the firmware upgrade (or downgrade) process involves several
cards (for example, a fully populated expansion system), the dashboard may
still be displaying firmware upgrade progress messages while the
Upgrade
complete
button has already appeared. You can safely click the button to
restart the system at this point.
Содержание Grass Valley KALEIDO-X16
Страница 20: ...20 Overview Functional block diagrams...
Страница 26: ...26 Installation CompactFlash...
Страница 42: ...42 Multiviewer Cabling Enabling EDID Auto Detection from the Monitor Wall...
Страница 126: ...126 Configuring a Kaleido X16 Cascade Limitations...
Страница 151: ...151 Kaleido X16 Hardware Description Installation Manual...


