18
BarcodeGuy.com® - UnionNet SP2100 User’s Guide
5.8 - Summarizing Custom Prefixes and Suffixes
Prefixes are designed and implemented in the same way as the suffix example shown above
. If you’re just starting
with barcode scanning, it may be difficult to imagine how the SP2100’s ability to add keystrokes before and after the
barcode characters is often essential in getting the scanner to integrate and work well with the software you’re using for
data collection. The example usage of suffixes serves as only an introduction to what can be done using only the
SP2100’s three character Prefix & Suffix. It may be hard to image when you’re first starting, but the ability to add a
prefix and suffix to the scanned barcode data is sometimes essential to get the barcode scanner to integrate properly as a
HID into the software you’re using.
Don’t forget, if there’s something you need the SP2100 to do in the area of formatting, prefixes or suffixes, we’re only a
phone call away. We love challenging problems and all the BarcodeGuy(s) are experienced and love a challenge!
6.0- SP2100 Factory Defaults
There are many options accessible through the SP21000’s System Menu. Each setting comes from the factory set what’s
thought as the most useful settings for you to get started with a HID connection. The default settings are shown in
Appendix B
.
Each setting is accessible through the System Menu and how they are set when the barcode scanner is
delivered to you.
You can customize the settings in the System Menu however you want or need to in order to set up the SP2100 and we
encourage you to do so. Just be aware that changing some settings in combination with others may lead to some
unpredictable and surprising results. Just take your time and be methodical about the way you make the System Menu
changes on your SP2100.
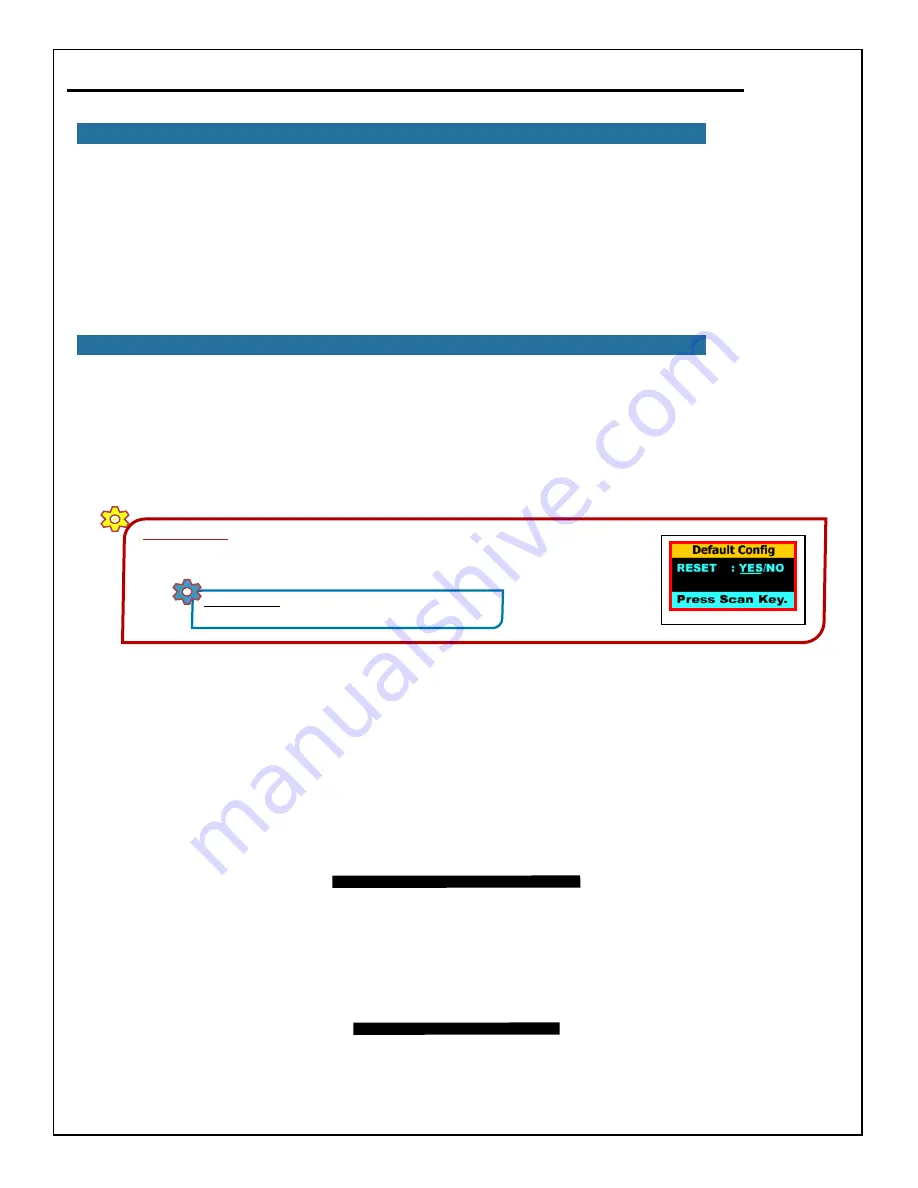
IMPORTANT!
If you’ve made changed to your SP2100’s System Menu and its not acting like it
did when you started initially or the way you’d expect it to with the System Menu changes you’ve
made, just reset the Factory Defaults. Here’s how - refer to
figure 42
:
SHORTHAND:
SM>>2.Settings>>9.Default Config>>
Side Buttons “YES”>>Scan Button
figure 42
Intentionally
Left Blank


