15
BarcodeGuy.com® - UnionNet SP2100 User’s Guide
Memory Review:
To review the data stored your SP2100 (SM or SR mode), just press the upper
side button and quickly release. The last scan will be shown on the display (
figure 4.4)
. Scroll through
the scanned data by pressing the Top Side Button to back up through the list and the Bottom Side
Button to move forward through the list. If you’re at the end of the list and try to go further, the
SP2100 will display a “NO DATA” message.
When you’re ready to stop reviewing data, just press the Scan Button to scan or press and hold the Top Side Button to
enter the System Menu.
The SP2100 is factory configured with a Carriage Return (CR) suffix when in HID mode. Like most barcode scanners,
after the SP2100 sends the characters in the barcode to the connected host, the ending CR suffix is just like the user
pressing the <ENTER> key on the keyboard or soft keypad.
Barcode scanners (and your SP2100 is no exception) give you the ability to set a prefix and suffix. We need to define
them for usage purposes:
●
Prefix
- characters, including control characters, that are put
in front
of the barcode characters
on each barcode
decoded or read.
●
Suffix
- characters, including control characters that are put at
the end
of the barcode characters
on each barcode
decoded or read
SHORTHAND:
SM>>5.Memory>>Memory Info
figure 4.3
4.3 - Stored Data - Review with Side Buttons
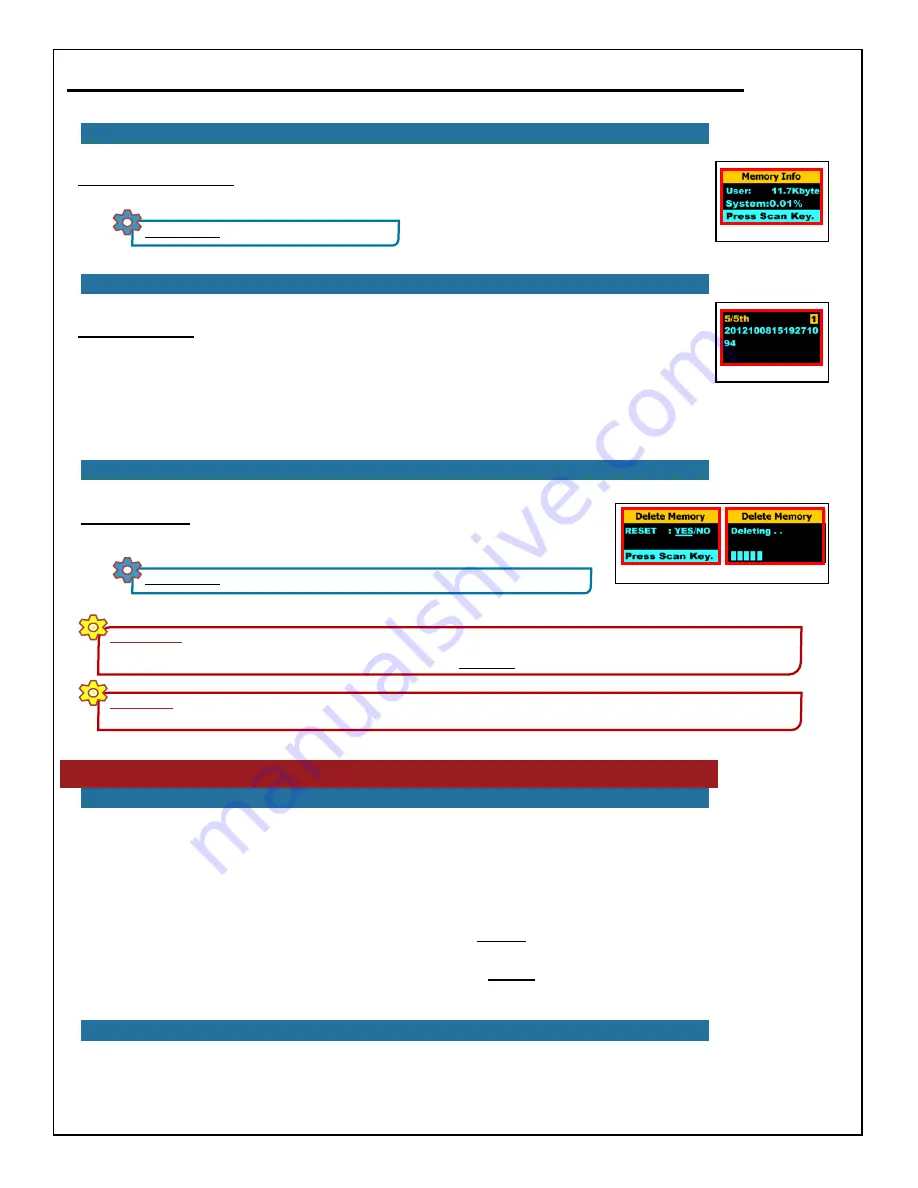
Delete Memory:
This System Menu option allows you to delete all the scanned data
stored in the SP2100’s on board memory. Here’s the shorthand (
figure 4.5)
:
figure 4.4
4.4 - Stored Data - Delete All Data with System Menu
figure 4.5
SHORTHAND:
SM>>5.Memory>>Memory Delete>>select option & Press Scan Button
Display Memory Used:
You can use the System Menu to see how much memory of the SP2100’s
memory you’ve used (
figure 4.3)
. Here’s the shorthand:
4.2 -Display Memory Used
WARNING!
With either of the two memory storage modes SR or SM you can store 20-30 thousand scans. When the SP2100’s memory is
filled, IT WILL DELETE ALL DATA AND OVERWRITE STARTING AT THE FIRST STORED SCAN OR RECORD. If it seems like you’ve scanned a
lot of barcodes, just use the Display Memory Used System Menu option (Section 2.2) to display remaining memory.
CRITICAL!
When you delete the data using this option, IT IS GONE FOREVER!!!
Painfully pedantic perhaps, but pertinent perchance
somehow you didn’t know!
5.0 - Data Formatting
5.1 - Introduction to Suffixes and Prefixes
5.2- Using a Custom Suffix - Stating an Example
Sounds pretty simple, but its really pretty powerful. Lets take a common example. Suppose this is your data collection
challenge:


