7.
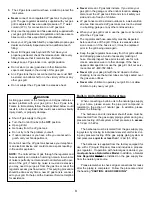
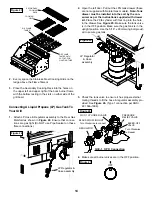
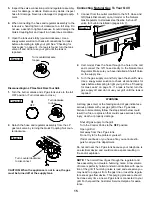
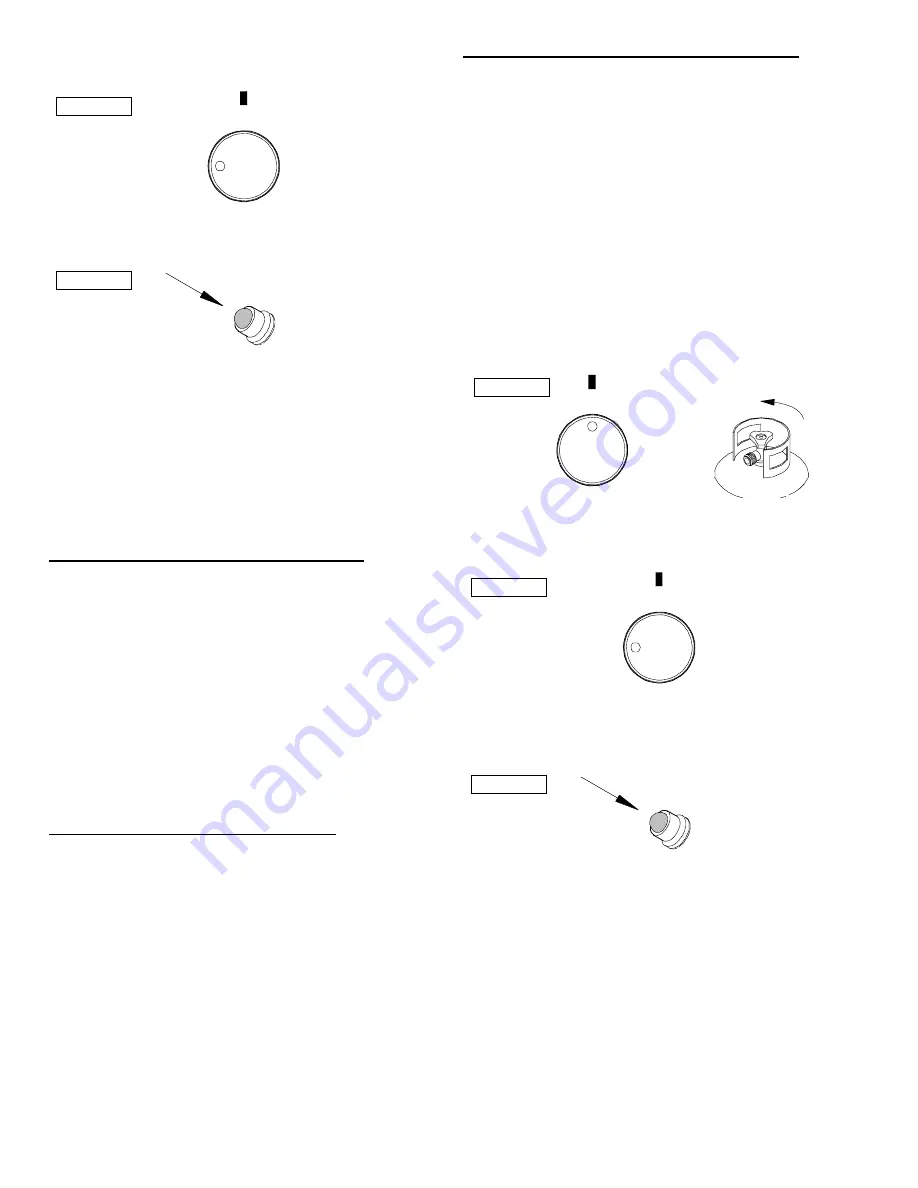
Push and turn any control knob for Main Burner to
HIGH.
8.
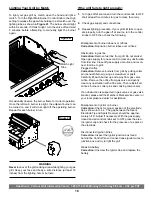
Immediately press the electric ignitor for 3-4 seconds to
light the burner.
9.
If the burner does not light, turn the control knob to
OFF, wait 5 minutes for gas to clear, then retry.
10.
Once the grill burner is ignited, the adjacent burner can
be lit by simply turning its control knob to HlGH.
11.
Adjust control knobs to your desired cooking tempera-
ture.
Smoker Burner Lighting Instructions
1.
Follow steps 1 through 6 of the Basic Lighting
Procedures.
2.
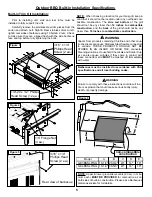
Push and turn the control knob for Smoker Burner to
ON.
3.
Immediately press the electric ignitor for 3-4 seconds to
light the burner.
4.
If the burner does not light, turn the control knob to
OFF, wait 5 minutes for gas to clear, then retry.
Side Burner Lighting Instructions
1.
Follow steps 1 through 6 of the Basic Lighting
Procedures.
2.
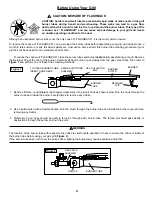
Make sure Side Burner Lid is open.
3.
Push and turn the control knob for Side Burner to
HIGH. The built-in spark ignitor will light the burner
automatically.
4.
You may have to push and turn the Control Knob up to
3 or 4 times to light.
5.
If the burner does not light, turn the control knob to
OFF, wait 5 minutes for gas to clear, then retry.
Rotisserie Burner Lighting Instructions
Note:
The location of the Rotisserie burner makes it more
susceptible to winds that will decrease the performance of
your rotisserie cooking. For this reason you should not oper-
ate the back burner during windy weather conditions.
Important:
When using Rear Rotisserie Burner, Main
Burner must remain off.
1.
Follow steps 1 through 4 of the Basic Lighting
Procedures.
2.
Open the Grill Lid. Failure to do so can result in a fire or
explosion.
3.
Set Rotisserie Burner control knob to OFF and open
gas supply.
4.
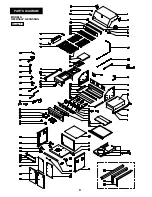
Push and turn the control knob for Rotisserie Burner to
ON.
5.
Then immediately press the electric ignitor for 3-4 sec-
onds to light the Rotisserie Burner.
6.
If the burner does not light, turn the control knob to
OFF, wait 5 minutes for gas to clear, then retry.
7.
Once lit, the Rotisserie Burner will reach cooking tem-
perature quickly. The orange/red glow will even out in
about 5 minutes.
8.
For best results, always rotisserie cook with the grill lid
down and the Rotisserie Burner control knob set to ON.
Do not use the main grill burners when the
Rotisserie Burner is in operation.
17
Figure 37
Figure 40
OFF
HIGH
Figure 36
OFF
HIGH
Figure 39
Turn counterclockwise
to open
OFF
Figure 38
ON
Содержание Grand Endevator GE3BSSLP
Страница 2: ......
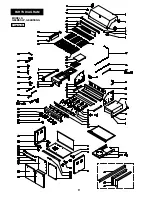
Страница 9: ...8 PARTS DIAGRAM MODELS GE3BSSLP GE3BSSNG Figure 13 ...
Страница 10: ...9 PARTS DIAGRAM MODELS GE4BSSLP GE4BSSNG Figure 14 ...

