


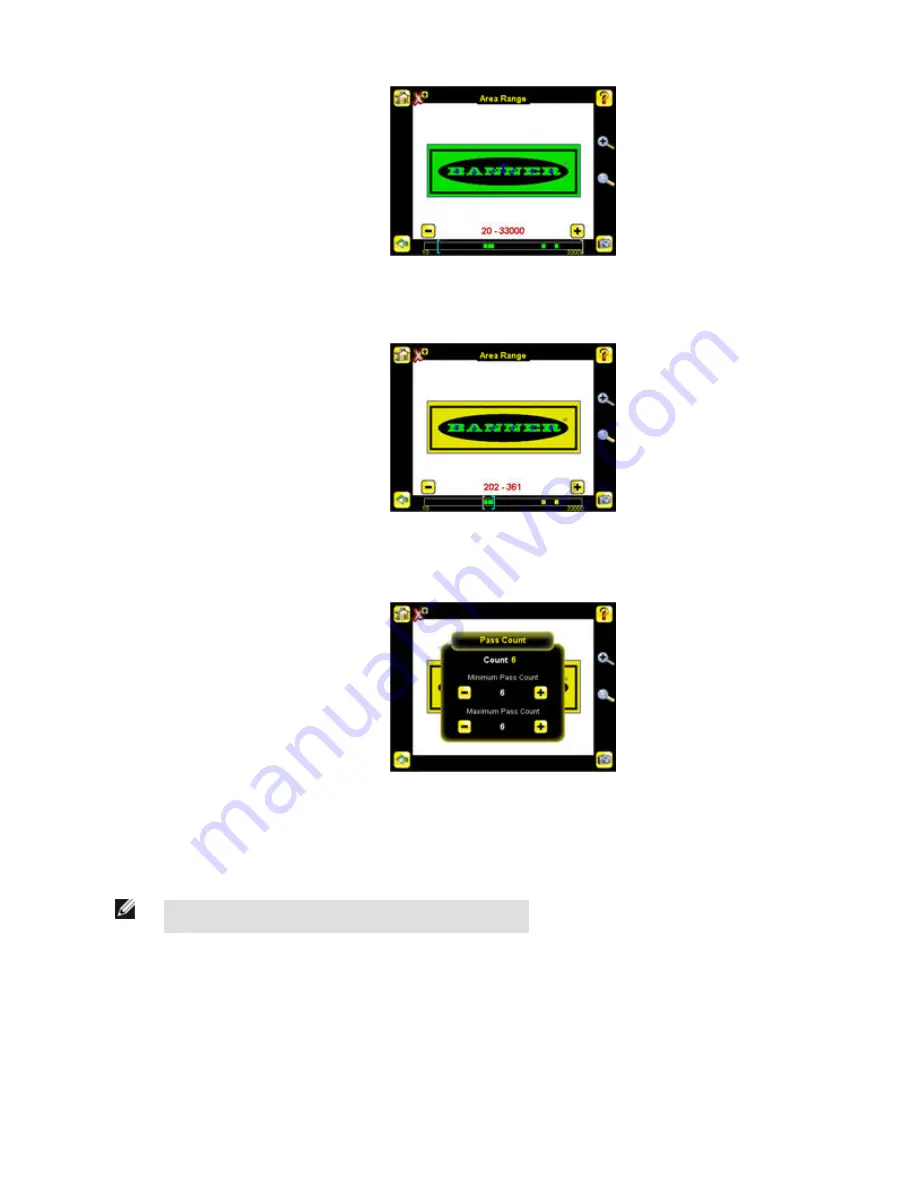
2. Move the slider at the bottom of the screen to the to the desired area range. In the Demo example, the Area Range is
adjusted so that each letter is identified as a found object (indicated by the green hightlights and the blue +).
• Set the Pass Count parameter.
1. Go to Main Menu > Inspection , and click the Pass Count option.
2. Set the Minimum Pass Count and Maximum Pass Count as appropriate. In the Demo, both are set to 6, since the
inspection should find six letters.
6. Test the complete range of good and bad samples to make sure that the sensor accepts good parts and rejects bad.
7. To complete the Area application setup, set triggering as appropriate for your application.
NOTE: Remote Teach does not work with the Area Sensor type.
4.4 Configuring a Blemish Sensor
This section describes how to configure a Blemish sensor using the Demo application as a reference. The Demo application shows how
the sensor, when configured as a Blemish tool, can accept or reject parts based on the range of edge pixels the sensor detects in the
ROI.
Start the setup with a good part. Normally, each part to be tested will be centered in the Field of View (FOV).
iVu Plus User's Manual
56
www.bannerengineering.com - tel: 763-544-3164
Online Only - rev. B
Содержание iVu PLUS TG
Страница 1: ...iVu Plus User s Manual Online Only rev B 1 25 2012 ...
Страница 105: ...iVu Plus User s Manual Online Only rev B www bannerengineering com tel 763 544 3164 105 ...
Страница 106: ...2 Select Module iVu Plus User s Manual 106 www bannerengineering com tel 763 544 3164 Online Only rev B ...


