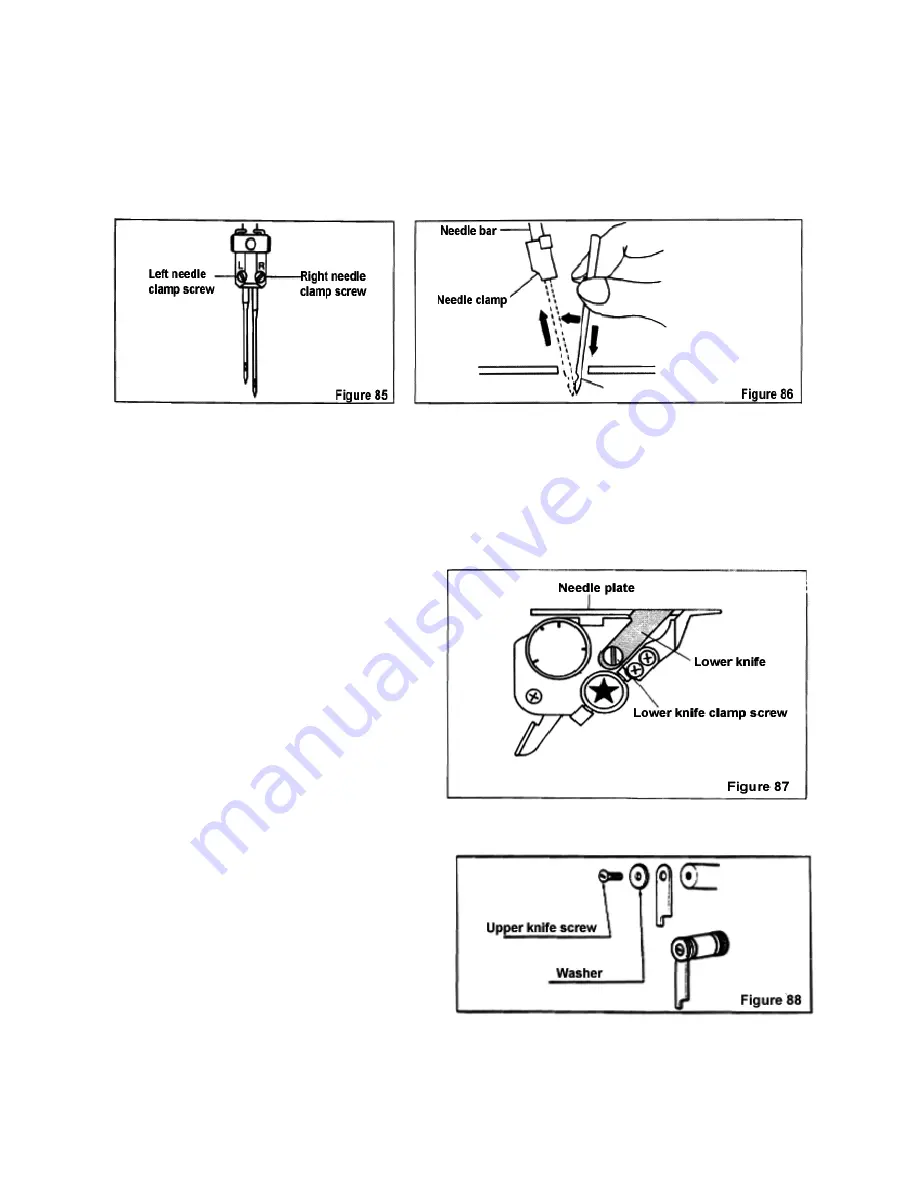
14 REPLACING NEEDLES
1. Raise needle to highest position by turning handwheel toward you.
2. Loosen black needle clamp screw (use small
screwdriver) and remove needle.
3. Insert new needle with flat side of the needle to the
back and tighten needle clamp screw.
Note: You will find it easier to hold the needle with the long tweezers rather tan between your fingers.
15 REPLACING KNIVES
The upper knife is made of special long – lasting steel and does not require frequent replacement. The lower knife is
made of softer steel and will need to be replaced periodically. A spare lower knife is in the accessory kit.
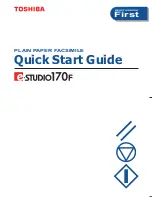
* Replacing the lower knife.
1. Open the front cover.
2. Move the upper knife to the “up” position.
3. Remove the lower knife clamp screw and the
lower knife.
4. Insert the new knife into the groove and move it
up until the upper edge is flush with the top of the
needle plate.
5. Tighten the lower knife clamp screw.
6. Close the front cover.
* Replacing the upper knife.
1. Open the front cover and rotate handwheel to
bring the upper knife to its lowest position.
2. Remove the upper knife clamp screw, washer
and knife. (Figure 88).
3. Insert a new knife with longer point to the rear.
4. Align the top of the knife with the top of the front
cover and tighten the screw temporarily.
5. Align the upper knife so that its lower front edge
overlaps the lower knife by 1 mm. Tighten the
screw firmly.
31


