B9Creations Core Series Printer User Manual Rev. A-3
04-14-2020
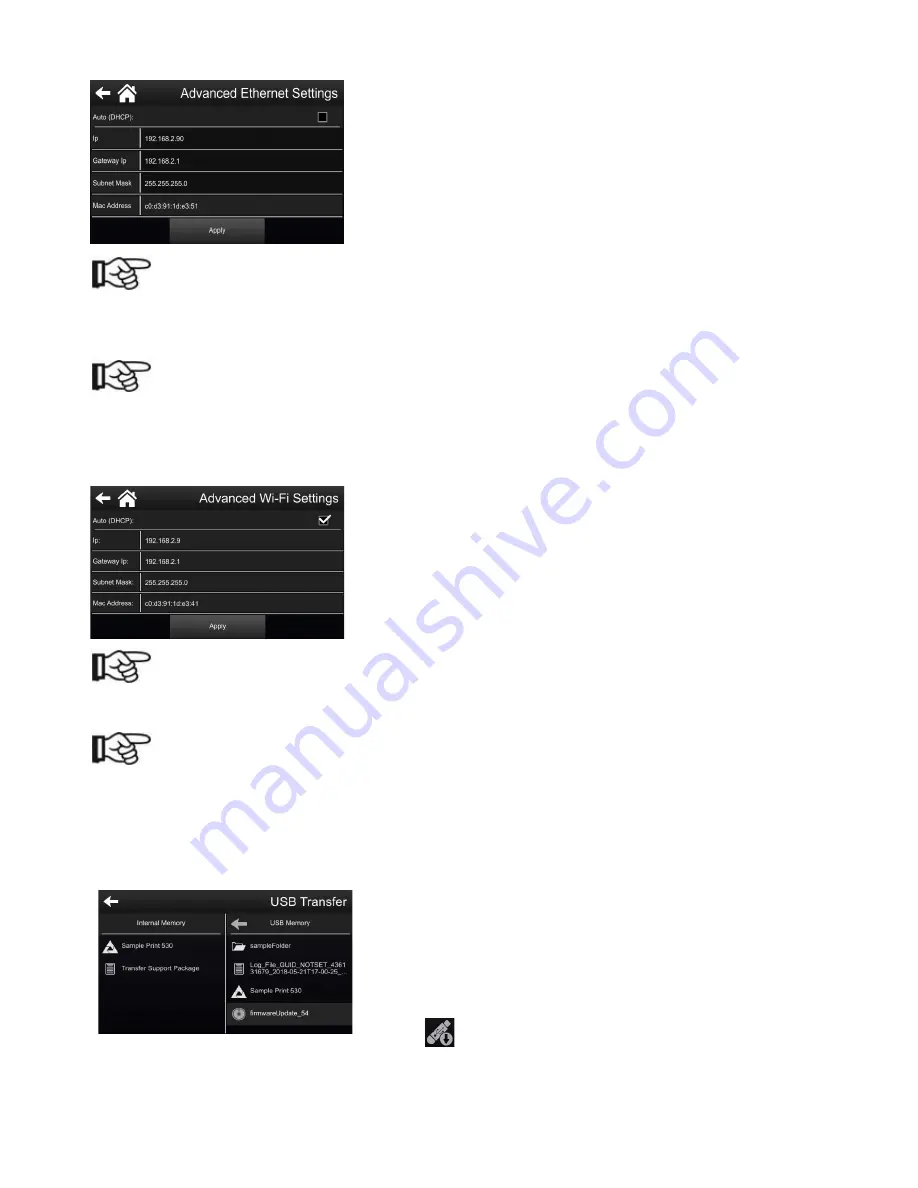
9.5.2 Advanced Ethernet Network Connection
Once the network connection type has been initialized, the operator
may press the
Advanced
field on the touchscreen to display
additional information about the network connection type
Pressing the
Advanced
field after selecting the
Ethernet
box will
display the
Advanced Ethernet Settings
page. Ethernet settings are
displayed. The operator can select each setting field if desired and
change them if needed.
Once the proper settings are displayed, press
Apply.
NOTE
It is often best to press the box to the right of “Auto (DHCP)” and “Apply” to allow the network to
establish the IP address.
NOTE
For Ethernet to work properly, an Ethernet cord must connect the 3-D printer to the network on which
the B9Create desktop software is running.
9.5.3 Advanced Wi-Fi Network Connection
By selecting
Advanced
on the
Settings
page, the
Advanced Wi-Fi
Settings
page will be displayed. On this page, the operator may
manually enter the IP address, the Gateway IP address and the
Subnet Mask.
NOTE
Instead of manually entering the addresses and information in the setting fields, it is often best to press
the box to the right of “Auto (DHCP)” and “Apply” to allow the network to establish the IP addresses.
NOTE
For Wi-Fi to work properly, there must be a wireless network to which the printer can connect.
Additionally, the desktop software must be running on a computer that is connected to the same
network.
9.6 Adding a Print Object Via USB Device
Only properly created print objects can be added to the print
library. These print objects are created on desktop software such
as B9Creation CAM software. Once created, print objects can be
added to the
B9Creations Core Series
printer via USB Device
whether the printer is being used in either the “Stand Alone” or
“Networked” Configuration. Insert a USB Device in the USB port on
the front of the
B9Creations Core Series
printer. Press the
USB
Transfer
icon on the
Primary Menu
page. The touchscreen
will display the
USB Transfer
menu.
Files that are located on the USB drive will display under
USB Memory
.
Select the file to transfer. A pop-up menu will ask if you want to transfer the selected file. Select “Yes.”
9.7 Support Package Generation


