B9Creations Core Series Printer User Manual Rev. A-3
04-14-2020
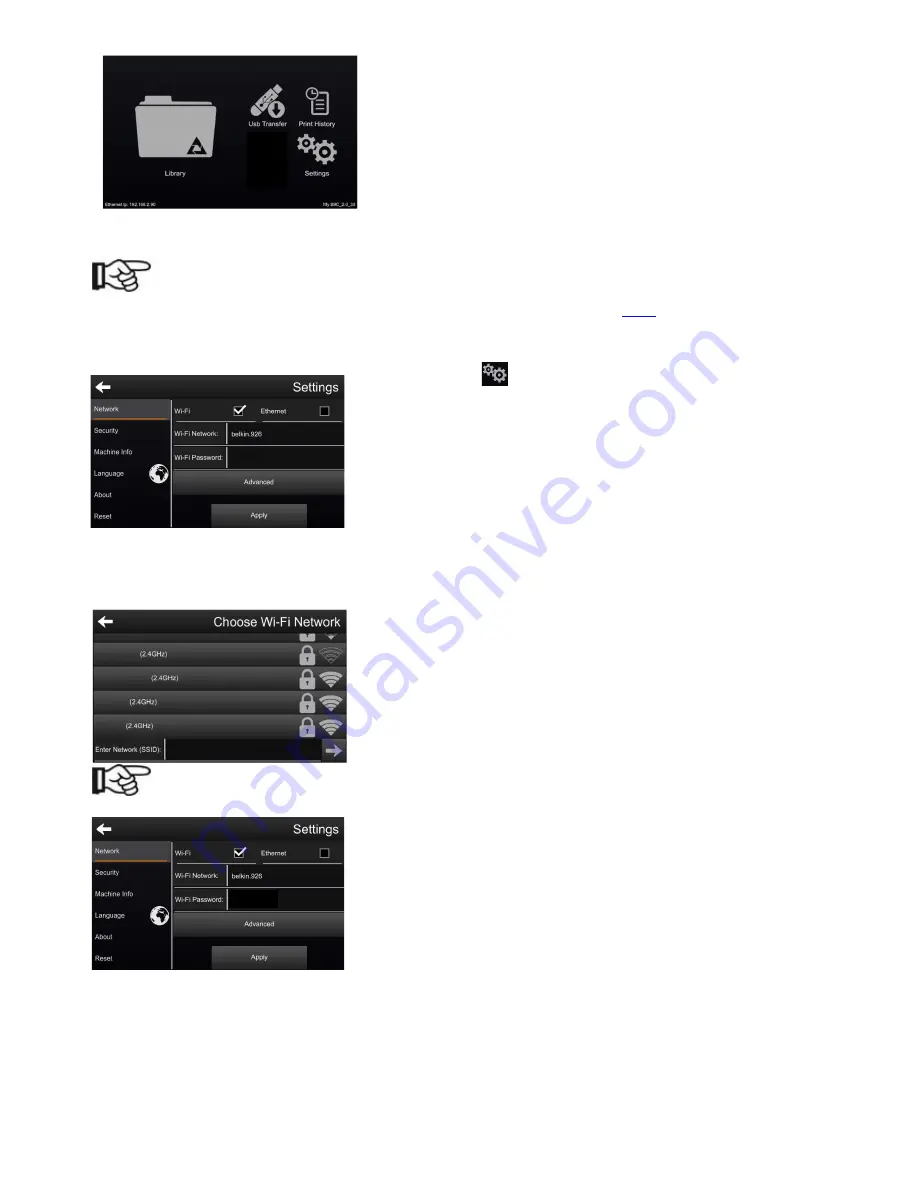
This page is the main starting point for all actions and inputs for
the operator. From here, the pages for starting a print,
transferring files, changing the settings, and viewing the printer’s
history can all be accessed.
9.5
Connecting to a Network
NOTE
If utilizing the B9Creations Core Series as a Stand-Alone printer as shown in
7.8.1
, skip to Section 9.6.
9.5.1 Wi-Fi/Ethernet Selection
Press the
Settings
icon on the
Primary Menu
page.
The touchscreen will display the
Settings
menu.
Select
either “Wi-Fi” or “Ethernet” by touching the box to the right
of whichever network connection type is desired. Initializing the
printer for the selected network connection type may take a few
moments.
The operator must select a valid Wi-Fi Network name in the
Wi-Fi Network
field. A list of active Wi-Fi
networks will be displayed if the operator presses the field to the right of
Wi-Fi Network
on the
Settings
page.
Once the desired Wi-Fi Network is found on the list, the operator
can select it by touching the name on the touchscreen. If the
network name is not displayed scroll to the bottom of the screen
and manually enter the Network (SSID).
NOTE:
The Wi-Fi signal strength should be two bars minimum.
The selected Wi-Fi Network will be displayed in the field to the right
of
Wi-Fi Network
on the
Settings
page. If the network selected is a
secure network, a password must be provided. To enter a
password, press
Wi-Fi Password
field and enter the password.
If a Wi-Fi Network is selected, the
Wi-Fi Network
and
Wi-Fi
Password
fields will be displayed on the
Settings
page
*****


