


51
4. PROGRAMMING
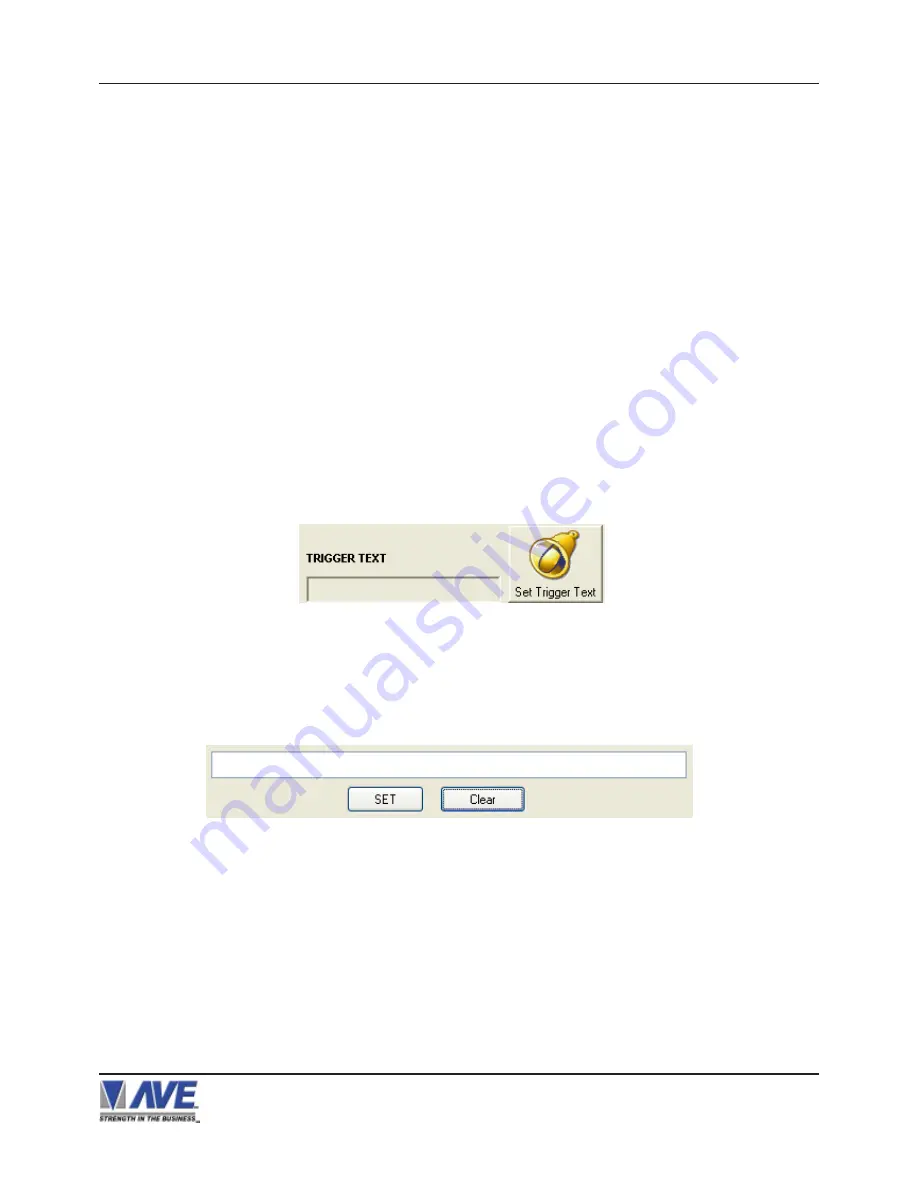
SET TRIGGERED TEXT
Left click on SET TRIGGER TEXT button, ALARM TRIGGER SETUP will appear then insert trigger text that you desire in
the blank and then click on SET button.If trigger text not correct, left click on SET TRIGGER TEXT button again,ALARM
TRIGGER SETUP will appear then click on CLEAR button and then put correct trigger text in the blank.
You can enter 2 lines with 40 alpha numeric text on each line. You can also enter non-printable data (control code)
instead of triggered text. Each control code occupies 3 charactors, therefore you can enter 13 control codes in a line.
To enter control code, first print up arrow ^ follwed by 2 hex digit. For example, hex code 01 has to be entered like ^ 01.
RegCom-Pro POS / Cash Register Interface
OUTPUT TEXT
Choices: ON, OFF
Select “ALARM OUTPUTS” Tab then select TRIGGERED TEXT section and then select ON or OFF in OUTPUT TEXT
drop-down menu.Selecting “OFF” will not send any exception text to the serial printer.
RTS TRIGGERED DELAY
Choices: OFF, 1S, 5S, 10S, 20S, 30S, 1M, 5M, 10M
Select “ALARM OUTPUTS” Tab then select TRIGGERED TEXT section and then select RTS TRIGGERED DELAY that
you desire in RTS TRIGGERED DELAY drop-down menu.Selecting “OFF” will give no delay and will trigger the alarm
immediately upon RTS closure.
This function introduces a time delay for the RTS Trigger Input before initiating an alarm condition. The alarm must
be continuous for the entire time of the delay setting or the time out will be reset. This is useful to connector to cash
drawers or safe doors and wait a programmable amount of time before sounding the alarm. Leaving cash drawers or
safe doors open are indicative of theft or simple forgetfullness and an alarm condition will deter this behavior.
Figure 102: TRIGGERED TEXT PAGE
Figure 103: ALARM TRIGGER SETUP PAGE


