


Installing the system base software from CD
Issue 1.0 September 2003 39
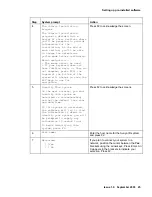
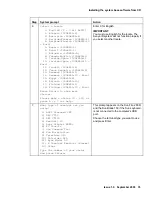
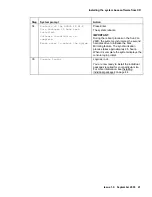
Step System
prompt
Action
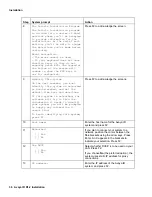
24
Date and time:
date time
Year (4 digits):
year
Month (1-12) :
month
Day (1-31) :
day
Hour (0-23) :
hour
Minute (0-59) :
minute
Verify that these values for year, month,
day, hour, and minute are correct. If any
values need to be changed, position the
cursor in the appropriate field and type the
correct value. Press Enter to move between
field. When done, press F2.
The system displays the time zone
information you entered, similar to the
following:
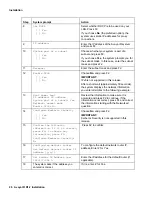
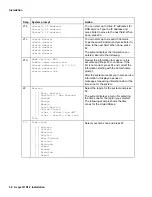
25
Time zone: US/Mountain
Date and time: 2002-07-03
10:38:00
Review the information to make sure it is
accurate and press F2 to continue. If the
information is not correct, press F4 and
correct the information starting with the
region prompt.
The system installs the system software
and configures the network. This takes a
few minutes. When completed, the system
displays the following prompt:
26
Welcome To Avaya Interactive
Response R1 Installation and
Recovery.
Please select one of the choices
below.
I to Install or R for Restore
To begin installing the base packages for
the Avaya IR system, enter
I
(for install).
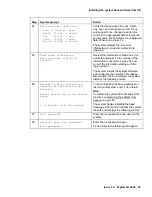
Note:
To restore the system from backup at this
prompt, see Restoring the system from
backup on page 63.
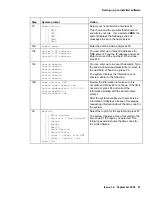
The system begins installing the base
packages. After several minutes the system
reboots and displays the following prompt:
27
Root password:
Enter the root password to be used on the
system.
28
Re-enter your root password.
Root password:
Enter the root password again.
Lines similar to the following will appear:
Содержание Interactive Response
Страница 1: ...Avaya Interactive Response Release 1 2 Installation Issue 0 11 Publication Date July 2003 ...
Страница 4: ......
Страница 20: ...Installation 20 Avaya IR R1 2 Installation ...
Страница 30: ......


