4. In the
General Settings
window, enter the path to the firmware, the DAP package
file; for example, C:\tftpdroot\4910b524.dwl.
5. Click
Apply
.
Configuring IP Settings
1. On the Settings pane, click
IP Settings
.
The
IP Settings
page appears.
2. In
DAP Controller IP Configuration
tab Enter the DAP controller Configuration:
DC IP address, which is the IP address of the PC where your DAP controller is
installed. An example of this address is 192.168.100.10.
3. In the
Proxy IP Configuration
tab enter the Proxy IP address, which is the SIP
LINE Gateway Node IP address; for example, 192.168.100.105, and Proxy port
number (5070 by default for SIP LINE)
4. Click
Apply
.
Configuring Network Settings
1. In the Settings pane, click
Network Setting
.
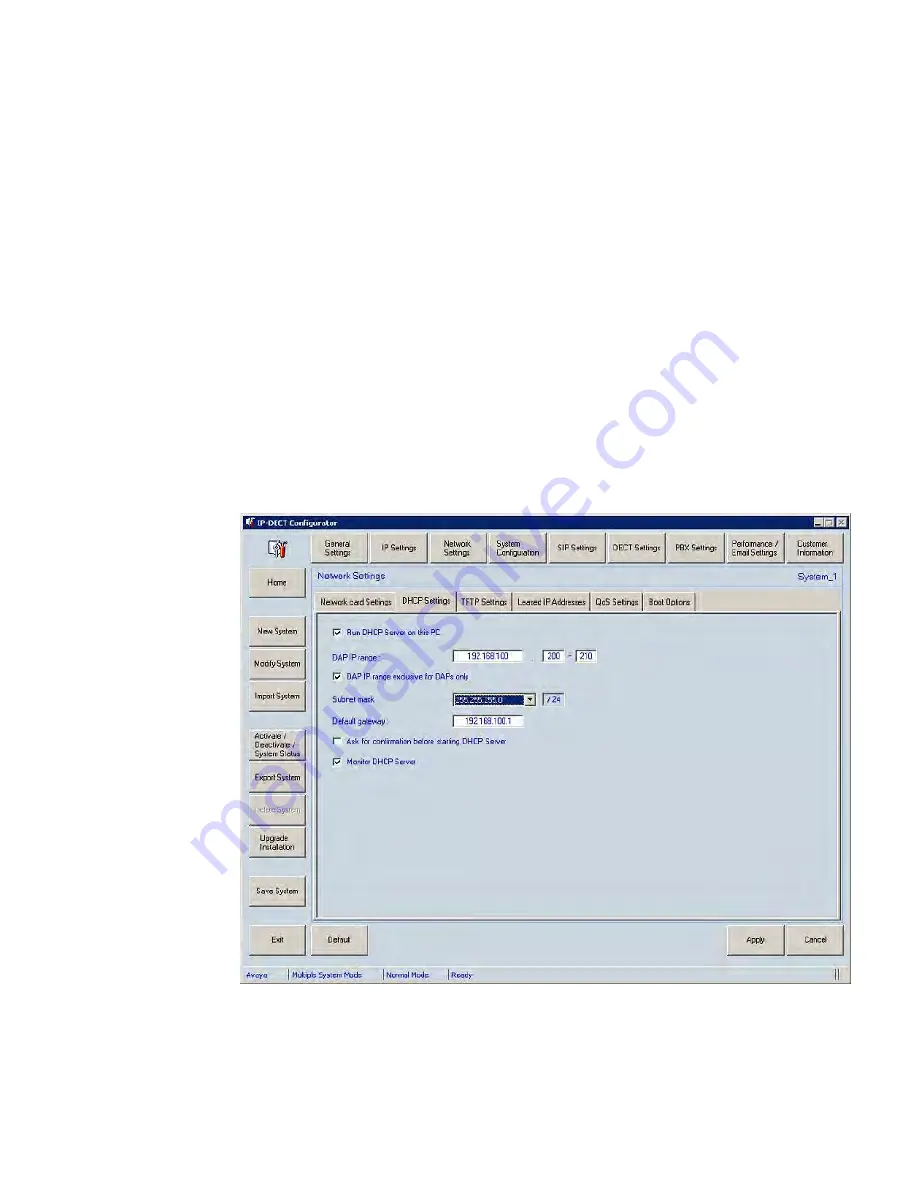
The
IP DECT Configurator Network Settings
window appears.
2. In
Network card settings
tab select the network card that is connected to the SIP
DECT system.
Basic (simple) SIP DECT configuration with Communication Server 1000 SIP Line Gateway
SIP DECT Fundamentals
October 2012 95
Содержание CS 1000
Страница 1: ...SIP DECT Fundamentals Avaya Communication Server 1000 7 5 NN43120 123 Standard 04 06 October 2012 ...
Страница 6: ...6 SIP DECT Fundamentals October 2012 ...
Страница 74: ...Site planning and hardware deployment 74 SIP DECT Fundamentals October 2012 Comments infodev avaya com ...
Страница 146: ...System administration 146 SIP DECT Fundamentals October 2012 Comments infodev avaya com ...
Страница 160: ... Show Seen DAPs System maintenance 160 SIP DECT Fundamentals October 2012 Comments infodev avaya com ...
Страница 174: ...System maintenance 174 SIP DECT Fundamentals October 2012 Comments infodev avaya com ...
Страница 182: ...G 729 daughterboard and DAP wall mounting 182 SIP DECT Fundamentals October 2012 Comments infodev avaya com ...
Страница 204: ...Site survey example 204 SIP DECT Fundamentals October 2012 Comments infodev avaya com ...
Страница 266: ...DAP multicast group membership 266 SIP DECT Fundamentals October 2012 Comments infodev avaya com ...


