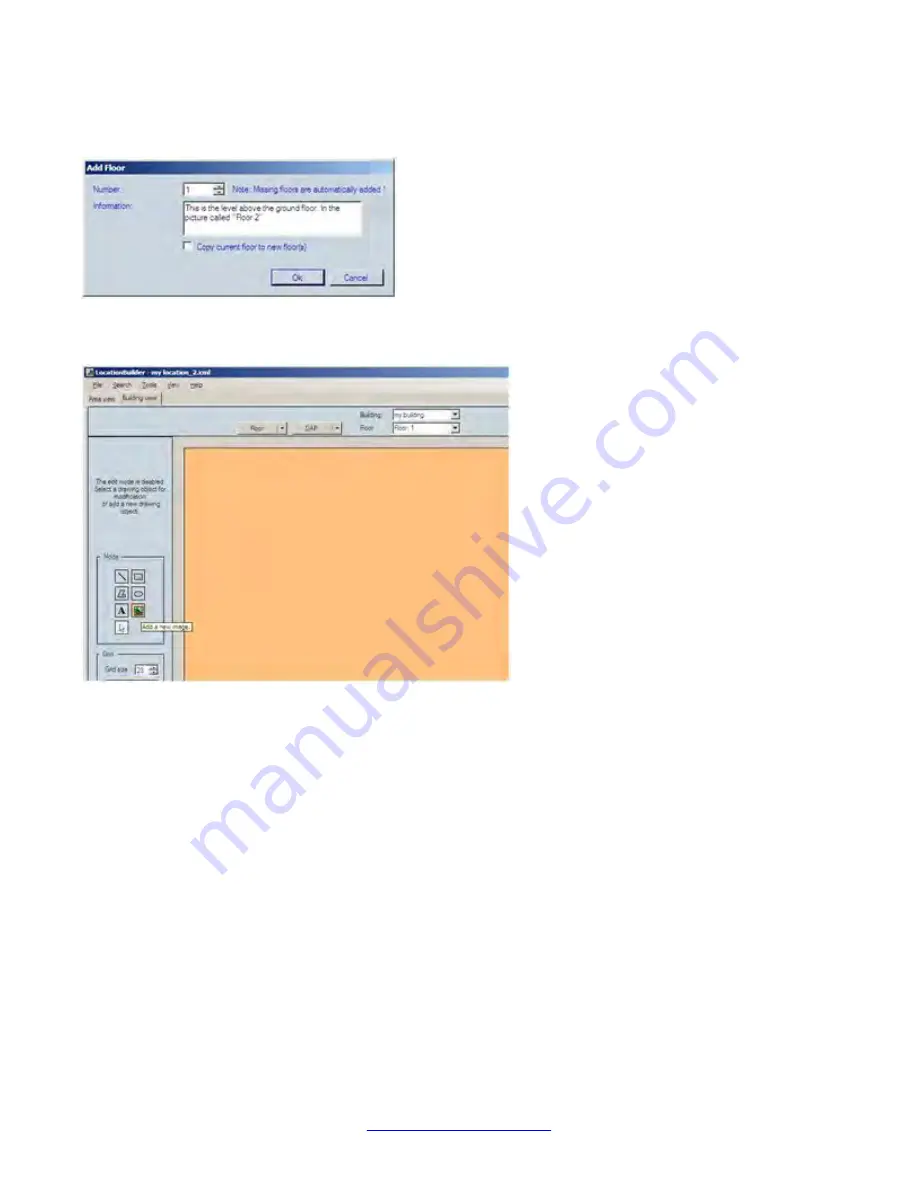
18. Enter the floor number. Remember that the floor numbers start with “0”. We are adding a second floor,
so this will be floor 1. (However, in this example the picture/image of the floor says Floor 2.). Click
OK
.
19. Now you will see an empty floor. You must add a jpg picture to this floor. Click
Add new image
, as
shown in the screen capture below.
20. The screen below is displayed. Browse to you second jpg picture/image file. Also fill in the image
location with the same values as the previous image for Floor 0.
Location builder tool
188 SIP DECT Fundamentals
October 2012
Содержание CS 1000
Страница 1: ...SIP DECT Fundamentals Avaya Communication Server 1000 7 5 NN43120 123 Standard 04 06 October 2012 ...
Страница 6: ...6 SIP DECT Fundamentals October 2012 ...
Страница 74: ...Site planning and hardware deployment 74 SIP DECT Fundamentals October 2012 Comments infodev avaya com ...
Страница 146: ...System administration 146 SIP DECT Fundamentals October 2012 Comments infodev avaya com ...
Страница 160: ... Show Seen DAPs System maintenance 160 SIP DECT Fundamentals October 2012 Comments infodev avaya com ...
Страница 174: ...System maintenance 174 SIP DECT Fundamentals October 2012 Comments infodev avaya com ...
Страница 182: ...G 729 daughterboard and DAP wall mounting 182 SIP DECT Fundamentals October 2012 Comments infodev avaya com ...
Страница 204: ...Site survey example 204 SIP DECT Fundamentals October 2012 Comments infodev avaya com ...
Страница 266: ...DAP multicast group membership 266 SIP DECT Fundamentals October 2012 Comments infodev avaya com ...


