Rev. 4.0 13ELE2000 Page 8 /14
Setting up the system
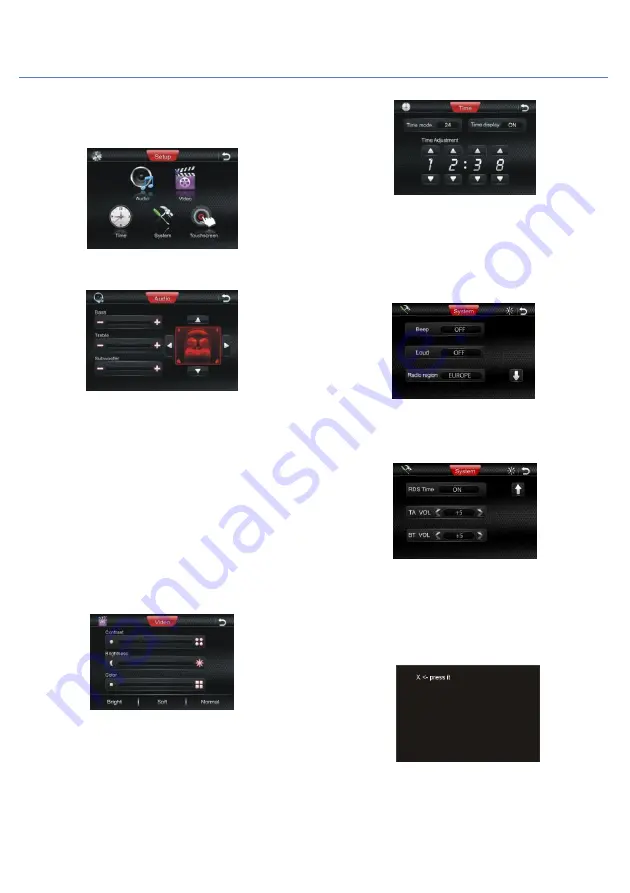
On this screen the user can tap one of the icons. The picture
below shows the setup page:
In this screen if we tap “audio” the screen will be shown as in the
figure below:
In this screen there are three horizontal bars representing BASS
TREBLE and SUBWOOFER levels. The minus “-“ sign on the left
and the “+” sign on the right of each bars can be tapped to reduce
and increase each of these quantities.
On this screen the user can adjust sound distribution known as
BALANCE and FADER. For a 4 loudspeaker audio system, BALANCE
is the distribution between left and right, and FADER is the
distribution between front and rear.
Use the controls presented to control this distribution. It is best
that a sound source such as radio is being played through the
loudspeakers when making the adjustments on this screen since
the user can verify the chosen setting by listening to the effect of
the sound produced.
In this screen if we tap “video” the screen will be shown as in the
figure below:
This page allows for adjustment of basic screen properties:
CONTRAST, BRIGHTNESS, and COLOR. On the bottom of this
screen there are three preset choices BRIGHT, SOFT and
NORMAL.
Tapping “Time” brings us into the following screen:
TIME MODE
Select 12H/24H clock display.
TIME DISPLAY On-screen clock display can be turned ON/OFF.
Time can be adjusted by tapping
▲▼
icons corresponding to
each of the 4 digits.
Tapping “system” brings us into the following screen:
BEEP/LOUD To turn on or off the beep/loudness.
RADIO REGION To specify to the radio the location of operation
so that the correct frequency band will be used for tunning.
The user can select to turn the RDS TIME adjust ON or OFF. When
turning ON, the system time will display the time of the received
RDS station. When turning OFF, the system will keep the local
time. With </> button on the screen tapping, when the TA or BT
alarms, the volume level is much higher than the current one.
In this screen if we tap “touchscreen” the screen will be shown as
in the figure below:
Calibrate the touch screen to align with the graphic display. To
complete the calibration, the user will be asked to press certain
points on the screen. Follow the on-screen instructions.


