


27
Operation
Incorrect measurement results due to a cold device. The patients hearing can be
damaged due to an inappropriate treatment.
3. Wait for at least 5 minutes. The device must warm-up.
4. Adjust the desired parameters for the measurement.
5.
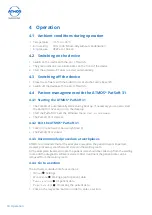
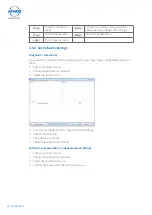
Select the patient in the audiometer software.
If you do not select a patient the measurement can be printed, but not saved.
6. Position the patient.
7. Explain the test sequence to the patient.
Risk of infection due to contaminated headphones. Cross infection is possible.
8. Use standard protective covers for headphones.
9. If necessary put on the required transducer to the patient and give him the patient
response button.
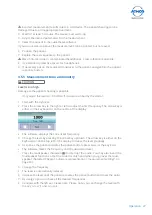
4.5.5 Measurement tone audiometry
CAUTION
Level is too high.
Damage to the patients hearing is possible.
•
Only adjust the level to > 80 dB HL if it was prescribed by the doctor.
1. Start with the right ear.
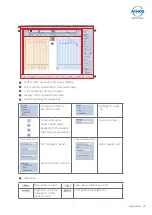
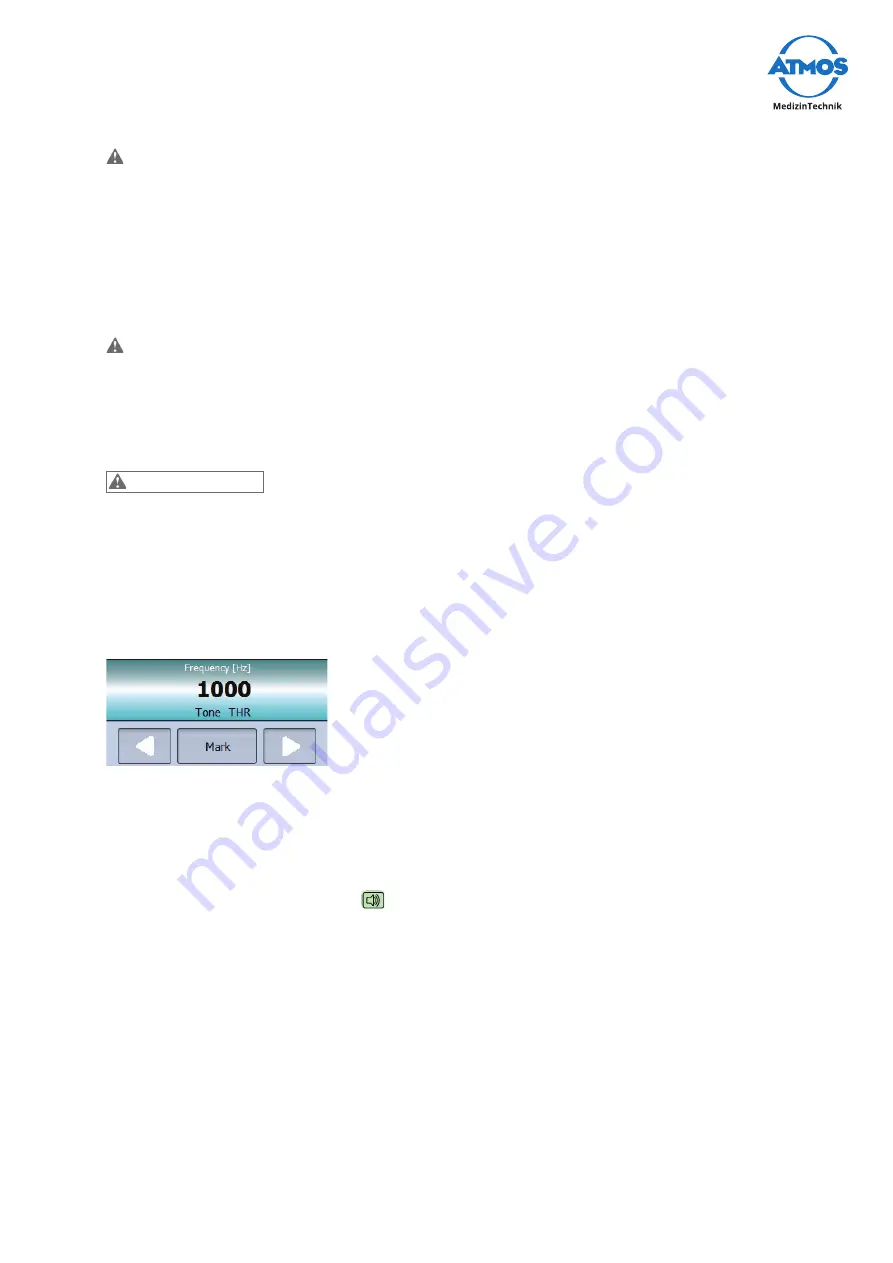
2. Press the arrow key to the right or left to adjust the fi rst frequency. The arrow key is
either on the keyboard or on the centre of the display.
»
The software displays the current set frequency.
3. Change the level by pressing the arrow key up/down. The arrow key is either on the
keyboard or on the top left of the display. Increase the level gradually.
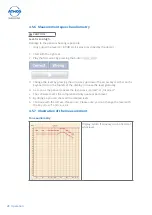
4. As soon as the patient activates the patient button, press
m
arK
.
or the key
e
nter
.
»
The software marks the frequency and the associated level.
&
Press the loudspeaker character
to interrupt the audio. You may also invert the
loudspeaker function so that the sound is only heard when you go over the loud-
speaker character (Chapter „Software representation / measurement settings“ on
page
24).
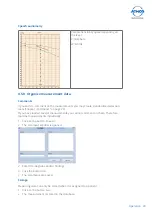
5.
Change the frequency.
»
The level is automatically reduced.
6.
Increase the level until the patient activates the patient button and mark the point.
7. By doing so you can check all the desired frequencies.
8. Continue with the left ear. Please note: Please note: you can change the level with
the key
piCture
and
piCture
.


