


Chapter 2: Hardware Information
2-16
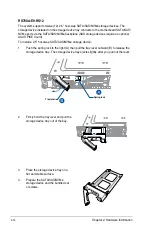
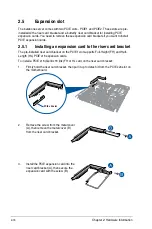
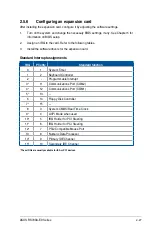
2.5
Expansion slot
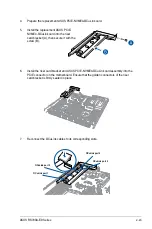
The barebone server comes with two PCIE slots - PCIE1 and PCIE2. These slots are pre-
installed with a riser card bracket and a butterfly riser card bracket for installing PCIE
expansion cards. You need to remove these expansion card brackets if you want to install
PCIE expansion cards.
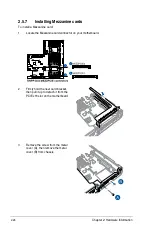
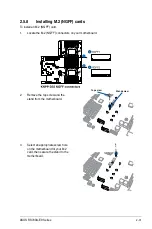
2.5.1
Installing an expansion card to the riser card bracket
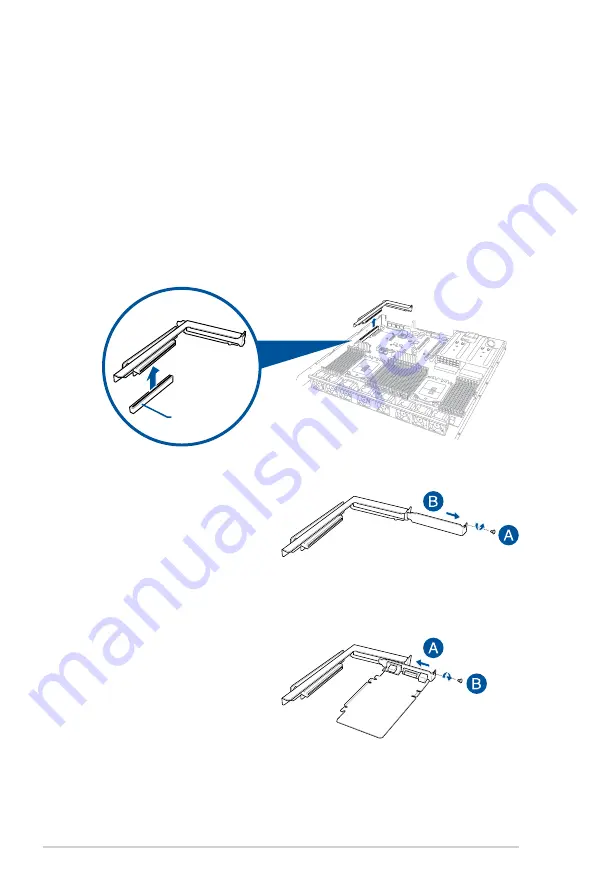
The pre-installed riser card bracket on the PCIE1 slot supports Full-Height (FH) and Half-
Length (HL) PCIE x16 expansion cards.
To install a PCIE x16 (Gen3 x16 link) FH or HL card on the riser card bracket:
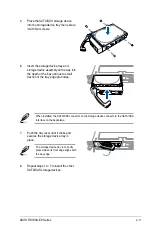
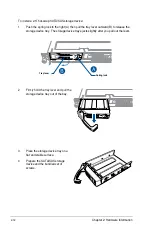
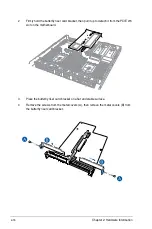
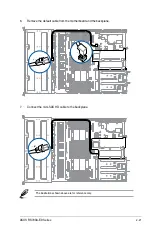
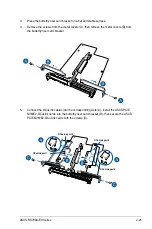
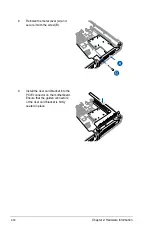
2.
Remove the screw from the metal cover
(A), then remove the metal cover (B)
from the riser card bracket.
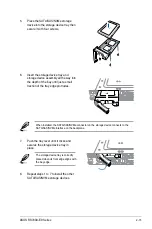
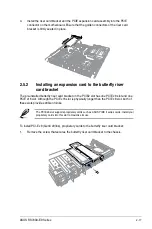
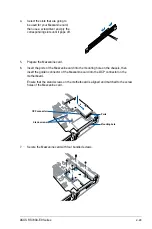
1.
Firmly hold the riser card bracket, then pull it up to detach it from the PCIE x24 slot on
the motherboard.
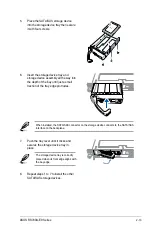
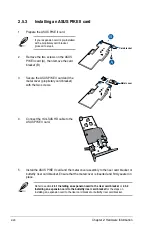
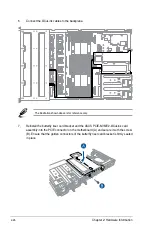
3.
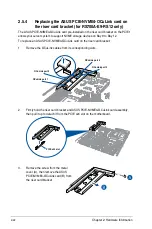
Install the PCIE expansion card into the
riser card bracket (A), then secure the
expansion card with the screw (B).
PCIE x24 slot
Содержание RS700A-E9-RS12
Страница 1: ...1U Rackmount Server User Guide RS700A E9 Series RS700A E9 RS4 RS700A E9 RS12 ...
Страница 70: ...Chapter 4 Motherboard Information 4 2 4 1 Motherboard layout ...
Страница 92: ...Chapter 4 Motherboard Information 4 24 ...
Страница 135: ...ASUS RS700A E9 Series 6 9 6 Click Finish to complete the installation 5 Click Install to start the installation process ...
Страница 136: ...6 10 Chapter 6 Driver Installation ...
Страница 137: ...Appendix Appendix This appendix includes additional information that you may refer to when configuring the motherboard ...
Страница 138: ...A 2 Appendix KNPP D32 block diagram ...
Страница 144: ...A 8 Appendix ...


