Chapter 3
Initial Configuration with an Out-of-
Band Serial Connection
Initial Configuration with an Out-of-Band Serial Connection
Connect to Console Port
To connect a console to the switch, follow these steps:
1. Connect the PC or terminal to the switch’s Console Port using a console cable (JL448A; sold
separately).
2. Turn on the terminal or PC’s power and, if using a PC, start the PC terminal program.
3. Press
[Enter]
two or three times. When prompted to log in specify
admin
. When prompted for the
password, press
[Enter]
. (By default, no password is defined.)
You are placed into the manager command context, which is identified by the prompt:
switch#
. For
example:
login as: admin
Password:
switch#
If you want to continue with console management of the switch at this time, see the
Fundamentals Guide
for initial configuration steps. For more detailed information, refer to the switch software manuals for your
switch.
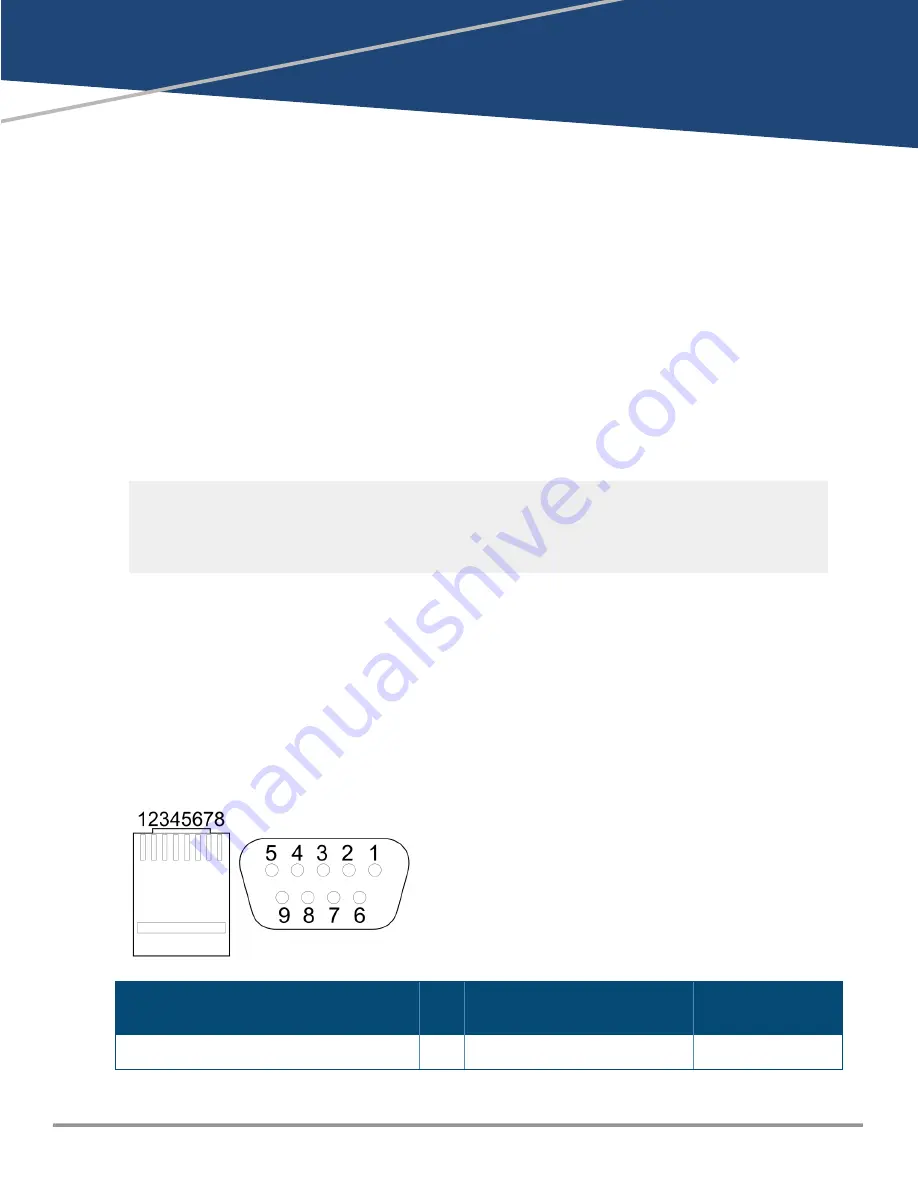
Console Cable Pinout
The Aruba X2C2 RJ45 to DB9 Console Cable (JL448A) has an RJ-45 plug on one end and a DB-9 female
connector on the other end.
RJ-45 to DB-9 pinouts
RJ-45 (Signal reference from chassis)
>
DB-9 (Signal reference from
PC)
Reserved
1
8
CTS
Aruba CX 10000 Distributed Services Switch | Installation and Getting Started Guide
33


