User Manual
Page | 49 [email protected]
+1.818.937.0700 877.CAMERA.8 www.arecontvision.com [email protected]
AV
NVR
4. The AV NVR automatically closes the service and starts to upgrade the F/W.
5. After the firmware updates completely, you willhear a beep.
6. Ensure the status LED stops flashing then unplug the USB, and reboot the AV NVR.
7. Check System Information and confirm the firmware upgrade was successful.
Restart Device:
click “restart” to restart the AV NVR.
Restart Camera:
select the camera you would like to reboot directly from the AV NVR.
Reset to Factory Default:
click “Reset to Default” to
reset the AV NVR
’s settings to the factory default
values.
Change Logo:
select the logo you would like to display on the AV NVR.
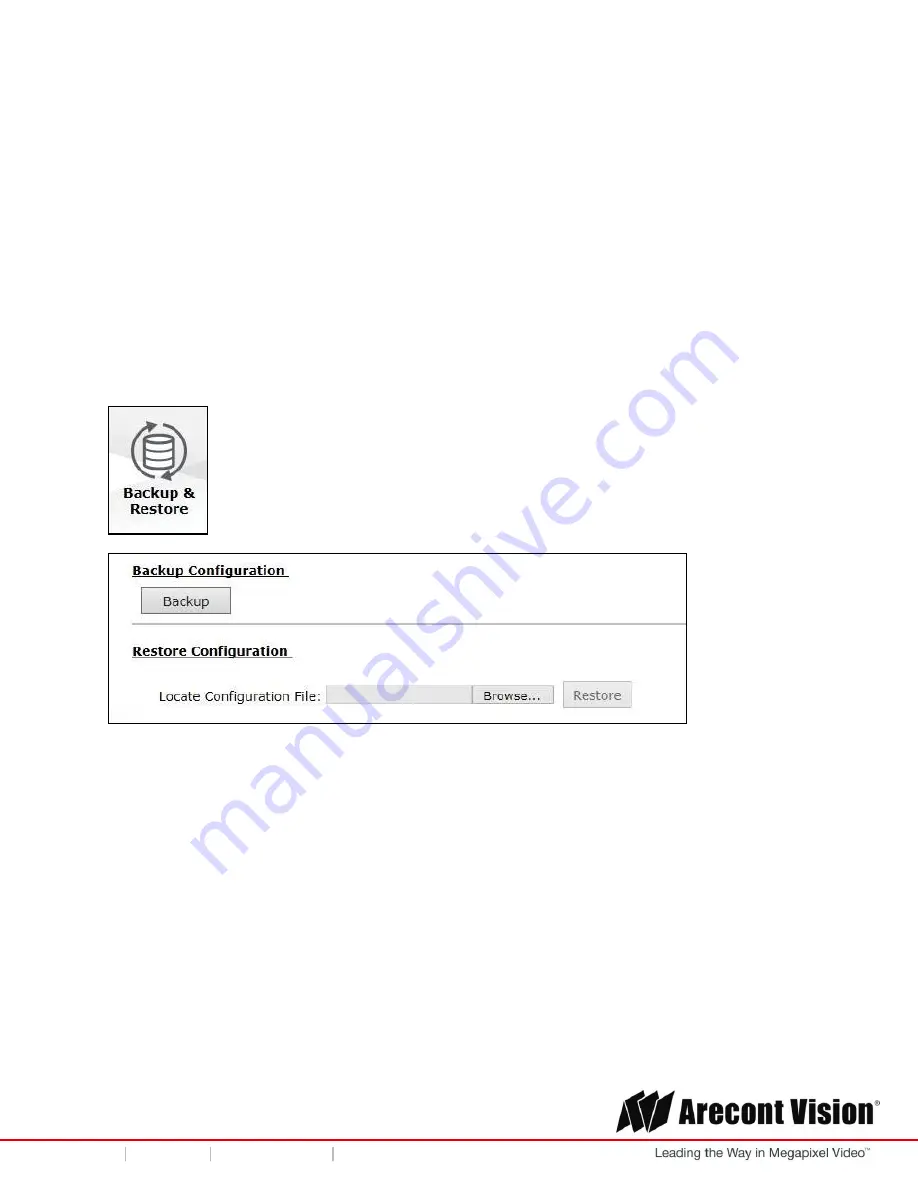
Backup & Restore
In this section, user can use
Backup Configuration
to save the AV NVR
’s settings to a local hard drive,
and also can use
Restore
Configuration
to restore the AV NVR
’s settings from a previously saved
configuration file.
NOTE
: On Web UI, the configuration can be backed up to or restore from a local computer. On local UI,
the configuration can be backed up to or restore from a USB disk. It is required to plug in a USB disk
formatted in FAT32 prior to using the backup and restore functions.


