User Manual
Page | 18 [email protected]
+1.818.937.0700 877.CAMERA.8 www.arecontvision.com [email protected]
AV
NVR
Click
to save Channel name
Click
to cancel
#3 Saved Views
Edit the name of Saved
Views
Edit the name of Saved Views
Select Saved Views
Select the Saved Views for View Sequence or for deleting
Delete Saved Views
Delete the Saved Views you have select
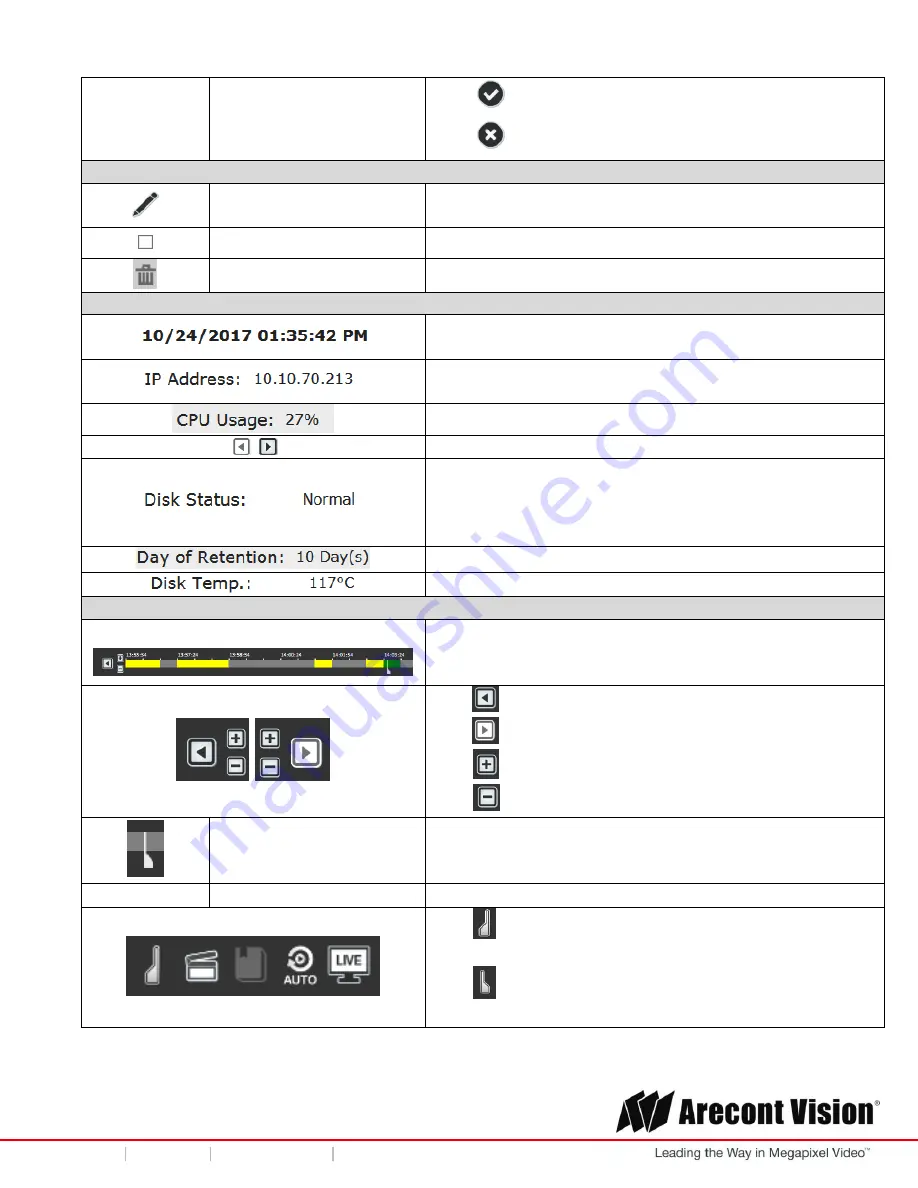
#4 Quick Status Box
Date/ Time of the NVR
(Please
refer to “Time and Date” section for more details)
IP address of the NVR
(Please refer to “Network Settings” section for more details)
Current CPU usage of the NVR
Move to Next or Previous Page
The Disk Status comes from Disk SMART utility (Self-
Monitoring, Analysis and Reporting Technology). It will show
“Warning” if the HDD status is unhealthy.
(Please refer to “Storage” section for more details)
Days of recording available.
Current temperature of the HDD
#5 Instant Playback
Instant Playback time bar
Different colors on the time bar reflect different recorded
data types.
(Please refer to “Border Settings” section for more details)
Click
to move to
“Previous” time period.
Click
to move to
“Next” time period.
Click
to
“Zoom In” and change the time scale.
Click
to “Zoom Out” and change time scale.
Marker for the current
playback time
Click the desired time point on the time bar or drag the
marker to the desired time point, the channel will start to
playback from the marked time point.
Click
to mark the start time for the exported video or the
bookmark.
Click
to mark the end time for the exported video or the
bookmark.


