23
WEEKS: The year is divided into 4 week cycles. The current week is shown as a highlighted
box. Select which weeks this timer will be active for by pressing one, two, three or all four
buttons. Active weeks are highlighted in Blue, inactive weeks are grey.
Use Accessory Timers if you wish to control more than one output using the same timer.
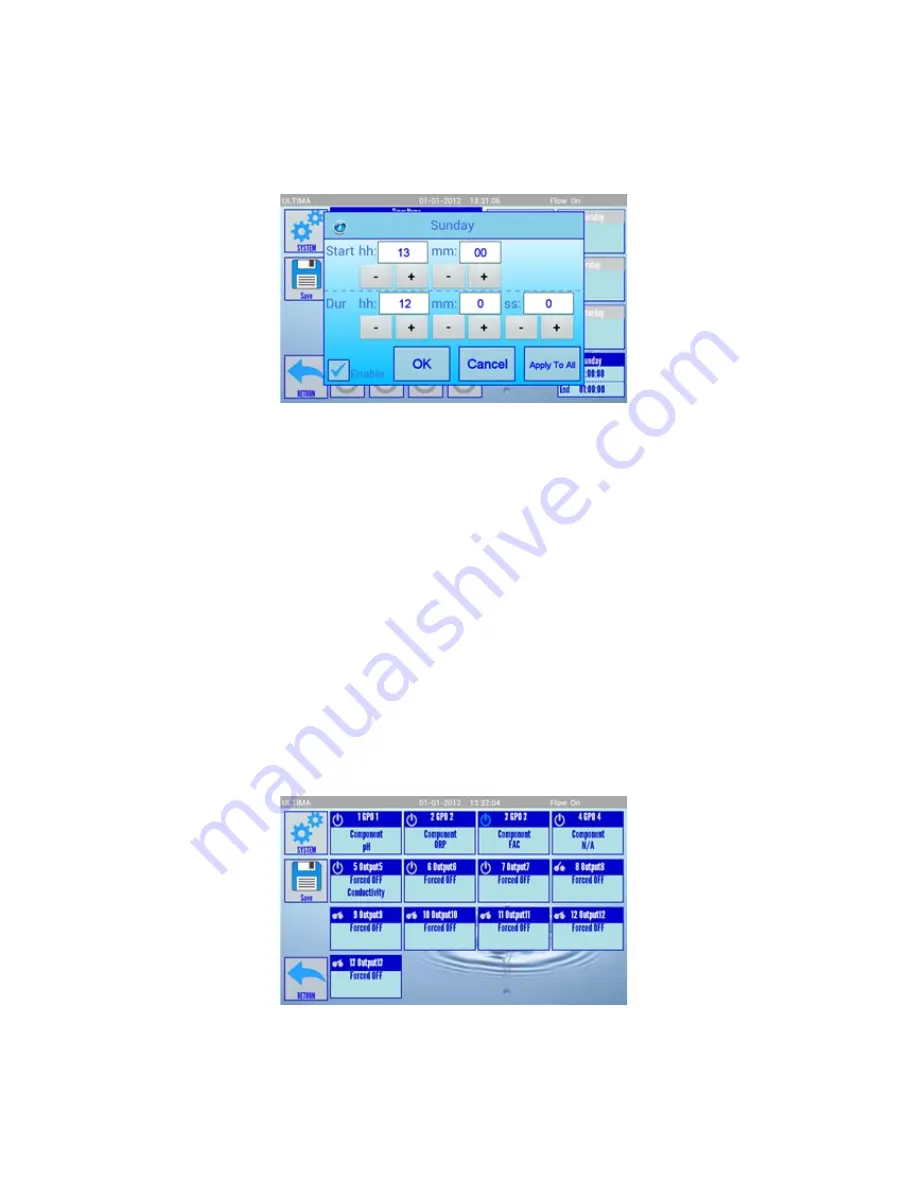
Select Day of the week. Pop-up screen will appear (Picture 26).
Picture 26. SET TIMER Screen
Tick the ENABLE checkbox to activate the timer for this day. Select Start Time as hours and
minutes. Then select Duration period as hours, minutes and seconds. To copy the selected start
time and duration to all days press APPLY TO ALL.
Note:
For extra day timers to activate, press
the day box required and tick the ENABLE checkbox to activate the timer with the same settings
as the other days.
Press OK to return to SET TIMER screen. Press SAVE or RETURN to save all changes to this
timer. The next active time for a timer is displayed on that timer's button.
Outputs Configuration
On the main screen touch the Outputs parameter box. The OUTPUTS screen will appear (Picture
27). There are thirteen output selections on this screen. An illuminated blue power icon will show
if this relay is ON – A non illuminated Grey power icon will show if this relay is OFF.
Picture 27. OUTPUTS screen
Outputs 1 to 4 are wired to GPO’s 1 to 4 by default. These are available for use by any
component.
Содержание ULTIMA
Страница 1: ...1 Instruction Manual v 1 1 Cooling Tower Controllers ...
Страница 27: ...27 ATTACHMENT Typical Installation Diagrams ...
Страница 28: ...28 ...


