


PROGRAMMING
2012-MAY-18 REV. 02 PAGE 35
CHECKFIRE MP-N Electric
Detection and Actuation System Manual
EXPLAINING THE MENU (Continued)
9.
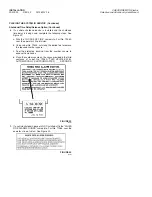
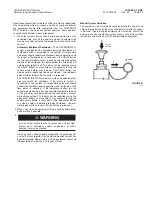
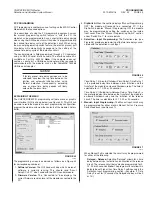
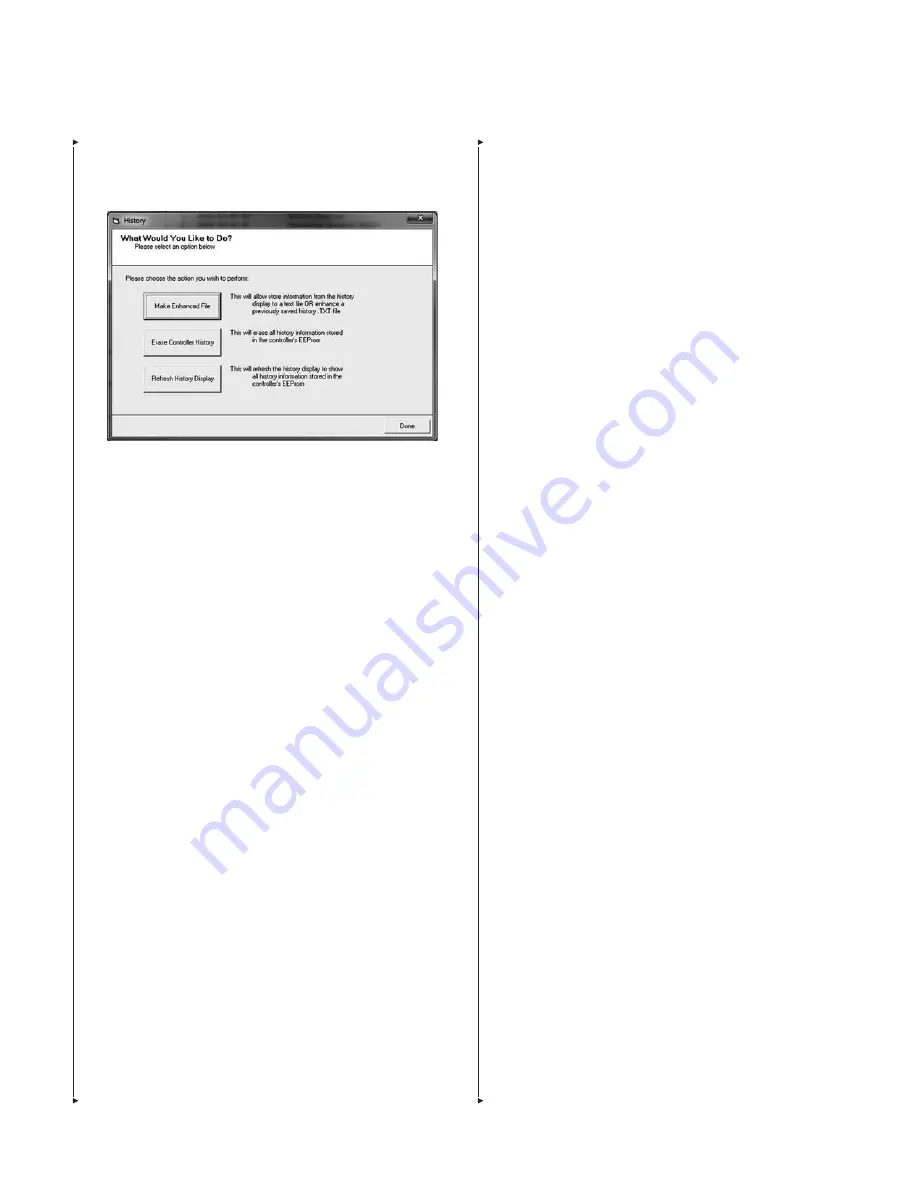
History:
This button opens the History window with options to
save the current history file, erase the current history file, and
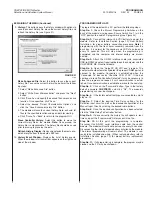
refresh the history file (see Figure 51).
FIGURE 51
009038
Make Enhanced File:
Select this button to save the current
history file. To save the current history file, perform the follow-
ing steps:
1. Select “Make Enhanced File” button
2. Select “Write From Microcontroller” and press the “Next”
button
3. Click “Save As” and specify the desired file name and save
location. Once specified, click “Save.”
4. Select the desired “Output Characteristics Options” and
click the “Save Enhanced History File” Button.
5. The module will save the current history file to .enh and .txt
files to the specified location and open both for viewing.
6. Click “Cancel” or “Back” to return to the program GUI
Erase Controller History:
Select this button to erase the
current history file on the module.
Note:
Once erased, the
history file is unrecoverable. The history file should be saved
prior to erasing to preserve the data.
Refresh History Display:
Reads and uploads the most up-to-
date history file from the moduleʼs EEProm.
10.
History Event Window:
Displays the list of history events.
When the window is full a scroll bar appears on the right hand
side of the window.
PROGRAMMING WITH A PC
To program the module with a PC, perform the following steps:
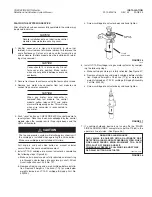
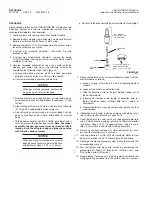
Step No. 1:
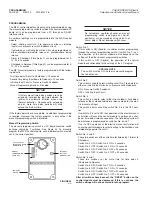
Check the Manual Programming Switches on the
back of the moduleʼs inside cover. Ensure Switch No. 1 is in the
“OFF” position to enable PC programming (see Figure 44).
Step No. 2:
Connect the internal 3.6 VDC battery to power the
module. Refer to Installation Section (page 19), New Battery
Installation, for proper battery connection procedure.
Note:
If
programming with the front cover assembly removed from the
back box, it is normal for the sounder and LEDʼs to pulse once
every 10 seconds. This will stop when the programming is
completed and the computer and internal battery are discon-
nected.
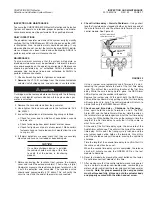
Step No. 3:
Attach the RS-232 interface cable (and associated
USB-to-RS232 adapter, if required) between the computer and the
CHECKFIRE MP-N control module.
Step No. 4:
Open the “SetupSC_VB_V411.exe” program. The
computer should automatically detect the proper COMM port and
connect to the module. Connection is established when the
“Connected To:” box reads “Checkfire SC-N V1.XX”. If the box
continues to read “No Controller Detected” it may be necessary to
close the program and reopen it until communication is estab-
lished. Once communication is established, move to the next step.
Step No. 5:
Click on the “Password” button. Type in the factory
default password
CHKFRSCN
and click “Ok”. The moduleʼs
programming can now be changed.
Step No. 6:
If the factory default settings are acceptable, skip to
step no. 10.
Step No. 7:
Select the desired Time Delay settings for the
Detection Input circuit as well as the desired configuration of the
Manual Input Circuit by clicking the desired radio buttons.
Step No. 8:
Once the desired configuration has been selected;
click the “Write Setup To Controller” button.
Step No. 9:
If done correctly, the history file will update in real-
time and post the “Programmed” history event in the file.
Step No. 10:
At this point the programming is complete.
Disconnect the RS-232 serial interface cable from the control
module. The module will continue to pulse once every 10 seconds.
Disconnecting the internal module battery will silence the module.
The internal programming will remain intact. The module is now
ready to be installed and wired. (When replacing battery refer to
Installation Section (page 19) for proper battery replacement
procedures.)
Step No. 11:
If all programming is complete, the program may be
closed and the PC may be shutdown.


