Using the DXP-PRO Wizard
62
DXP-PRO v1.1 - Programmer’s Guide
Each navigation and routing macro may contain up to 50 steps, the following sections
outlines more specific information on using macros.
These Macros would have been previously created within the Device Configuration -
Device Data tab by selecting the
Use Macro for Menu Navigation and Device Routing
radio button (for a selected Source Type (if available)).
To modify the macro steps, click the
Edit
button at the bottom of this dialog. These
macros can be edited within the
Macros Steps for…
dialog but cannot be added unless
you return to the Device Configuration page for a selected product and choose the "
Use
Macro for Menu Navigation and Device Routing
" check box.
Editing an existing Macro within the Project
1.
Select a macro from the
Macros
table.
By previously selecting the
Use Macro for Navigation and Device Routing
radio box
(for a particular device from within the
Device Configuration - Device Data
tab), a
macro entry (for the selected device) is made into the
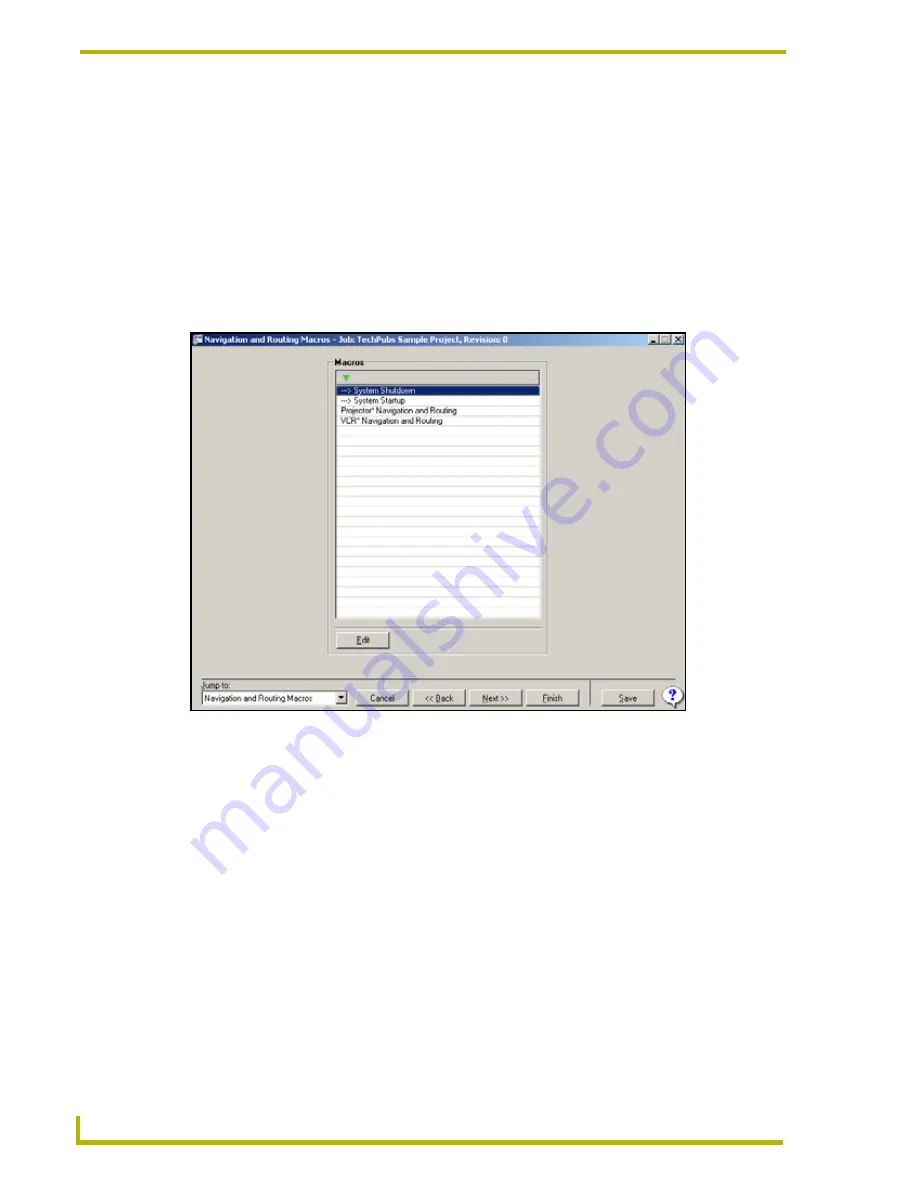
Navigation and Routing Macros
dialog (FIG. 22). This entry can now be modified if necessary, but no new macros can be
added to the
Navigation and Routing Macros
dialog without first returning to the
Device
Data
tab and selecting the radio box.
2.
To edit these newly added Macros, either double-click on the macro entry (from the Macros
table) or select the entry and press the
Edit
button. These actions both open the
Macro Steps
for…
dialog wherein you can edit the various properties of the selected macro.
FIG. 21
Navigation and Routing Macros dialog


