


87
o
Click and drag on the green bars to specify time zones for motion detection. To edit multiple days at
once, either click the checkboxes next to the names, or click the checkbox next to All to edit all the
days at once. Once the checkbox is clicked, press save to save and apply your detection settings.
Click Cancel to undo any changes and return to the motion detection settings screen. Click Default to
use the default settings.
o
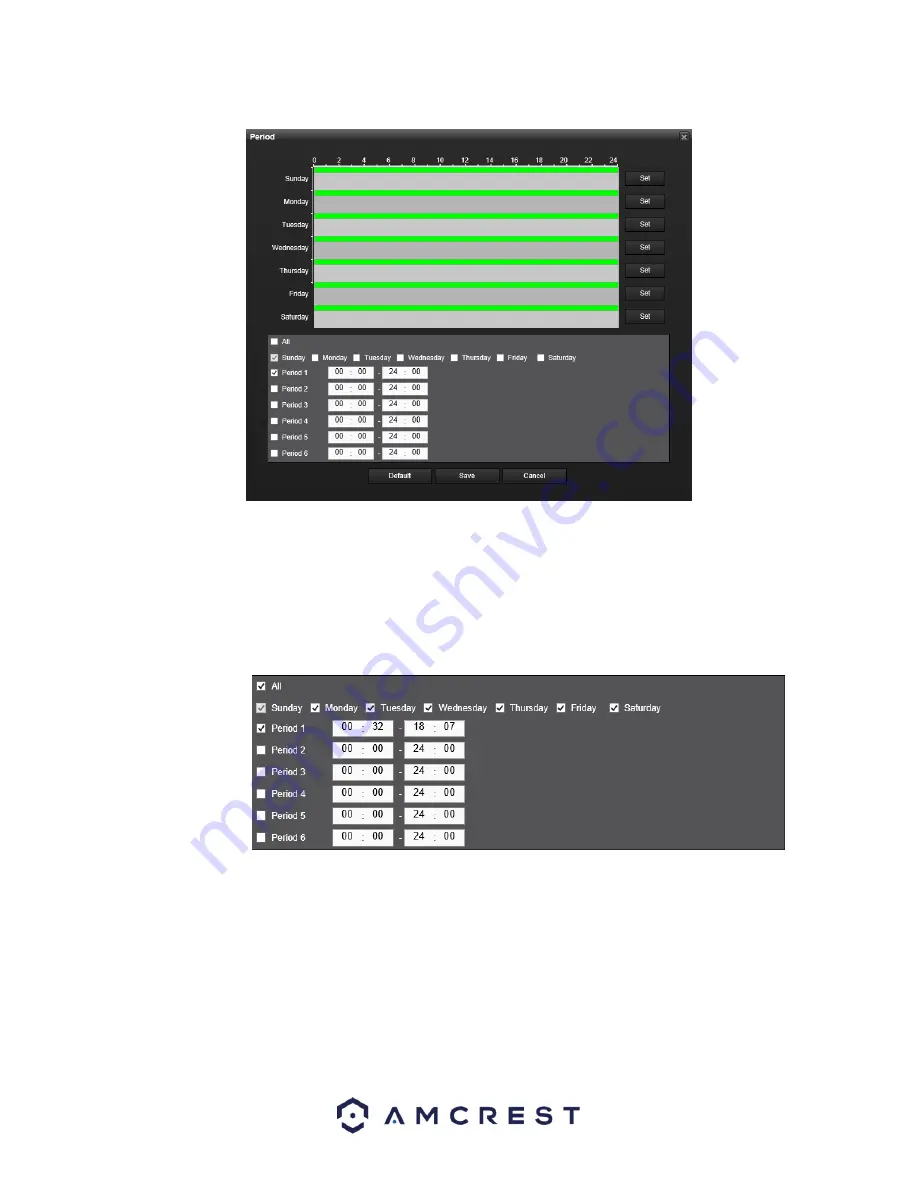
To specify time zones in greater detail for each day, click the Setup button to the left of the time bar,
and the Time Period setup screen will appear. The screenshot below shows the Time Period settings
screen:
o
The system allows for the configuration of up to 6 different time periods. Click the checkbox to the left
of the time period to enable that time period. Click the text next to each period to edit the time
period. To copy time periods, click the checkboxes next to the days of
the week that you’d like to
copy the settings to. Once finished on this screen, click Save to return to the time period settings
screen.
•
CAM Anti-Dither:
This field allows the user to set the anti-dither time. The values in this field can range from
5 to 600 seconds. This time value controls how long the alarm signal lasts. Based on motion detection, a
buzzer can go off, a tour can begin, PTZ can be activated, a snapshot can be taken, or a channel can begin
recording.
o
For example, if the anti-dither time is set to 10 seconds, each alarm may last 10 seconds if the local
alarm is activated. During the process, if the system detects another local alarm signal at the fifth


