Page 13
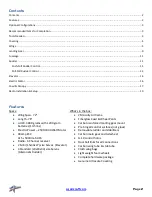
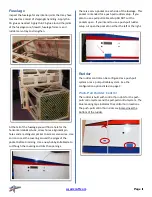
Connect the servo to a receiver and power supply. Turn
on your transmitter. Set trim and sub trim to zero. Install
a servo arm on the servo about perpendicular to the
servo’s side. Use the transmitter’s sub trim to make it
exactly perpendicular to the side of the servo.
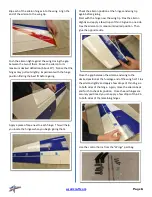
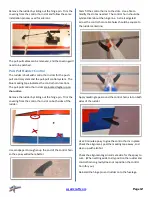
Install the rudder servo into the fuselage and pre-drill for
servo mounting screws using a 1/16” drill. Install the
servo with the wood screws that came with your servos.
Remove the screws and servo. (Do not force the screws
into the carbon fiber. The screws may snap. Drill a larger
pilot hole if needed.) Apply a drop of thin CA glue into
each mounting screw hole. This will harden the wood
around the screws and provide a more secure
installation. (Allow the CA glue to dry before reinstalling
the servo.)
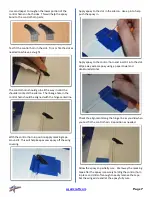
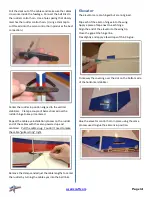
Tread the brass cable eyes about half way into the ball
links.
Start the cable assembly at the servo end inside the
fuselage. Thread on 2 crush sleeves and the brass cable
eye. (If you want to cover the connection with heat
shrink tube thread it on the wire first.)
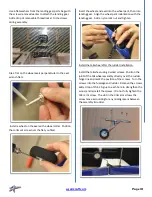
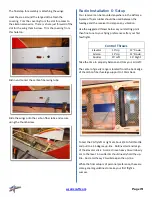
Loop around the cable eye and go back through a crush
sleeve.
Loop around the crush sleeve and back through the
sleeve again. Slide the second sleeve over the tail.
Adjust the loops and crimp the sleeves with the non-
serrated surface of standard plyers.
Содержание 2M AJ Acuity
Страница 1: ...2M AJ Acuity Assembly Instructions ...

