5. Appendix
AirLive OD-2060HD User’s Manual
84
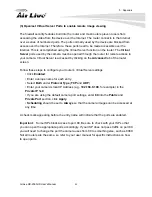
(3) Open/set Virtual Server Ports to enable remote image viewing
The firewall security features built into the router and most routers prevent users from
accessing the video from the device over the Internet. The router connects to the Internet
over a series of numbered ports. The ports normally used by the device are blocked from
access over the Internet. Therefore, these ports need to be made accessible over the
Internet. This is accomplished using the Virtual Server function on the router. The
Virtual
Server
ports used by the camera must be opened through the router for remote access to
your camera. Virtual Server is accessed by clicking on the
Advanced
tab of the router
screen.
Follow these steps to configure your router’s Virtual Server settings
• Click
Enabled
.
• Enter a unique name for each entry.
• Select
Both
under
Protocol Type
(
TCP
and
UDP
)
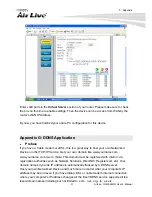
• Enter your camera’s local IP Address (e.g.,
192.168.0.100
, for example) in the
Private IP
field.
• If you are using the default camera port settings, enter
80
into the
Public
and
Private
Port
section, click
Apply
.
•
Scheduling
should be set to
Always
so that the camera images can be accessed at
any time.
A check mark appearing before the entry name will indicate that the ports are enabled.
Important
: Some ISPs block access to port 80. Be sure to check with your ISP so that
you can open the appropriate ports accordingly. If your ISP does not pass traffic on port 80,
you will need to change the port the camera uses from 80 to something else, such as 8080.
Not all routers are the same, so refer to your user manual for specific instructions on how
to open ports.
Содержание OD-2060HD
Страница 41: ...4 Administrating the Device 35 AirLive OD 2060HD User s Manual ...
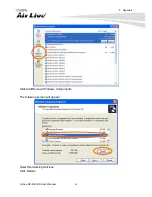
Страница 94: ...5 Appendix AirLive OD 2060HD User s Manual 88 Click these two options ...
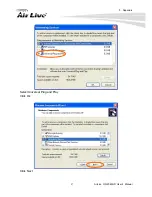
Страница 103: ...5 Appendix 97 AirLive OD 2060HD User s Manual Select Universal Plug and Play Click Ok Click Next ...
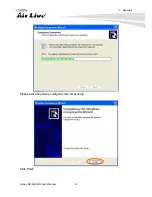
Страница 104: ...5 Appendix AirLive OD 2060HD User s Manual 98 Please wait while Setup configures the components Click Finish ...


