SureScan System User Guide
33
Changing Slide Scan Settings
When you select a slide in the slot table of the Scan Control main window, the scan settings for
that slide are shown in the Settings Pane on the right side of the window. See
on page 66. The values displayed are defined in the selected Scan
Protocol for that slide.
There are two ways to change scan settings:
•
Make one-time changes to the scan settings for a slide before it is added to the queue. These
instructions are shown in the following sections.
•
Select a scan protocol or create a new one. See
You can also apply setting changes to multiple slides. For information, see
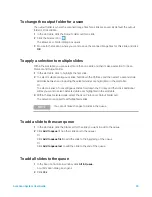
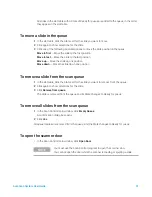
To change settings for a single slide
You can only change the scan settings for a slide when it is not in the scan queue. See
1
In the scan table, select the slide whose settings you want to change.
2
In the Scan Settings area, click the arrow next to the setting you want to change, and then
select the new setting.
When you manually change a setting, the Scan Protocol for the slide changes to
<Customized>.
3
When you are finished changing the settings, click the State cell and add the slide to the queue.
See
“To add a slide to the scan queue”
For more information on all the settings, see
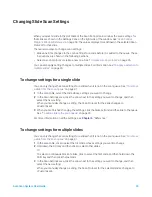
To change settings for multiple slides
You can only change the scan settings for a slide when it is not in the scan queue. See
1
In the scan table, click to select the first slide whose settings you want to change.
2
Hold down the Ctrl key and then click to select other slides.
Or
To select a contiguous block of slides, click to select the first slide, and then hold down the
Shift key and then click the last slide.
3
In the Scan Settings area, click the arrow next to the setting you want to change, and then
select the new setting.
When you manually change a setting, the Scan Protocol for the selected slides changes to
<Customized>.

