16
System positioning and installation
!
All operations must be carried out without connection to main power supply.
Connection to main power supply should only be performed after complete parts
assembly.
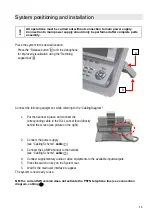
Place the system in the desired location.
Press the “Release button” A to tilt the videophone
for improved visualization using the “Reclining
support bar” B.
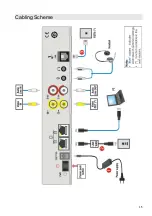
Connect the following equipment, while referring to the “Cabling Diagram”:
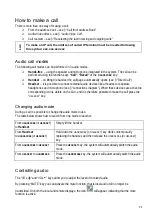
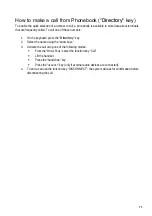
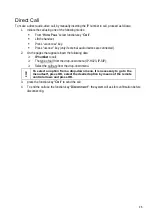
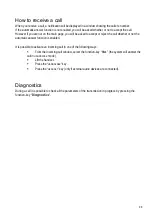
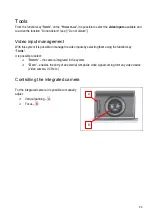
1. Put the handset in place and connect the
corresponding cable to the RJ11 socket found directly
behind the screen (see picture on the right).
2. Connect the power supply
(see “Cabling Scheme”, cable
1
).
3. Connect the LAN/WAN input to the network
(see “Cabling Scheme”, cable
2
).
4. Connect supplementary audio or video equipments to the available inputs/outputs.
5. Press the switch on key on the System rear.
6. Wait for the main user interface to appear.
The system is now ready to use.
NB: the current SW version does not activate the PSTN telephone line (see connection
diagram, cabling
3
).
A
B
Содержание Maia XC
Страница 1: ...Maia XC Use and installation manual ...
Страница 15: ...15 Cabling Scheme ...

