49
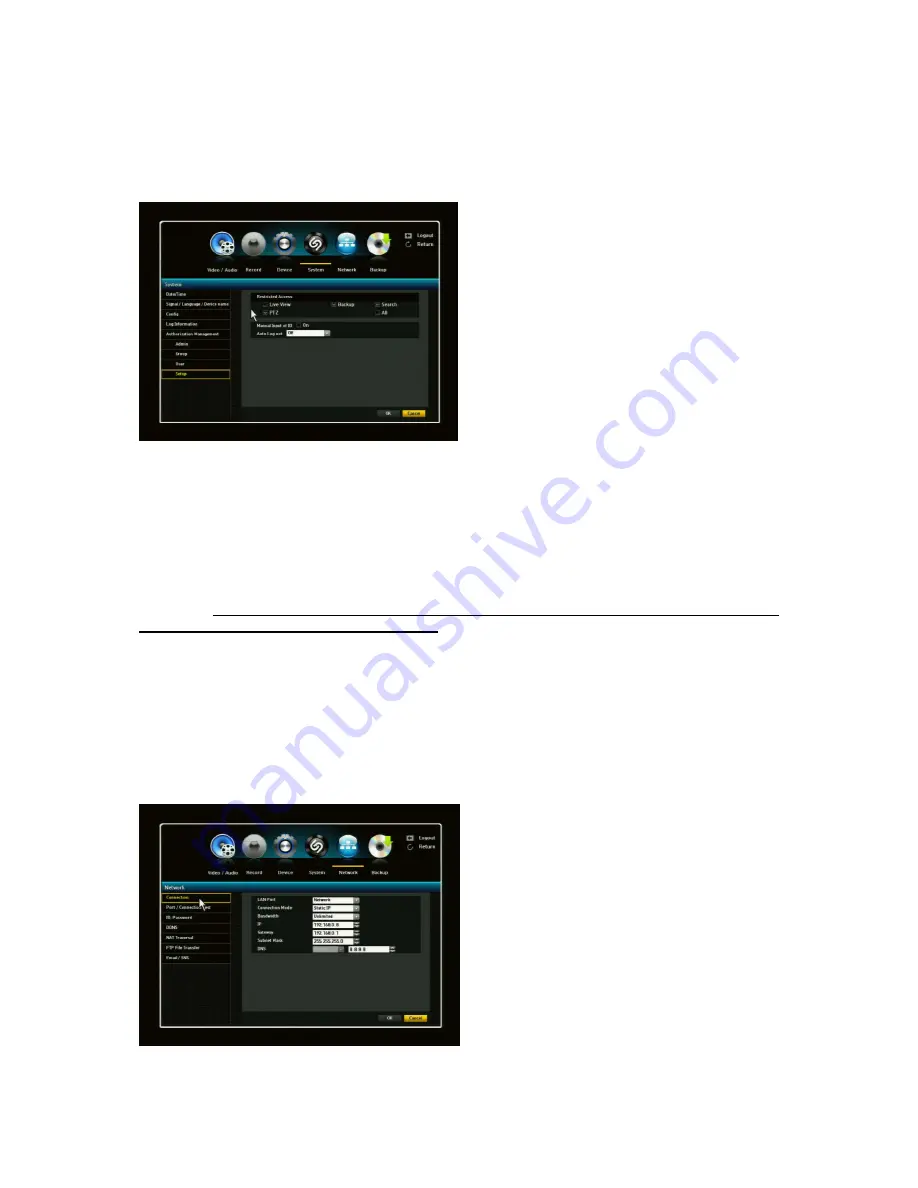
3.4.5.4. Setup
You can set restricted access for all general users. Items with restrictions will require logging in for use.
1) The
“Restricted
Access”, “Manual Input of ID”
and “Auto Log out” setup screen will appear.
2) Click to a desired item and set the value.
A) Restricted Access: All menu items allowed for
a user can be set with the value.
- Checked Box = Restricted/Not Accessible
- Unchecked Box = Accessible
* If box is checked in Restricted Access, a user
can access the item only if the user has
permission in Group Authority setting.
B) Auto Log Out: A user will be automatically
logged out if there is no operation on NVR for over set period of time.
3.5. Network Setup
With this menu, you can setup the network for the NVR. Before starting this setup, the NVR must be
connected to the router by LAN cable. Also, please make sure that the internet is working properly.
Important: If you are not familiar with network configuration and find any difficulties during this
setup, please consult with your IT specialist.
You should complete your network setup to control and manage the NVR through the internet
or local network just like you are next to the NVR.
3.5.1. Connection
LAN Port: There are two selections in LAN port, Network and IP camera.
* You can set the network connection route and protocol.
1) Connection Mode: Sets the network
connection mode.
2) Bandwidth: Sets the maximum data flow to
be transferred (Upload speed). Options will
vary depending on the selected connection
mode.
-
For Static IP, Dynamic IP: Select one from 50
kbps-2Mbps and unlimited.
3) IP, Gateway, Subnet Mask and DNS
-
For Static IP: You can directly input IP
address, Gateway, Subnet Mask and DNS.
-
For Dynamic IP: IP Address, Gateway and
Subnet Mask are set automatically.
-
For ADSL: Bandwidth, DNS, and User IP
and PW should be set properly.
Содержание NVR16P
Страница 66: ...66 ...
Страница 97: ...97 ...
Страница 109: ...109 APPENDIX ...
Страница 125: ...125 8 16 Channel PoE Network Video Recorder ...


