


CHAPTER 5
84
Resizing, Cropping, and Laying Out Images
5
When you’ve added all the source files, click OK
to create the Photomerge composition. The source
files will open automatically, and will be processed.
6
Once the new panorama image appears in the
Photomerge dialog box, you can work with
individual source files and change your view of the
work area. (See “Editing a Photomerge compo-
sition” on page 85.)
If the panorama can’t be automatically
assembled, a message appears on-screen. You
can assemble the composition manually in the
Photomerge dialog box. (See “Editing a Photomerge
composition” on page 85.)
7
If necessary, adjust the settings of your
panorama. (See “Changing Photomerge compo-
sition settings” on page 85.)
8
Click OK to generate the panorama as a new
Photoshop Elements file.
9
Save the panorama image.
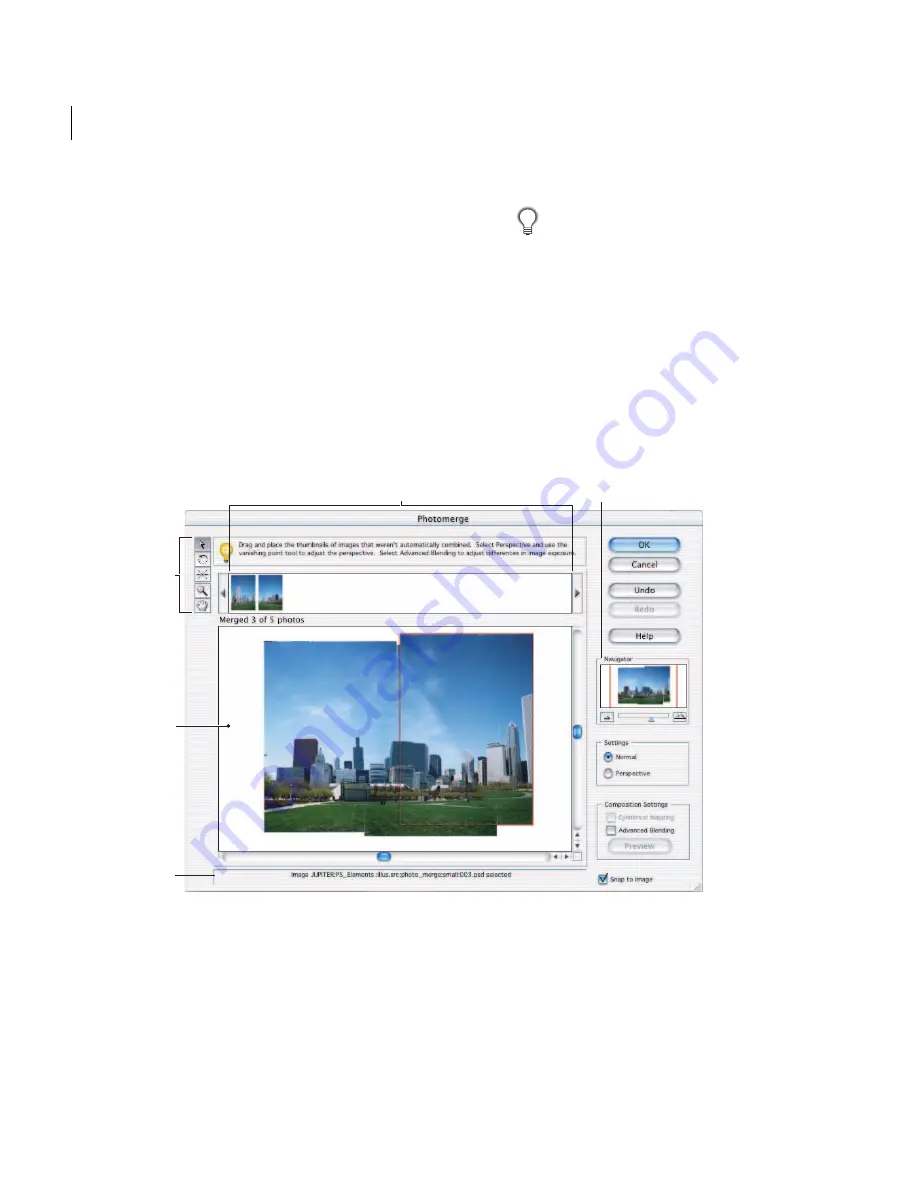
Photomerge dialog box
A.
Lightbox
B.
Navigator
C.
Toolbox
D.
Work area
E.
Status bar
D
C
A
E
B


