


192
CHAPTER 11
Creating Shapes and Text
In the options bar, you can choose the following
options for the shape tools:
•
Click the color swatch to choose the color with
which you want to fill the shape. (See “Using the
Adobe Color Picker” on page 131.)
•
Set tool-specific options. (See “Setting shape
tool options” on page 195.)
To create a rectangle:
1
Select the rectangle tool
.
2
Drag in your image to draw the rectangle.
To create a rounded rectangle:
1
Select the rounded rectangle tool
.
2
Enter a value in the Radius text box in the
options bar to determine the radius of the curved
corners of the rounded rectangle.
3
Drag in your image to draw the rounded
rectangle.
To create an ellipse:
1
Select the ellipse tool
.
2
Drag in your image to draw the ellipse.
To create a polygon:
1
Select the polygon tool
.
2
In the options bar, enter the number of sides in
your polygon in the Sides text box.
3
Drag in your image to draw the polygon.
To create a line:
1
Select the line tool .
2
In the options bar, enter a pixel width for the
line in the Weight text box.
3
Drag in your image to draw the line.
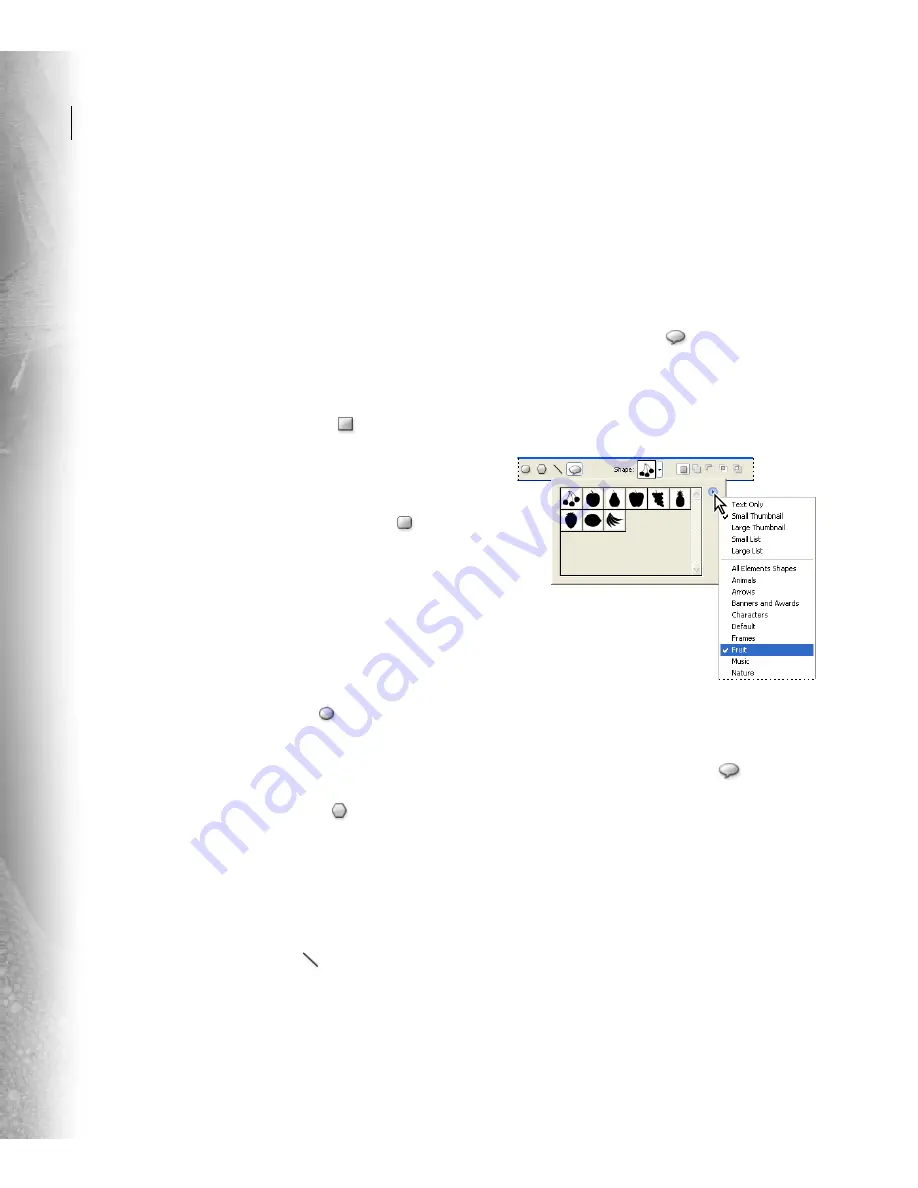
Creating custom shapes
The custom shape tool
provides many
different shape options for you to use in your
images. When you select the custom shape tool,
you can access these shapes from the Shape pop-
up palette in the options bar.
Custom shape tool pop-up menu
To create a custom shape:
1
Select the custom shape tool
.
2
In the options bar, select a shape from the Shape
pop-up palette.
3
Drag in your image to draw the shape.
Creating multiple shapes in one layer
You can create multiple shapes in one layer by
changing a few settings in the options bar.


