Chapter 9. Managing Acronis Secure Zone
9.1 Creating Acronis Secure Zone
Acronis Secure Zone can be located on any local disk. It is created using unallocated space,
if available, or at the expense of free space on a partition. A computer can have only one
secure zone. To create a zone on another disk, you must first delete an existing zone.
When you click
Manage Acronis Secure Zone
in the menu, the program searches for the
zone on all local drives. If a zone is found, the wizard will offer to delete or resize it. If there
is no zone, you’ll be prompted to create it.
1. Before creating the Acronis Secure Zone, you can estimate its size. To do this, start
backup and select all data you are going to backup into the Acronis Secure Zone. At the
Set
Backup Options
step choose
Set the options manually
, then set compression level. You
will see the estimated full backup size. Multiply this by about 1.5 to be able to create
incremental or differential archives.
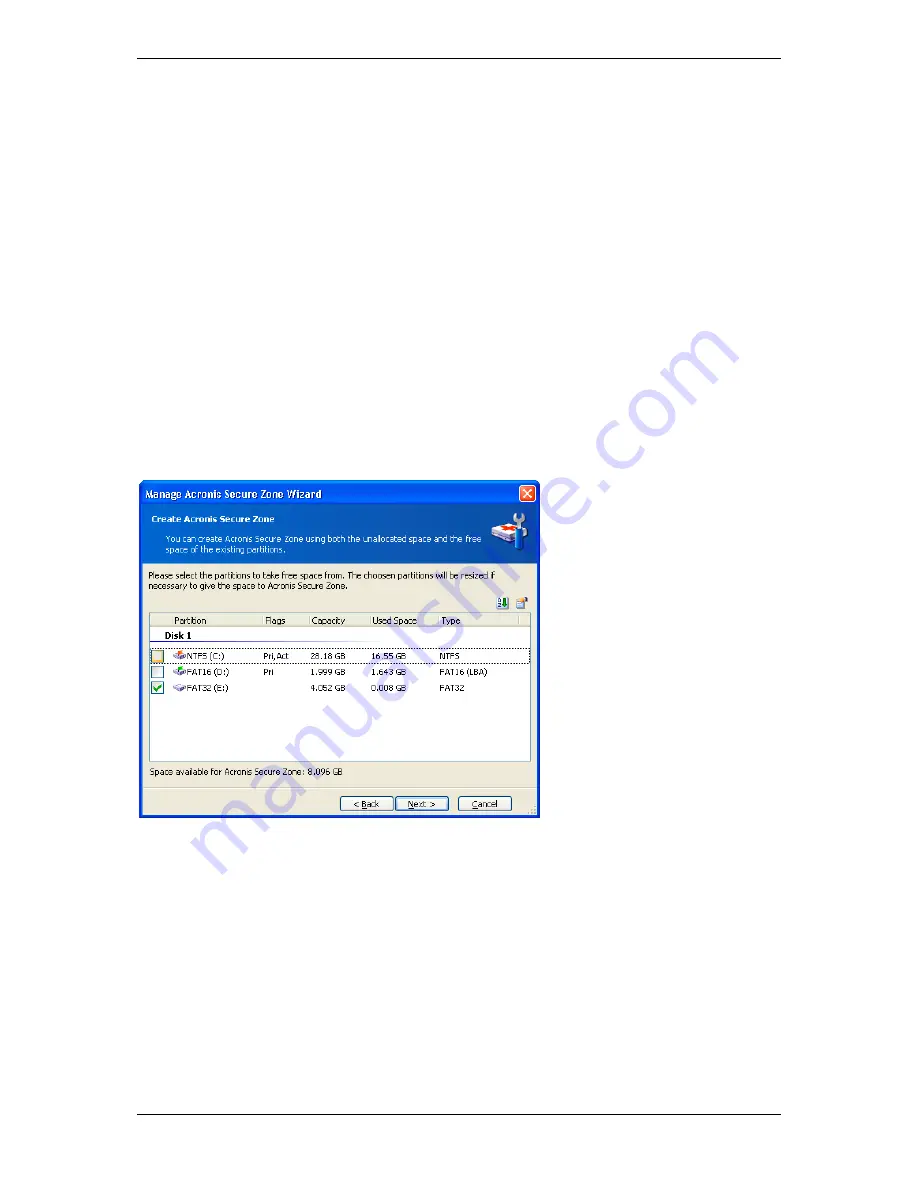
2. If there are several disks installed, select one on which to create Acronis Secure Zone.
3. Select the partitions from which space will be used to create the zone.
4. In the next window, enter the size of the zone or drag the slider.
5. After this, you will be prompted to activate Acronis Recovery Manager, to be able to start
Acronis True Image Workstation at boot time by pressing F11 key. Alternatively, you can
activate this feature later from main program window.
6. Then you will see a list of operations to be performed on partitions (disks).
After you click
Proceed
, Acronis True Image Workstation will start creating the zone.
Progress will be reflected in the special window. If necessary, you can stop zone creation by
clicking
Cancel
. However, the procedure will be canceled only after the current operation is
finished.
Acronis Secure Zone creation might take several minutes or more. Please wait until the
whole procedure is finished.
74 Copyright © Acronis, Inc., 2000-2006


