Copyright © Acronis, Inc., 2000-2010
133
another storage node.
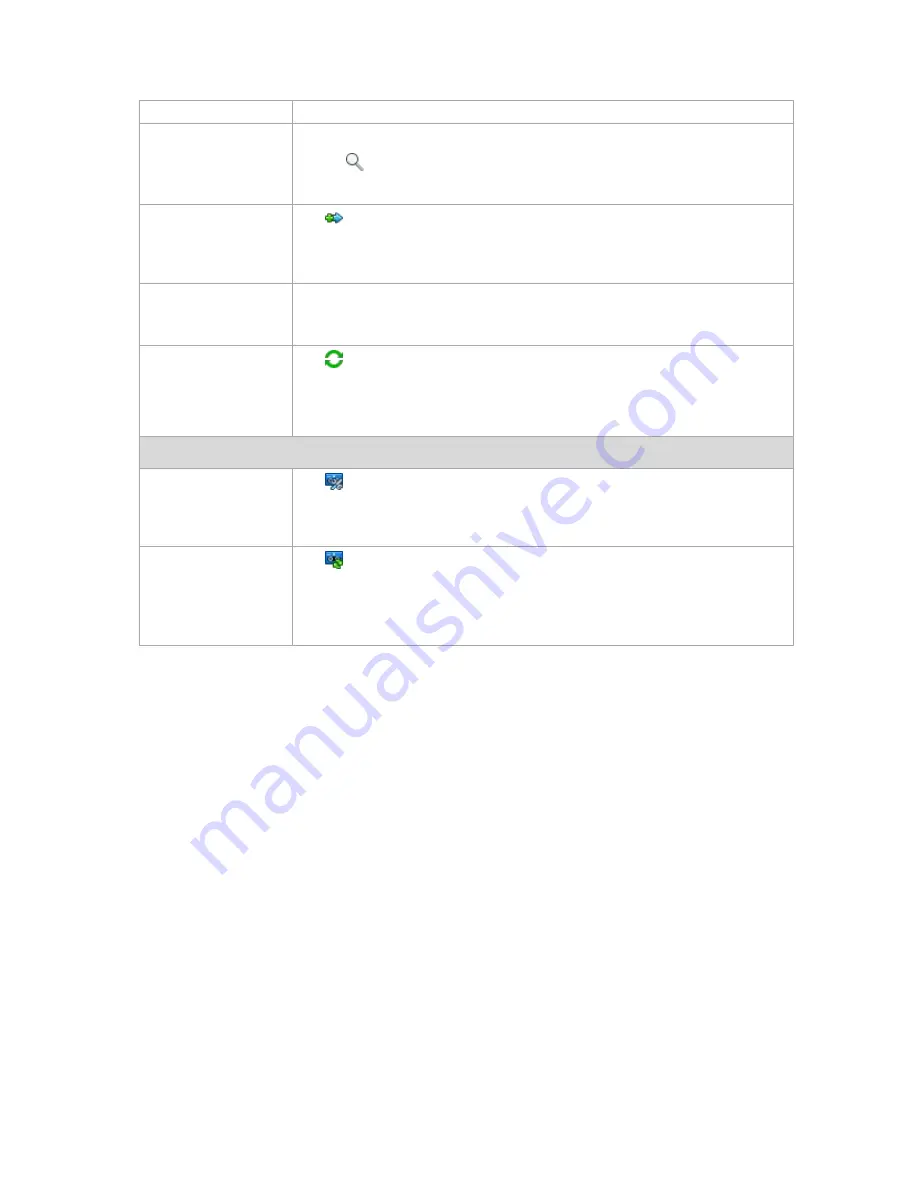
Explore an unmanaged
vault
1.
Select the unmanaged vault.
2.
Click
Explore
.
The vault will be available for examination with the standard file manager program.
Attach the managed
vault that was deleted
without removing its
content.
Click
Attach
.
The procedure of attaching a managed vault to a storage node is described in-depth
in the Attaching a managed vault (p. 136) section.
Change user credentials
for accessing a vault
Click
Change user
.
Changing user credentials is available for vaults that reside on shared storages only.
Refresh a vault's
information
Click
Refresh
.
While you are reviewing the vault content, archives can be added to the vault,
deleted or modified. Click
Refresh
to update the vault information with the most
recent changes.
Actions on a tape library on a managed vault
Define tape labels and
perform inventorying of
a tape library on a
managed vault
Click
Manage tapes
.
In the
Tape Management
window, define labels for tapes and refresh the inventory.
For more details, see the Managing tape library (p. 142) section.
Rescan tapes in a
managed vaults
Click
Rescan tapes
.
Rescan reads information about the content of user-selected tapes and updates the
storage node database.
This operation is described in-depth in the Rescan (p. 143) section.
4.1.2.1
Creating a managed centralized vault
To create a managed centralized vault, perform the following steps
Vault
Name
Specify a unique name for the vault. Creation of two centralized vaults with the same name is
prohibited.
Comments
[Optional] Enter the distinctive description of the vault being created.
Type
Select the
Managed
type.
Storage node
Select the Acronis Backup & Recovery 10 Storage Node that will manage the vault. You may
need to enter access credentials for the storage node.
Path
(p. 134)
Specify where the vault will be created. Managed centralized vaults can reside on a network
share, SAN, NAS, or on a hard drive local to the storage node.
Database path
(p. 134)


