53
8
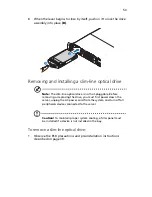
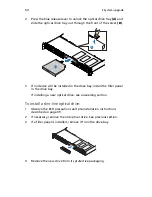
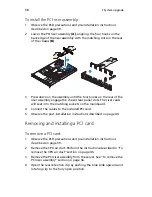
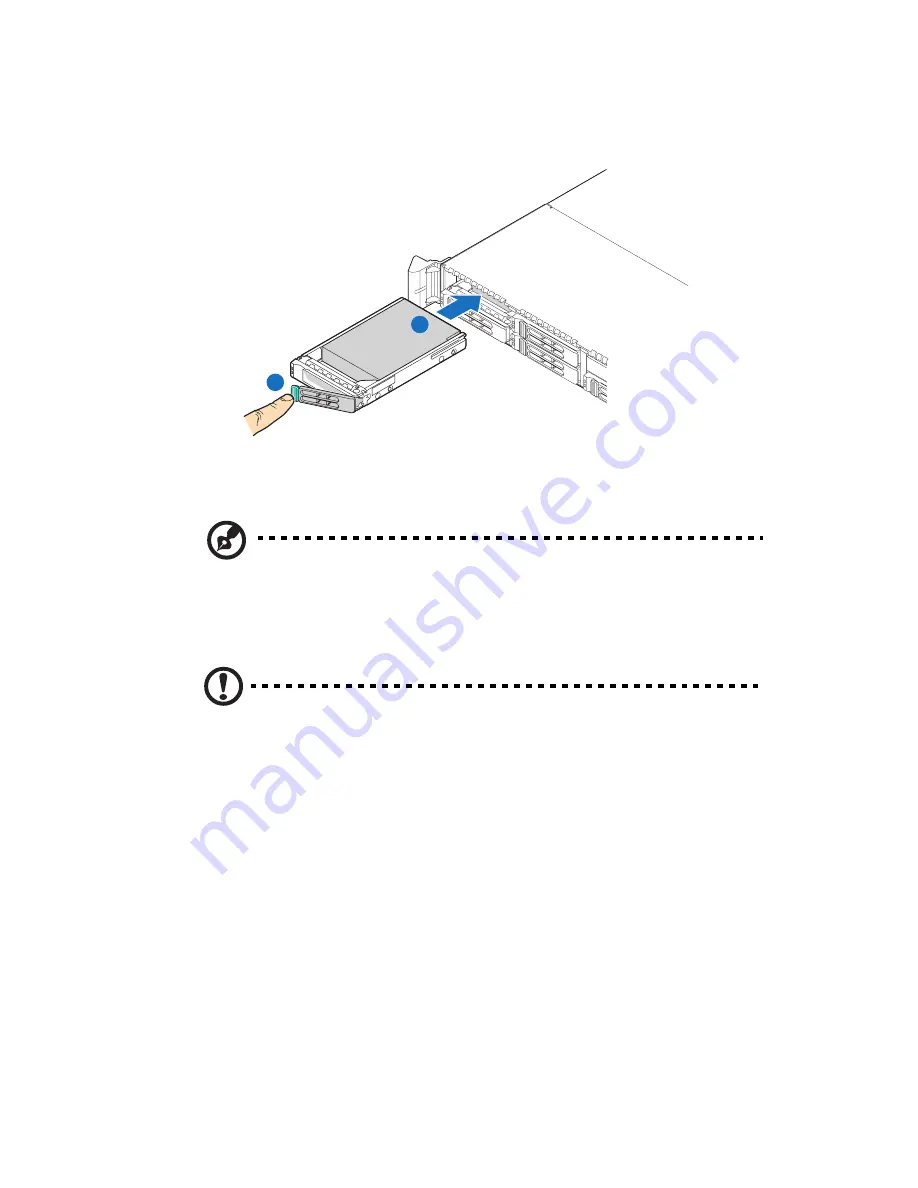
When the lever begins to close by itself, push on it to lock the drive
assembly into place
(B)
.
Removing and installing a slim-line optical drive
Note:
The slim-line optical drive is not hot-pluggable. Before
removing or replacing the drive, you must first power down the
server, unplug the AC power cord from the system, and turn off all
peripherals devices connected to the server.
Caution!
To maintain proper system cooling, a filler panel must
be installed if a device is not installed in the bay.
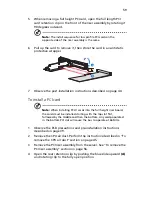
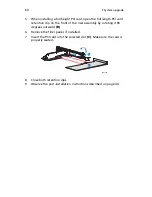
To remove a slim-line optical drive:
1
Observe the ESD precautions and pre-installation instructions
described on page 39.
A
B
Содержание Network Device Altos R520
Страница 1: ...Acer Altos R520 Series User s Guide...
Страница 10: ...x...
Страница 11: ...1 System tour...
Страница 38: ...1 System tour 28...
Страница 39: ...2 System setup...
Страница 47: ...3 System upgrade...
Страница 99: ...4 BIOS setup...
Страница 109: ...99 Processor Information The screen below appears when you select the Processor 1 or 2 Information menu...
Страница 127: ...117 System Information The System Information submenu displays basic information about the server unit...
Страница 132: ...4 BIOS setup 122 Error Manager The Error Manager menu lets you view the system POST errors detected by the system...
Страница 136: ...4 BIOS setup 126...
Страница 137: ...5 Troubleshooting...
Страница 158: ...5 Troubleshooting 148...
Страница 159: ...Appendix A Acer Altos R520 rack installation guide...
Страница 160: ...This appendix shows you how to set up the Acer Altos R520 server in a rack mount configuration...
Страница 168: ...Appendix A Acer Altos R520 rack installation guide 158 6 Fully extend the mounting rails on the rack...
Страница 172: ...Appendix A Acer Altos R520 rack installation guide 162...
Страница 173: ...Appendix B RAID configuration...
Страница 184: ...174...

