24
Chapter 1
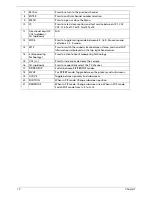
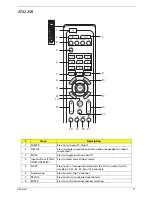
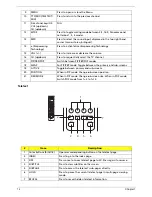
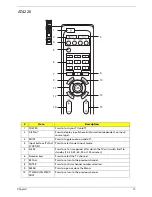
OSD Navigation
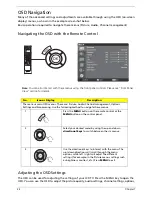
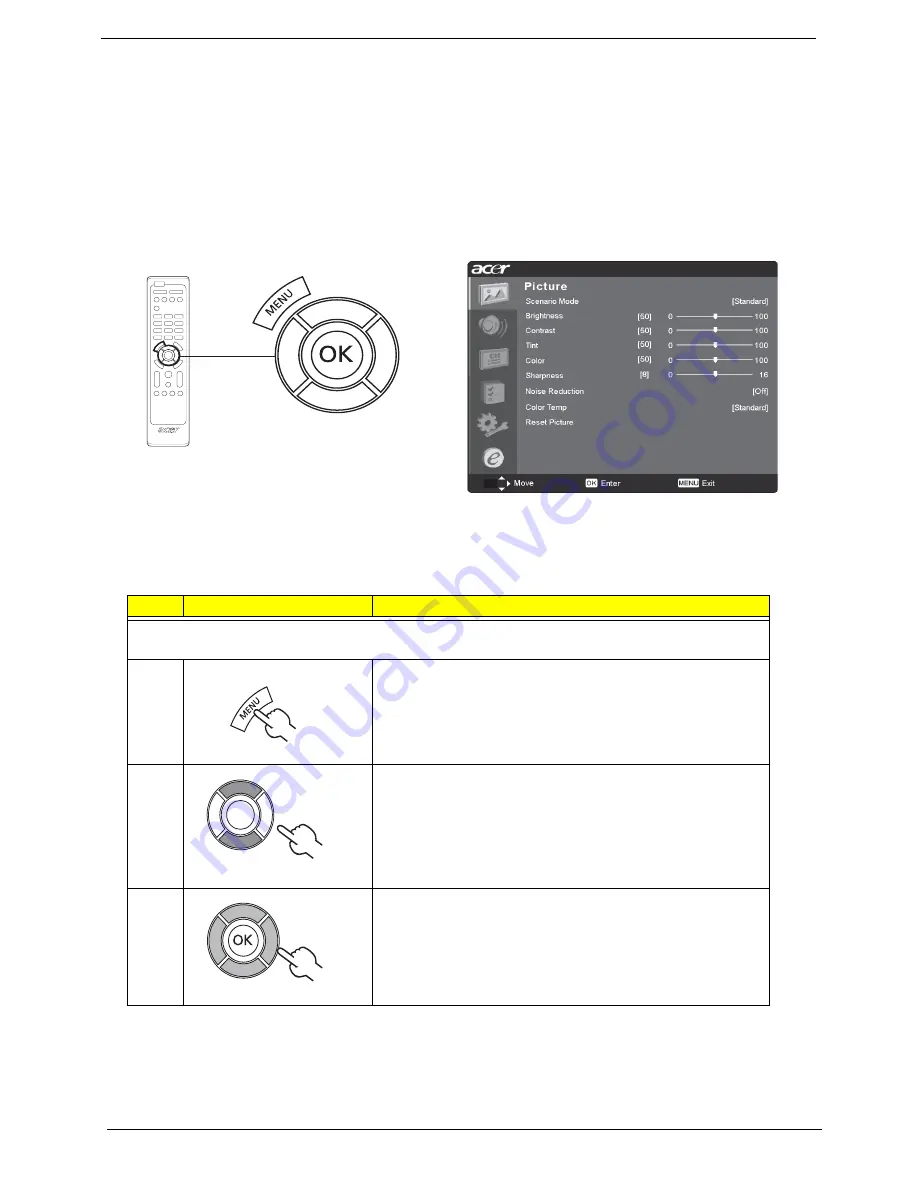
Many of the advanced settings and adjustments are available through using the OSD (on-screen
display) menus, as shown in the example screenshot below.
Basic operations required to navigate these menus (Picture, Audio, Channel management)
Navigating the OSD with the Remote Control
Note:
You can also interact with these menus using the front panel controls. Please see “Front Panel
View” section for details.
Adjusting the OSD Settings
The OSD can be used for adjusting the settings of your LCD TV. Press the MENU key to open the
OSD. You can use the OSD to adjust the picture quality, audio settings, channel settings, options,
No.
Icon or Display
Description
There are six main OSD menus. These are: Picture, Audio, Channel management, Options,
Settings and Empowering. Use the following method to navigate these menus.
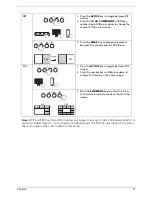
1
Press the
MENU
button on the remote control or the
MENU
button on the control panel.
2
Select your desired menu by using the up and down
directional keys
to switch between the six menus.
3
Use the directional keys to interact with the menu. The
up / down directions will scroll through the menu
options, while left / right will adjust the different
settings (for example, in the Picture menus, settings such
as brightness, contrast, etc.) Press
MENU
to exit.
Содержание AT4220
Страница 10: ...4 Chapter 1 LCD Main Board Block Diagram ...
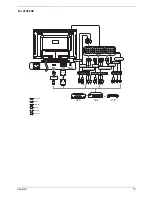
Страница 25: ...Chapter 1 19 For AT4220B Y Yellow Red White Blue Green R W 6 YLGHR 6 ...
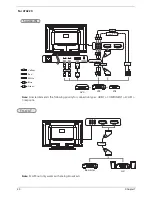
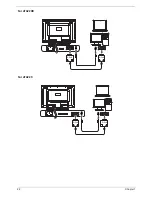
Страница 28: ...22 Chapter 1 For AT4220B For AT4220 ...
Страница 47: ...Chapter 2 41 8 Release all the screws marked in red Then lift the TV back cover as shown ...
Страница 48: ...42 Chapter 2 9 Release all screws securing the PCB holder 10 Then remove the PCB holder as the arrows indicate ...
Страница 56: ...50 Chapter 2 ...

