


10
Chapter 1
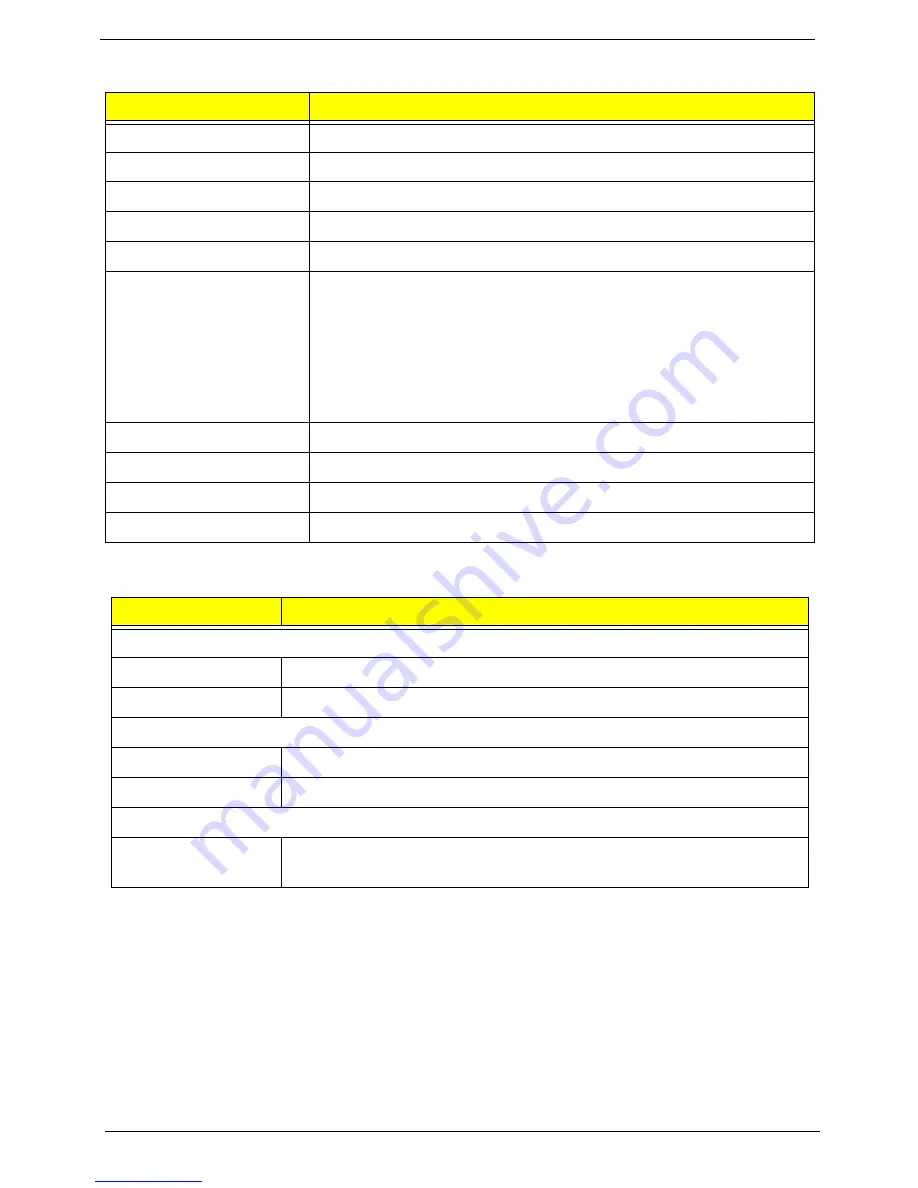
Audio Interface
Environmental Requirements
Item
Specification
Audio controller
Intel PCH Panther Point B75
Audio controller type
REALTEK/ALC662-VD0-GR
Audio channel
codec 5.1
Audio function control
Enable/disable by BIOS Setup
Mono or stereo
Stereo
Compatibility
ALC662-VD meets audio performance and function requirements for the latest
Microsoft Windows Logo Program and Lync specification. It feature three stereo
DACs, two stereo ADCs, and legacy analog input to analog output mixing, to
provide fully integrated audio solutions for multimedia PCs and ultra mobile
devices. Two stereo ADCs and one stereo digital microphone converter are
integrated and can support a microphone array with Acoustic Echo Cancellation
(AEC), Beam Forming (BF), and Noise Suppression (NS) technologies, with
EAX/Direct Sound 3D/I3DL2 compatibility.
Music synthesizer
No
Sampling rate
192kHz (max.)
MPU-401 UART support
No
Microphone/Headphone jack
Supported
Item
Specification
Temperature
Operating
+5°C ~ +35°C
Non-operating
-20 ~ +60°C (Storage package)
Humidity
Operating
15% to 80% RH
Non-operating
10% to 90% RH
Vibration
Operating (unpacked)
5 ~ 500 Hz: 2.20g RMS random, 10 minutes per axis in all 3 axes.
5 ~500 Hz: 1.09g RMS random, 1 hour per axis in all 3 axes.
Содержание Aspire M3985
Страница 1: ...Acer Aspire M3985 Service Guide PRINTED IN TAIWAN ...
Страница 13: ...Chapter 1 5 Block Diagram ...
Страница 41: ...Chapter 3 33 Removing the VGA Card 1 Remove the screw that secures the card to the chassis 2 Open PCI Latch ...
Страница 46: ...38 Chapter 3 4 Pull the Pull the optical drive out of the chassis ...
Страница 50: ...42 Chapter 3 7 Lift the power supply module out of the chassis ...
Страница 53: ...Chapter 3 45 3 Lift the board from the chassis 4 Punching in IO Shield then you can remove it ...
Страница 68: ...60 Chapter 3 Reinstalling the Power Supply 1 Install the power supply to chassis 2 Fix the four screws ...
Страница 69: ...Chapter 3 61 Reinstalling the I O Shielding 1 Install I O shielding into chassis ...
Страница 77: ...Chapter 3 69 3 Close the PCI Latch fix the three screws ...
Страница 80: ...72 Chapter 3 3 Connect the cooler cable to the main board connector ...
Страница 82: ...74 Chapter 3 3 Make sure the front bezel retention tabs are securedly fastened to the chassis interior ...
Страница 83: ...Chapter 3 75 Reinstalling the Side Panel 1 Install the side Panel then fix two screws ...
Страница 91: ...83 Chapter 4 b Select Proceed with flash update and Press Enter ...