Chapter 2
41
Exit
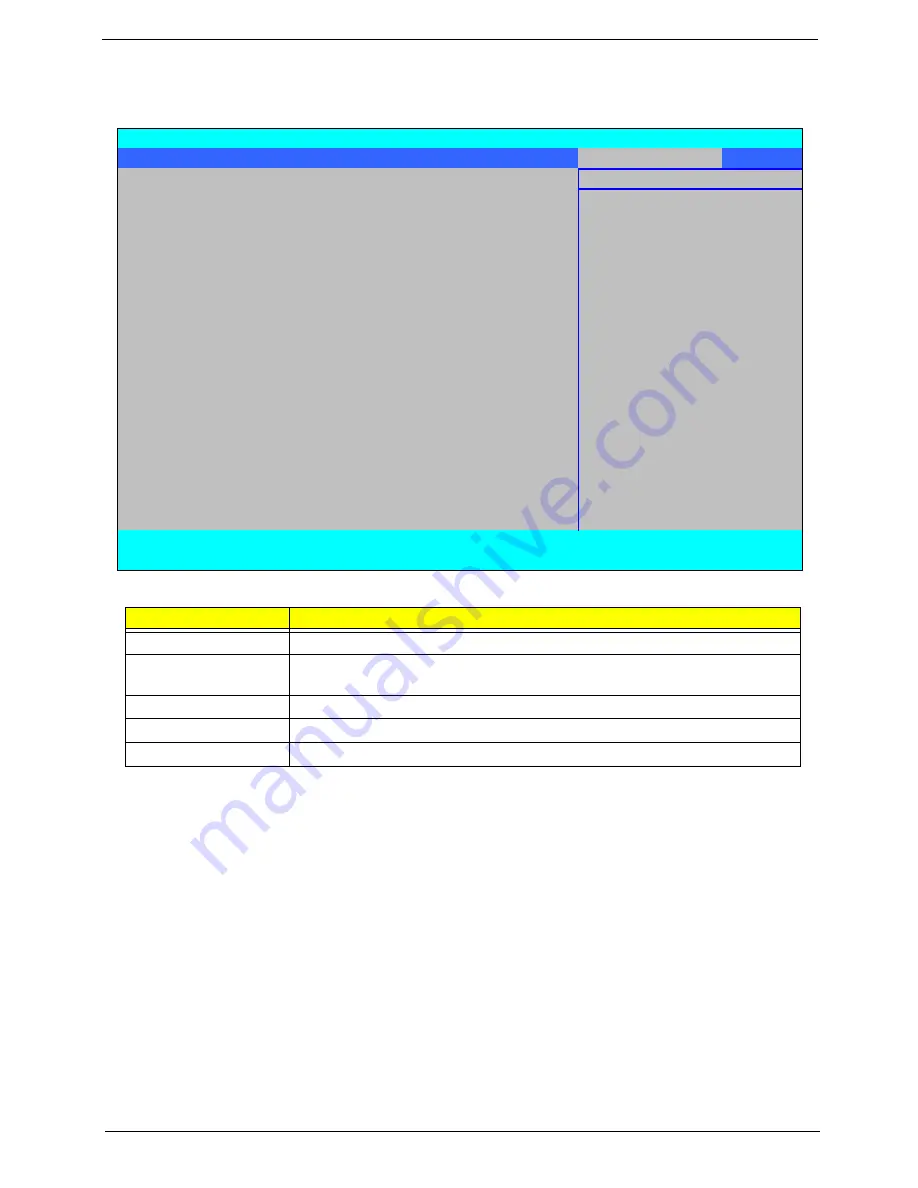
The Exit screen allows you to save or discard any changes you made and quit the BIOS Utility.
The table below describes the parameters in this screen.
Parameter
Description
Exit Saving Changes
Exit System Setup and save your changes to CMOS.
Exit Discarding
Changes
Exit utility without saving setup data to CMOS.
Load Setup Default
Load default values for all SETUP item.
Discard Changes
Load previous values from CMOS for all SETUP items.
Save Changes
Save Setup Data to CMOS.
InsydeH20 Setup Utility
Rev 3.5
Information Main Advanced
Security
Power
Boot
Exit
Item Specific Help
Exit Saving Changes
Exit Discarding Changes
Exit System Setup and
Load Setup Defaults
save your changes to
Discard Changes
CMOS.
Save Changes
F1
Help
↑↓
Select Item
F5/F6
Change Values
F9
Setup Default
ESC
Exit
←→
Select Menu
Enter
Select
X
SubMenu
F10
Save and Exit
Содержание Aspire 4935 Series
Страница 6: ...VI ...
Страница 10: ...X Table of Contents ...
Страница 60: ...50 Chapter 2 ...
Страница 68: ...58 Chapter 3 7 Carefully open the HDD Cover ...
Страница 95: ...Chapter 3 85 5 Remove the TouchPad Bracket from the Upper Base ...
Страница 100: ...90 Chapter 3 5 Lift the USB Board clear of the casing ...
Страница 104: ...94 Chapter 3 7 Lift the mainboard right side first to remove from the base ...
Страница 112: ...102 Chapter 3 4 Lift the bezel away from the panel ...
Страница 115: ...Chapter 3 105 4 Lift the LCD Panel out of the casing as shown ...
Страница 122: ...112 Chapter 3 13 Ensure that the securing pin is properly located ...
Страница 130: ...120 Chapter 3 7 Insert the cable through the casing to the top side as shown ...
Страница 143: ...Chapter 3 133 13 Replace the two securing screws ...
Страница 148: ...138 Chapter 3 4 Turn the computer over and replace the six securing screws as shown ...
Страница 154: ...144 Chapter 3 ...
Страница 193: ...Chapter 6 183 ...
Страница 232: ...Appendix A 222 ...
Страница 240: ...230 Appendix C ...


