6
Chapter 1
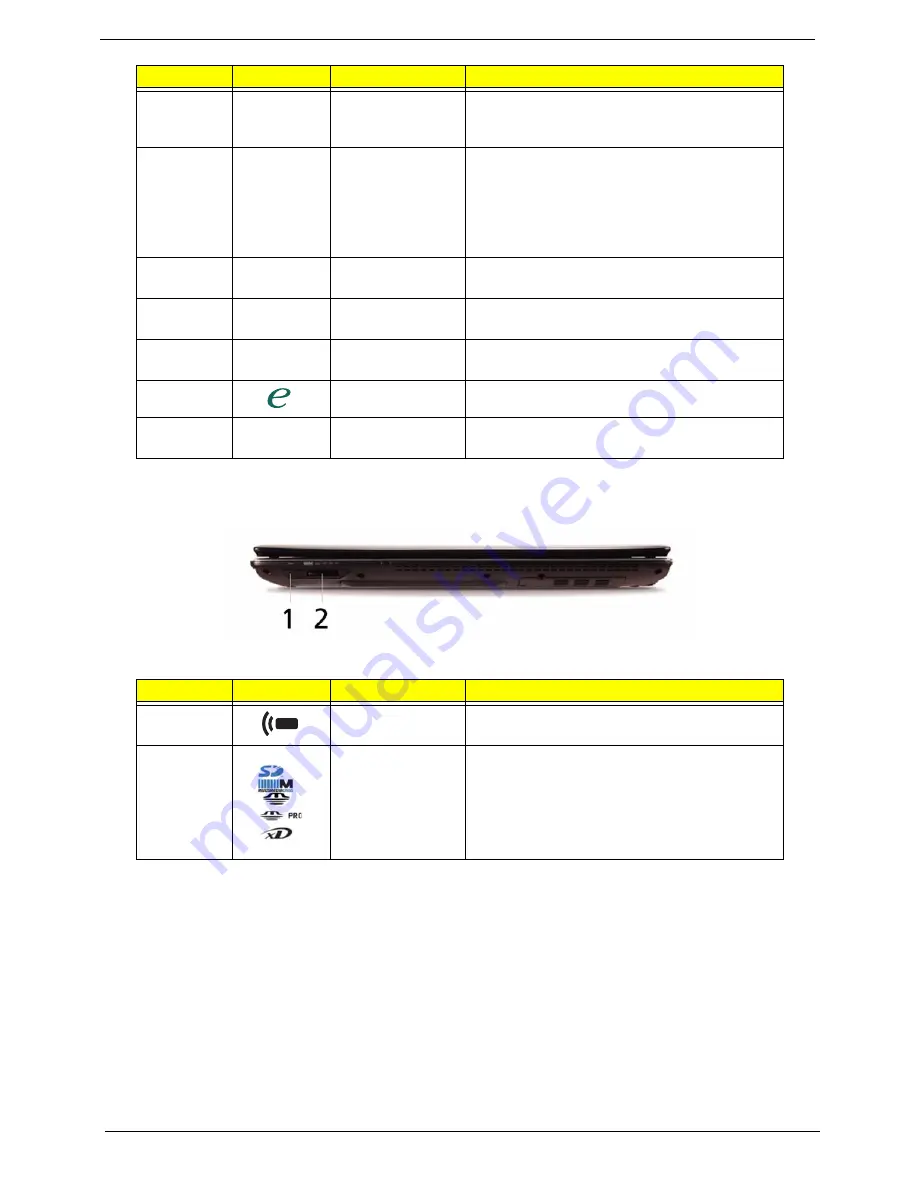
Closed Front View
8
Status indicators
Light-Emitting Diodes (LEDs) that light up to
show the status of the computer's functions
and components.
9
Click buttons
(left, center* and
right)
The left and right buttons function like the left
and right mouse buttons.
*The center button serves as Acer Bio-
Protection fingerprint reader supporting Acer
FingerNav 4-way control function (only for
certain models).
10
Touchpad
Touch-sensitive pointing device which functions
like a computer mouse.
11
Acer MediaTouch
keys
For use with Acer Arcade and other media
playing programs.
12
Easy-launch
buttons
Buttons for launching frequently used
programs.
13
Empowering key
Launch Acer Empowering Technology.
14
Speakers
Left and right speakers deliver stereo audio
output.
No.
Icon
Item
Description
1
CIR receiver
Receives signals from a remote control
2
6-in-1 card
reader
Accepts Secure Digital (SD), MultiMediaCard
(MMC), MultiMediaCardplus™(MMCplus™),
Memory Stick (MS), Memory Stick Pro (MS
PRO), and xD-Picture Card.
Note:
Push to remove/install the card. Only
one card can operate at any given time.
No.
Icon
Item
Description
Содержание Aspire 4935 Series
Страница 6: ...VI ...
Страница 10: ...X Table of Contents ...
Страница 60: ...50 Chapter 2 ...
Страница 68: ...58 Chapter 3 7 Carefully open the HDD Cover ...
Страница 95: ...Chapter 3 85 5 Remove the TouchPad Bracket from the Upper Base ...
Страница 100: ...90 Chapter 3 5 Lift the USB Board clear of the casing ...
Страница 104: ...94 Chapter 3 7 Lift the mainboard right side first to remove from the base ...
Страница 112: ...102 Chapter 3 4 Lift the bezel away from the panel ...
Страница 115: ...Chapter 3 105 4 Lift the LCD Panel out of the casing as shown ...
Страница 122: ...112 Chapter 3 13 Ensure that the securing pin is properly located ...
Страница 130: ...120 Chapter 3 7 Insert the cable through the casing to the top side as shown ...
Страница 143: ...Chapter 3 133 13 Replace the two securing screws ...
Страница 148: ...138 Chapter 3 4 Turn the computer over and replace the six securing screws as shown ...
Страница 154: ...144 Chapter 3 ...
Страница 193: ...Chapter 6 183 ...
Страница 232: ...Appendix A 222 ...
Страница 240: ...230 Appendix C ...


