5-282
41-001343-01 Rev 02, Release 3.2.2
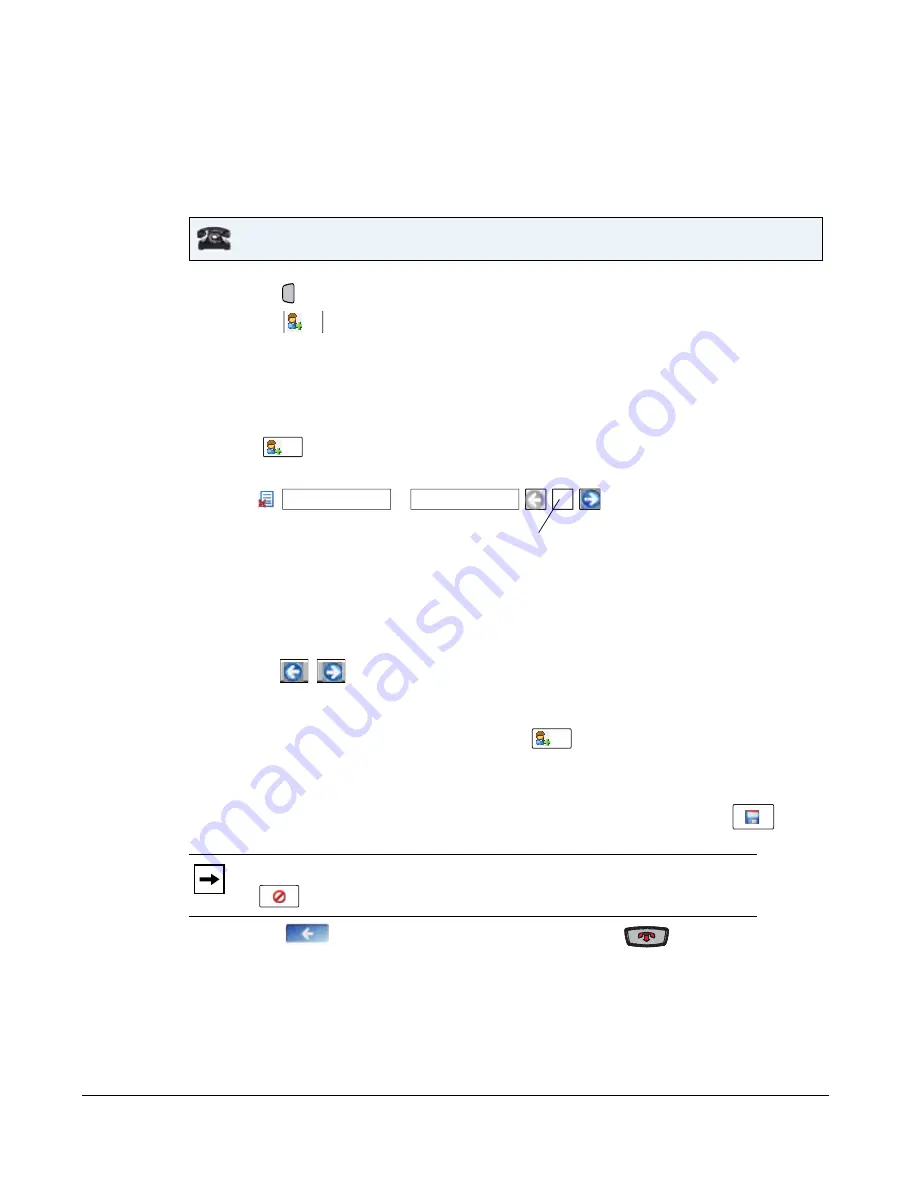
Adding an Entry
You can add up to 200 entries to your Directory. You can also store up to a maximum of 7
numbers associated with a single entry (i.e., office number, cell number, home number, etc.).
You can apply custom labels to each entry as required.
1.
Press the
Key. The Directory screen displays.
2.
Press the
button.
3.
Press the “
First
” field, enter the first name of the person you are adding to your directory,
and then press
<Enter>
. Use the pop-up keyboard to enter the first name.
4.
Press the “
Last
” field, enter the last name of the person you are adding to your directory, and
then press
<Enter>
.
5.
Press .
The
“
Number
/
Label
” fields display on the screen.
6.
Press the “
Number
” field, enter the number of the person you are adding to your directory,
and then press
<Enter>
. Use the pop-up keyboard to enter the number.
7.
Press the “
Label
” field, enter the label associated with the number you just entered, and then
press
<Enter>
. Use the pop-up keyboard to enter the label.
8.
Press the
buttons to select a Line (1 through 9) to associate with the phone
number and label you are entering. When you dial the current number from the directory, the
outgoing call uses the line number you assigned it.
9.
To add another phone number and label, press
An additional “
Number
/
Label
”
field displays.
10.
Repeat steps
6
through
8
to enter another number and label for the current entry.
11.
When you are finished entering
Numbers/Labels
for the current entry, press
. This
saves the entry and all associated numbers/labels to the Directory on your phone.
12.
Press the
to return to the previous menu or press the
to return to the idle
screen.
IP Phone UI
Note:
When adding an entry, number, and label to the Directory, you can press the
any time to cancel the entry. It is not saved to the Directory.
Directory
Add
Add
1
This number indicates the Line number.
Number
Label
Line
Add
Содержание 6700i Series
Страница 3: ......
Страница 17: ......
Страница 67: ......
Страница 163: ......
Страница 275: ...4 112 41 001343 01 Rev 02 Release 3 2 2 Aastra Web UI Step Action 1 Click on Advanced Settings Configuration Server ...
Страница 334: ...41 001343 01 Rev 02 Release 3 2 2 5 57 ...
Страница 681: ......
Страница 687: ......
Страница 981: ......
Страница 985: ......
Страница 1016: ...41 001343 01 Rev 02 Release 3 2 2 C 31 prgkey5 line 1 list prgkey6 type list prgkey7 type list ...
Страница 1017: ......
Страница 1021: ......
Страница 1025: ......
Страница 1037: ......


