NEED HELP? GIVE US A CALL
833.232.9711
NEED HELP? GIVE US A CALL
833.232.9711
1
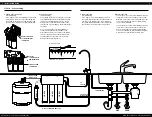
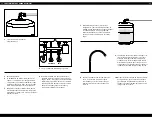
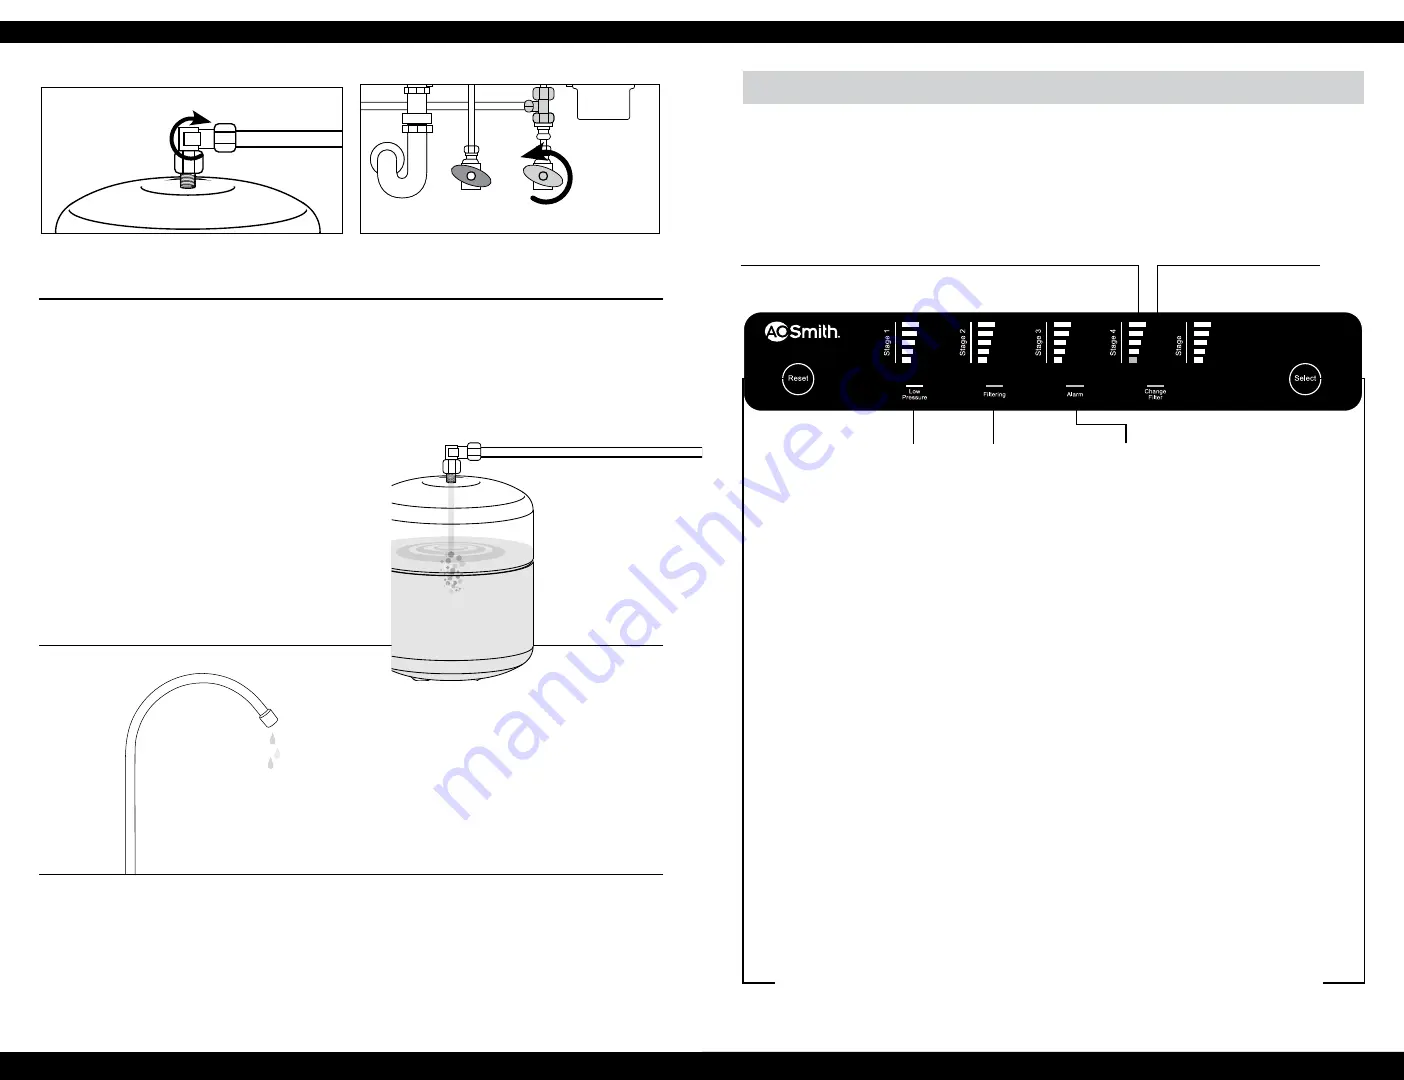
Turn off the storage tank valve.
INITIAL STARTUP PROCEDURE
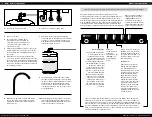
DIGITAL SENSOR OVERVIEW
10
11
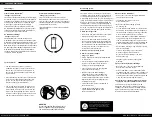
There is a “Select” and “Reset” button on the sides of the display. These buttons are
used to reset the filter life of a cartridge after replacement. To reset the cartridge life,
press the “Select” button until the icon for the desired filter cartridge blinks. When you
have selected the correct cartridge, press and hold the “Reset” button for three seconds.
If you are changing more than one filter cartridge, you can then select the next filter
stage to reset. The system will return to normal operation 10-seconds after you finish
pressing the “Select” or “Reset” buttons.
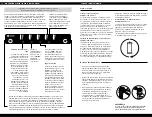
The display shows the status of the system and allows you to reset the filter life monitors when you replace filter cartridges.
When the
system is actively
producing
treated water, the
“Filtering” icon
will be blinking
green.
Water supply issue
The RO System monitors the
water supply to ensure it
is adequate for the system
to prevent the pump from
damage that could occur. If
the water supply is adequate,
the “Low Pressure” icon will
be lit green. If the water
supply is turned off or if the
supply pressure becomes too
low, the “Low Pressure” icon
will turn red and an alarm
buzzer will beep seven times,
pause for two seconds, and
repeat. The control will turn
off the pump when there is
not enough water pressure.
The alarm will clear once the
water pressure has returned
to normal.
If there is a system failure, the
“Alarm” icon will be lit in red.
An alarm will be triggered if
the system detects a leak, or if
the water supply is off or not
flowing normally
System Leak
If the leak monitor detects
leaking water, the “Alarm”
icon will light up and the
buzzer will repeat a 2-second
long chime. The system will
automatically turn off the
pump and stop operating
until the alarm is cleared.
Unplug the system, find the
source of the leak, and repair
it. After the leak has been
fixed, dry off the sensor and
re-power the system. The
system will perform a brief
startup flush and then return
to normal service.
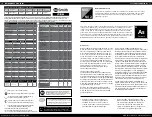
The system monitors the life of the five filter elements and
notifies you when they need to be replaced. The display shows the
remaining life for each of the five filter stages. As a filter’s life is
used, the number of bars on the monitor will be reduced. When the
monitor display is reduced to one orange bar, that filter will need
replacement. If the monitor display shows one red bar, then that
filter is overdue for replacement and its effectiveness will be reduced.
When any filter cartridge is
ready for replacement, the
“Change Filter” icon will
be lit. If a filter cartridge is
overdue for replacement, the
system will sound eight short
beeps every time you use it.
2
Turn on the cold-water supply valve.
3
Power on the unit.
4
The unit will run a startup flush –
it will flush the system to drain for
18 seconds, pause to purify water for
15 seconds, then flush to drain for
another 18 seconds.
5
After the startup flush is complete, turn on the
dispensing faucet for ten minutes to allow the
system to flush any remaining particles out of
the system.
6
While the unit is operating, check all of the
connections for leaks or drips. If there are leaks,
turn off the cold water supply valve and unplug
the system (keep the faucet on). Fix the leaking
connection, then turn off the faucet and repeat
this startup procedure.
7
After ten minutes, turn off the dispensing
faucet and turn on the tank valve. The unit will
continue to operate, filling the storage tank
with purified water. While the unit is running,
recheck the system for leaks.
9
When the storage tank is empty, turn off the
faucet. The system will continue operating,
refilling the tank. Repeat Step 8 to flush the
tank once more.
10
After flushing the storage tank a second time,
turn off the dispensing faucet and allow the
unit to refill the tank with purified water. The
system is now ready for regular use.
8
The unit will turn off when the tank is filled.
The tank should be flushed two times at initial
startup to remove residual impurities. To empty
the tank, turn on the dispensing faucet and
allow the tank to drain until empty. The tank
is empty when the flow rate out of the faucet
drops significantly.
5
HOT
COLD


