16
Telnet Control / Serial & Telnet Commands
Telnet Control
Before attempting to use Telnet control, please ensure that both the unit and the PC/laptop are connected to the same active network.
To Access Telnet
Windows 7
Click
START
, type
“cmd”
in the search field and press
ENTER.
Windows 10
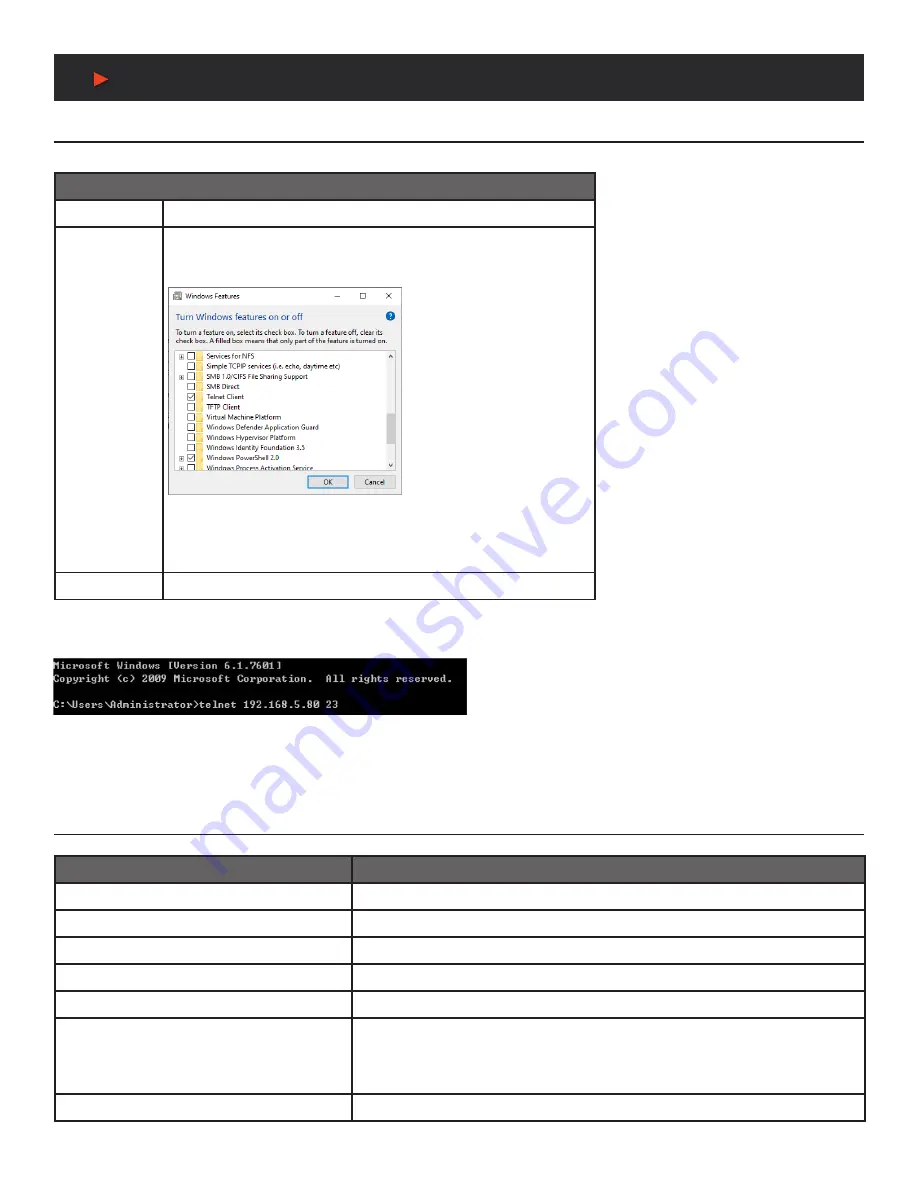
1. Open
“Control Panel”.
2. Open
“Programs and Features”.
3. Select the
“Turn Windows features on or off ”
option.
4. Check the
“Telnet Client”
box.
5. Click
“OK“
. A box will appear that says
“Windows Features”
and
“Searching for required files”
. When complete, the Telnet client
should be installed in Windows.
In Mac OS X
Click
Go > Applications > Utilities > Terminal.
Once in the Command Line Interface (CLI) type
“telnet”
followed by the IP address of the unit (and the port number if it is non-standard)
and then hit
“Enter”
. This will connect us to the unit we wish to control.
Note 1:
If the IP address is changed then the IP address required for Telnet access will also change accordingly.
Note 2:
The default IP address is 192.168.1.50.
Serial & Telnet Commands
COMMAND
DESCRIPTION AND PARAMETERS
HELP
Show the full command list.
?
Show the full command list.
SET FACTORY DEFAULT
Reset the unit to the factory defaults.
SET FACTORY IPCONFIG DEFAULT
Reset the unit’s network settings to the factory defaults.
SET FACTORY OUT ROUTE DEFAULT
Reset the unit’s routing to the factory defaults.
SET POWER N1
Turn the unit on or place it into stand-by mode.
Available values for
N1
:
1 [Power on]
2 [Stand-by mode]
GET POWER
Show the unit’s current power state.
A
NEU
VIDEO
Содержание ANI-28UHDDA
Страница 25: ...23 CONNECTION DIAGRAM A NEUVIDEO...
Страница 31: ...THIS PAGE IS INTENTIONALLY LEFT BLANK...


