


TMA Grand Master 2.6 – User’s Guide
5 Using TMA Grand Master
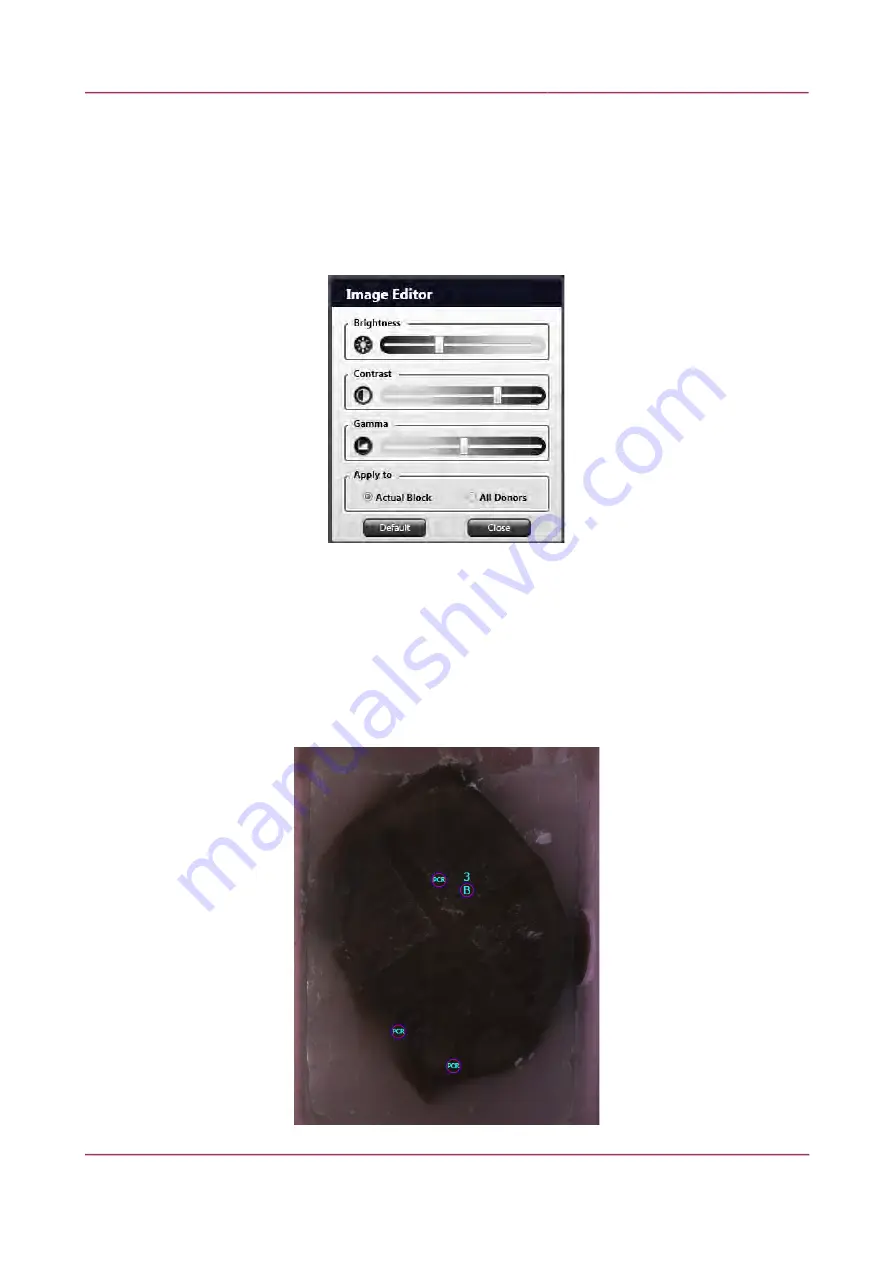
NOTE:
Image Editor
function is inactive if a block is marked as cleaning block. If there is no such
button visible on the block image, go to
Settings
/
Images
panel, then activate
Image Editor
function.
For more information, see section
5.11 Settings
.
Modify settings by dragging sliders to the required direction to create an image that is acceptable for
you. Select the scope of applicable settings at the
Apply to
section –
Actual Block
or
All Donors
. Click
Close
to save settings and exit Image Editor, or click
Default
to restore default values.
Before starting the transfer process follow the sequence of steps below to place markers on donor
blocks from which locations cores will be extracted to the selected recipient positions or PCR tubes.
1. To place a PCR marker on a donor block, first click the PCR button on the left side of the
donor image. The number of PCR markers placed on the donor block appears in the PCR
button. Place TMA markers on desired areas of the donor block where tissue core should be
extracted from, then click the position of the recipient block layout that you want to fill with
the core sample.
December 9, 2016 – Rev. 1
3DHISTECH Ltd.
50(92)


