Checking the LEDs
19
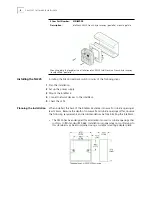
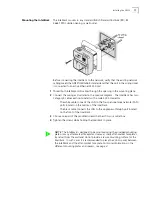
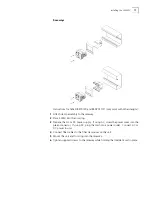
Instructions for Ackerman GB2 or GB3 floor boxes.
1
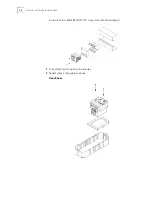
Mount 225FX into supplied floor box trim ring using supplied screws
2
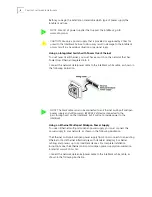
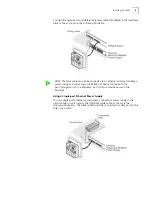
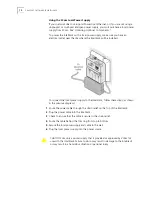
Prepare the AC or DC power supply. If using AC, screw the power wires into the
green connector. If using DC, plug the cord into a power outlet. Connect AC or
DC power to unit.
3
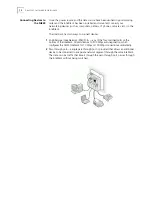
Connect fiber cables to the fiber transceiver on the unit.
4
Snap into floor box.
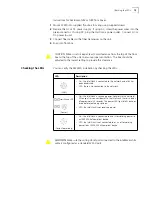
Checking the LEDs
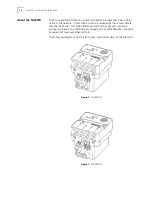
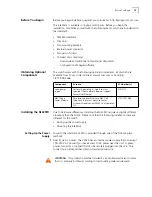
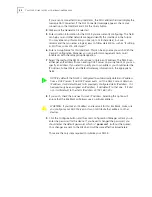
You can verify the NJ225FX installation by checking the LEDs.
CAUTION: Make sure to keep at least 5mm clearance from the top of the floor
box to the top of the unit to ensure proper ventilation. The box should be
adjusted to the lowest setting to provide this clearance.
LED
Description
(LAN)
n
On—the IntelliJack is connected to the network and a link has
been established.
n
Off—there is no connection to the network.
(Power)
n
On—the IntelliJack is receiving power (local or via the network).
When you first connect power to the IntelliJack, there is a delay
of approximately 5 seconds. The power LED light blinks once or
twice before remaining solid on.
n
Off—the IntelliJack is not receiving power.
(Power-forwarding)
n
On—the IntelliJack is connected to and is forwarding power to
an IEEE 802.3af-compliant device.
n
Off—the IntelliJack is not connected to or is not forwarding
power to an IEEE 802.3af-compliant device.
CAUTION
: Make sure the wiring closet port connected to the IntelliJack white
cable is configured as a standard MDI-X port.
Содержание IntelliJack NJ225FX
Страница 24: ...20 CHAPTER 1 INSTALLING THE INTELLIJACK ...
Страница 34: ...30 CHAPTER 2 INSTALLING THE CONFIGURATION MANAGERS ...
Страница 38: ...34 CHAPTER 3 USING THE LOCAL CONFIGURATION MANAGER ...
Страница 74: ...70 CHAPTER 4 USING THE CENTRAL CONFIGURATION MANAGER ...
Страница 86: ...Product Specifications 82 ...


