Set Time
The Datemme page, offers options to:-
•
Set Manually - Input time/date manually.
•
Synchronize with Computer Time - Put a tick in the button and then click OK, to apply the local
computer date/time to the camera.
•
Synchronize with NTP Server - Put a tick in the button and then click OK, to apply the local server
date/time to the camera.
•
NTP Server- Input the address of the time server required, default is pool.ntp.org.
Time Zone
•
Time Zone - Select time zone to suit the location of the camera/
system.
OK
to program the new setings into the Predator.
Cancel
to abandon the changes to the settings.
3
6 Network
•
!;"
360 Vi,ion Technology Limitttl
)(
+
-
0
X
CD
l'J
192.168.1.157
/IOgon.html41l
Camera - Cannot be edited, shows label/name given to the
camera.
(See Video - Camera - page
6
0
)
Ill\ lD -
Network
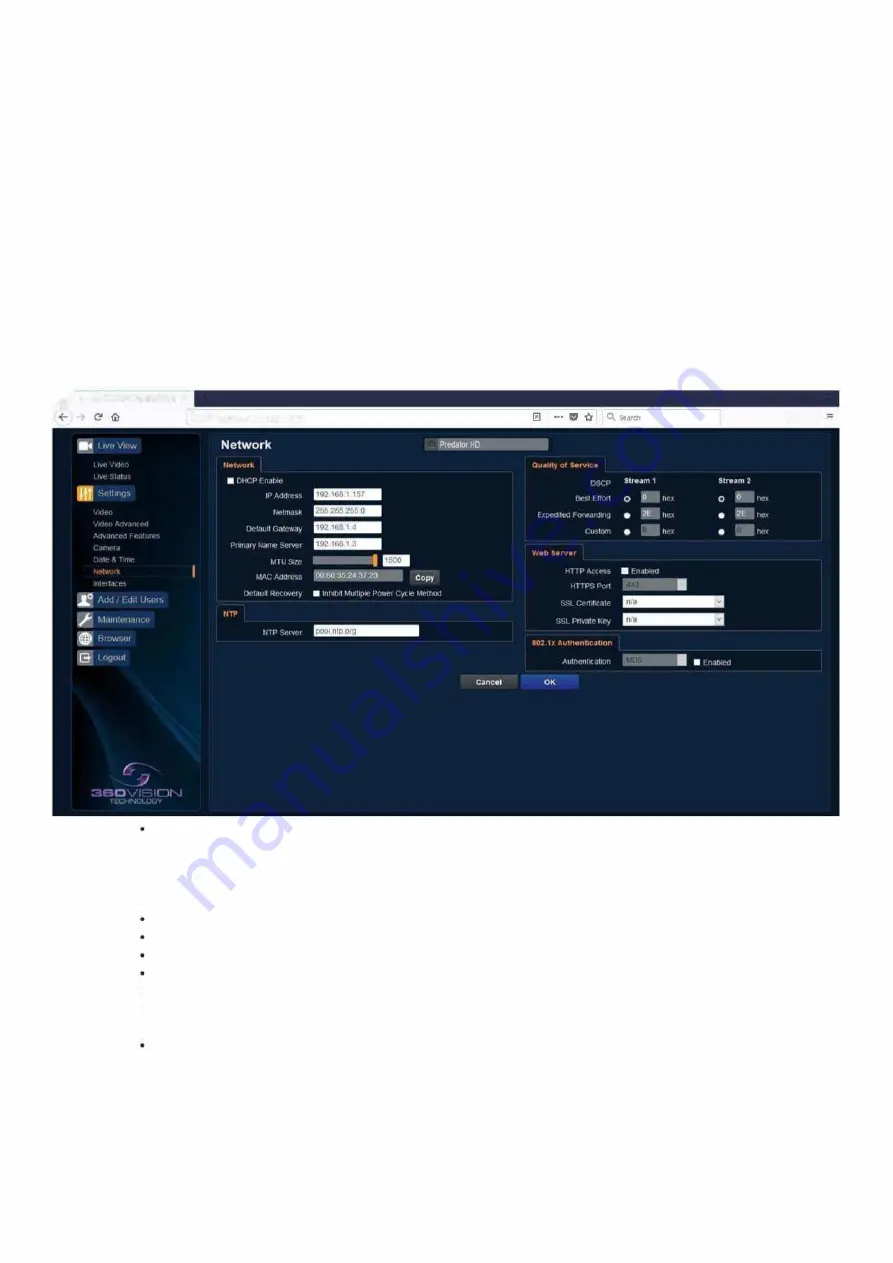
The Network tab, offers options to:-
NTP
DHCP Enable - Allows the camera to be set using a dynamic IP address.
IP Address - Input a static IP address, if DHCP is not used.
Netmask - Input the Network Subnet Mask.
Default Gateway - Input the Network Gateway.
•
Primary Name Server - Input the Domain name server, if required.
•
MTU Size - Option to change the MTU size, default is 1500 bytes.
•
MAC Address - Displays the camera MAC address.
Default Recovery - Inhibit Multiple Power Cycle Method, disables the Network recovery process
(See Network Settings Recovery - page
74
)
•
NTP Server - Input the address of the time server required, default is pool.ntp.org.
Predator Radar Installation Manual_V8_1_28_00
Page 68 of 78
© 360 Vision Technology Ltd


