44
SYSTEM START-UP PROCEDURE
Stat Name
Do not exceed 20 characters and spaces on each entry.
2. Click on
Send Settings
after typing each address to place it into
memory. Confirm that entries have been saved by clicking on the
REVIEW Tab; then return to the SYSTEMS Tab to continue labeling the
thermostats.
Occupied Mode
2. Select
Global
, and click on
Send Settings
. This is to ensure all
devices are in the Occupied mode for the start-up. Settings can be
changed to
Unoccupied Mode
after initial setup.
Lock/Unlock Thermostats
2. Select the thermostat from the drop down menu, or click on
Global
to
lock or unlock all thermostats, or select an individual address to lock.
3. Click on
Send Settings
to place this information into memory.
4. Confirm your lock/unlock request by returning to the REVIEW Tab.
If the thermostat number you selected is Red, it is locked; if it is
Black, it is unlocked. If necessary, repeat the sequence above to
change to desired setting.
Reviewing System Data
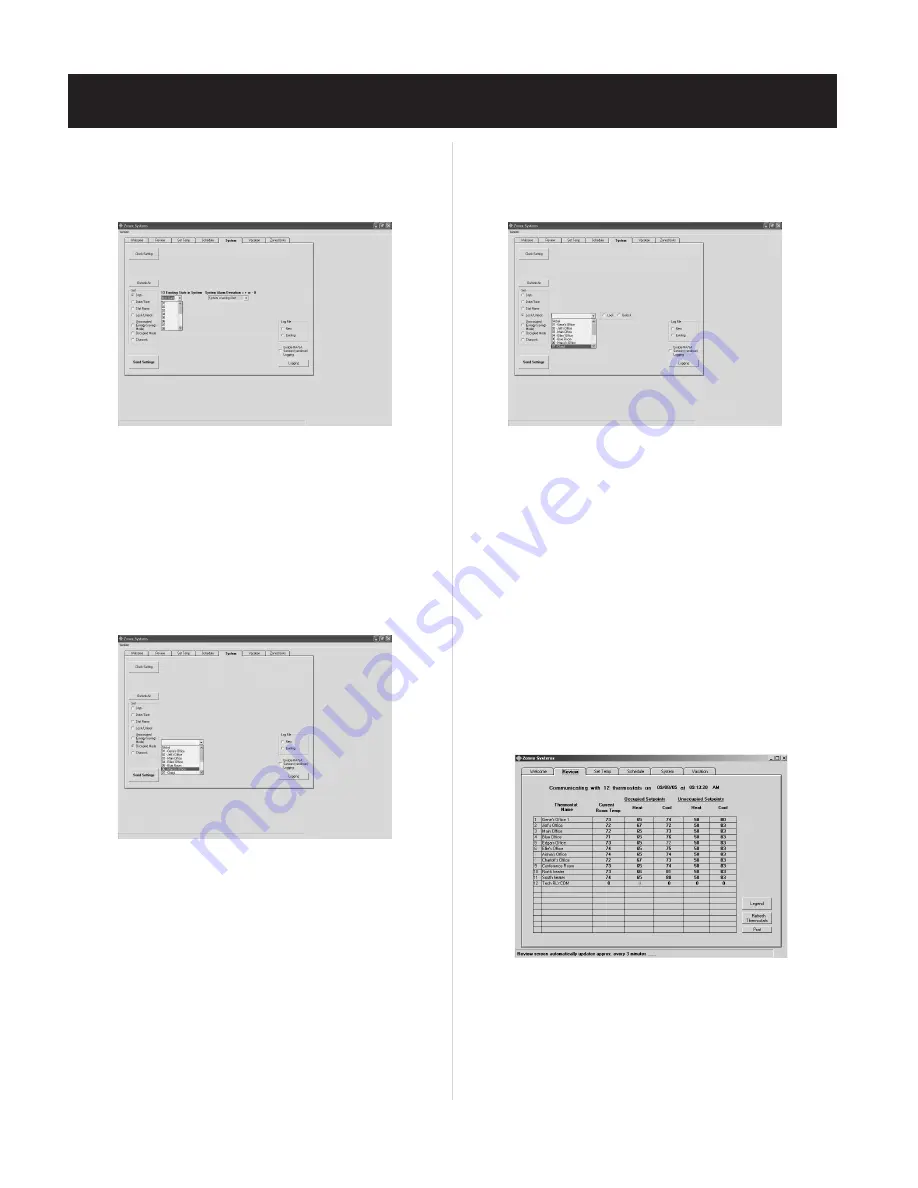
1. Click on the REVIEW Tab at the top of the screen to verify thermostat,
2. Verify that the number of thermostats and devices (upper left of
screen) is correct.
3. Occupied and Unoccupied temperature setpoints and space
temperatures should be displayed in each address row.
NOTE: If any thermostat shows “0” across the row, there is no com-
munication with that thermostat. See the Troubleshooting section.
1. Click on the
Stat Name
radio button
(see Fig. 13)
, and enter
1. Click on the
Lock/Unlock
radio button to lock or unlock thermostats
Fig. 13
1. Click on the
Occupied Mode
radio button
(see Fig. 14)
.
Fig. 14
individual thermostat names,
RLYCOM
, or
SENDCOM
designations.
remotely
(see Fig. 15)
.
Fig. 15
SYSTEM Screen –
Fig. 16
RLYCOM
and
SENDCOM
communications
(see Fig. 16).
Fig. 16


