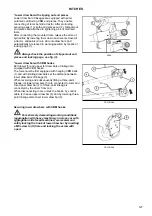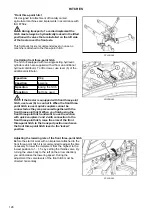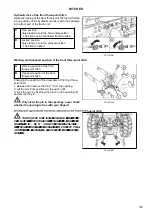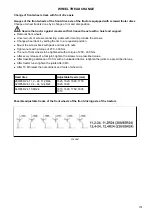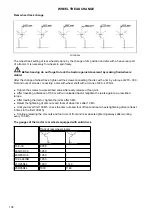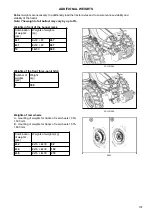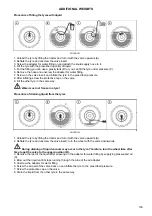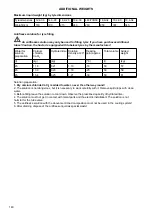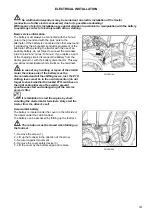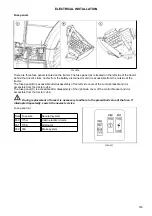
No additional interventions may be carried out on electric installation of the tractor
(connection of other electric consumers) due to its possible overloading!
With repairs of electric installation pay special attention in particular to manipulation with the battery
to avoid any contact of electrolyte with skin or clothing.
Basic service information
Accumulator battery
The battery must always be connected with the 'minus'
pole to the ground and with the 'plus' pole to the
alternator. If the battery is connected the other way round,
it will destroy the whole semiconductor equipment of the
alternator. When starting the tractor with the use of an
auxiliary battery, do not forget to connect the terminals
'plus' to 'plus' and 'minus' to 'minus'. If you replace a part
of the charging circuit, disconnect the battery from the
tractor ground (-) with the battery disconnector. This way
you will avoid accidental short-circuits on the terminals.
In case of any handling or repair of the started
motor the minus pole of the battery must be
disconnected and all the shifting levers, incl. the PTO
shifting lever, must be in the neutral position (do not
forget to check whether the locked PTO switches on
the right cabin pillar are off as well to prevent
spontaneous start and endangering of the service
person's life).
It is forbidden to start the engine by short-
circuiting the starter motor terminals. Only start the
tractor from the driver's seat!
PGPPN106
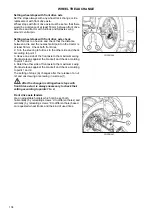
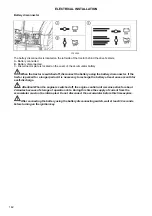
The battery is located under the cover on the left side of
the tractor under the cabin footrest.
The battery can be accessed by folding up the footrest.
The cab door must be closed when folding up
the footrest.
1 - Remove the screw (1)
2 - Lift up the footrest in the direction of the arrow
3 - Secure it against movement
4 - Remove the cover safety device (3)
5 - Lift the cover by the bottom edge and remove
PGPPN064
ELECTRICAL INSTALLATION
141
Summary of Contents for Proxima CL 80
Page 1: ...OPERATOR S MANUAL PROXIMA CL 03 2018 Tractor is Zetor Since 1946 80 90 100 110...
Page 3: ...2...
Page 11: ...10...
Page 33: ...NOTES 32...
Page 91: ...NOTES 90...
Page 111: ...NOTES 110...
Page 131: ...NOTES 130...
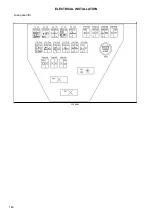
Page 147: ...Fuse panel B P18N083 ELECTRICAL INSTALLATION 146...
Page 163: ...NOTES 162...
Page 181: ...NOTES 180...
Page 187: ...NOTES 186...
Page 203: ...NOTES 202...
Page 208: ...207...

