45
Let’s Begin!
1. Your kit parts come with a paper film on both sides. Lay out the parts as shown (1) to familiarize
yourself with their names and orientation. You are looking at the inside surfaces, as if we
unfolded a completed cabinet.
•
Be careful to orient the BOTTOM correctly! Notice two holes are farther from the edge than
the other two. This edge goes towards the FRONT of the cabinet.
•
Some parts have grooves along the edges. These grooves are on the inside surfaces.
•
The LID has four little blind holes on one side to hold magnets. This is the inside surface, so
they face up.
Once you’ve got it figured out, peel the paper off just the inside surfaces. Leave it on the outside
surfaces as long as you conveniently can. This will protect the finish from glue marks. (We
removed the paper from both sides for this photo shoot, and regretted it.)
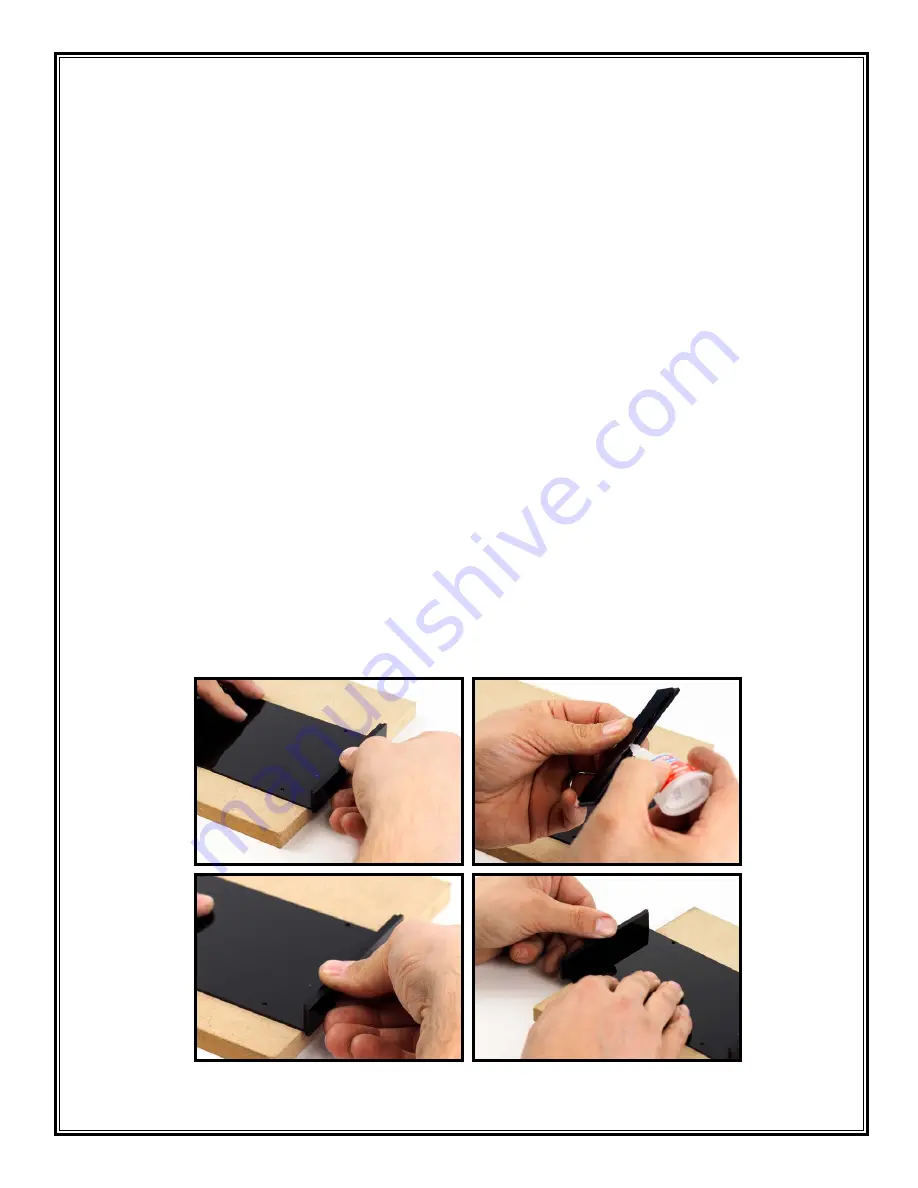
2. Glue the ENDs to the BOTTOM.
a. Dry-fit the ENDs to the BOTTOM (2). To get a tight fit, you may need to hang the END over
the edge of your work surface.
b. Apply a thin bead of SuperGlue or acrylic cement to the inside of the groove (3).
c. Attach the two parts and hold them tightly together (4). SuperGlue needs only a few seconds
to set. Acrylic cement needs a full minute or two.
d. Repeat for the other END (5).
2
3
4
5


