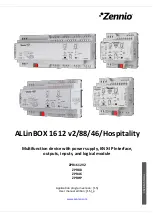
ALLinBOX 161
/ 88 / 46 / Hospitality
Technical Support:
6
1.2
INSTALLATION
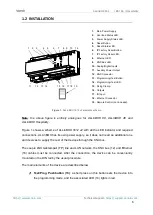
Figure 1.
ALLinBOX 1612 v2 elements scheme.
Note
:
the above figure is entirely analogous for ALLinBOX 88, ALLinBOX 46 and
ALLinBOX Hospitality
.
Figure 1 shows a scheme of ALLinBOX 1612 v2 with all the LED indicator and required
connections. ALLinBOX has its own power supply, so it does not need an additional one
and it serves to supply the rest of the devices through the KNX bus.
The couple LNX twisted-pair (TP) line and LAN network, the KNX bus (12) and Ethernet
(18) cables must be connected. After the connection, the device can be conveniently
mounted on the DIN rail by the usual procedure.
The main elements of the device are described below.
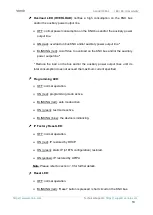
Test/Prog. Pushbutton (13)
: a short press on this button sets the device into
the programming mode, and the associated LED (14) lights in red.
9
2
5
4
8
1
6
7
3
10
16
11
12
13 14
15 16 17 18 19
1.
Main Power Supply.
2.
Overload Status LED.
3.
Power Supply Status LED.
4.
Reset Button.
5.
Reset Status LED.
6.
IP Factory Reset Button.
7.
IP Factory Reset LED.
8.
Ethernet LED.
9.
KNX Bus LED.
10.
Analog/Digital Inputs.
11.
Auxiliary Power Output.
12.
KNX Connector.
13.
Programming/Test Button.
14.
Programming/Test LED.
15.
Fixing Clamp.
16.
Outputs.
17.
IR Input.
18.
Ethernet Connector.
19.
Remote Control (not included).

