Operation
000000-1253-546 VISUCAM C 31.07.2003
52
•
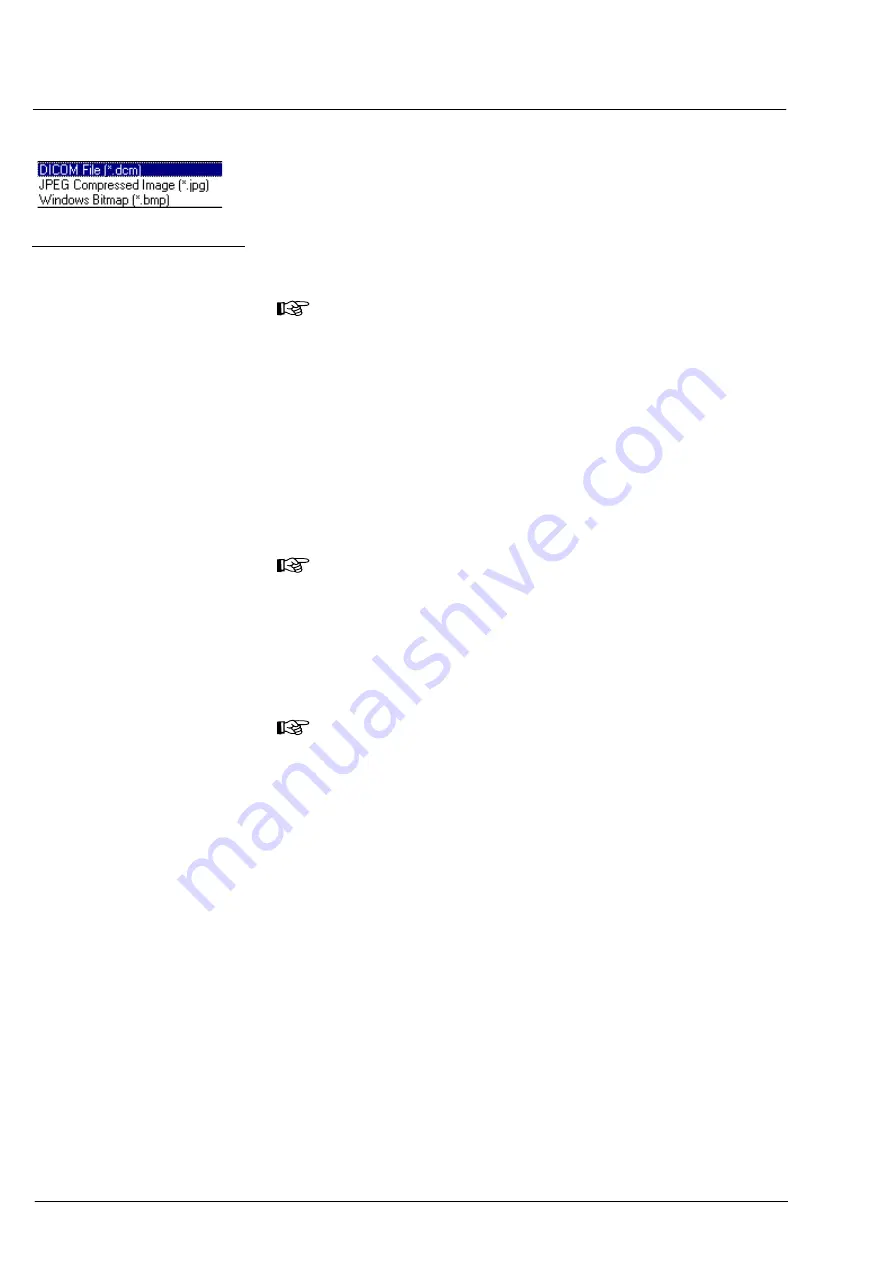
Choose the desired file type from the
List Files of Type
list box by a
mouse click.
•
Click on the
SAVE
button to save the image.
When exporting several images, the program will automatically
append an unmistakable figure to the file name entered in the dialog
box.
Note
Export without data request has proven effective in the network,
automatic image export after capture could also be useful (see
Fig. 20).
Notes on Export to CD
❏
For image export by means of the internal CD-R/RW drive, please use
preformatted CD-RW media only. CD-R blanks cannot be used!
❏
If you do not use preformatted CD-RWs, you should format them on
another PC.
If this should not be possible, you can use the menu command
Extras – Format CD-RW
to format the CD.
Note
Formatting of a CD-RW takes approx. 20 to 30 minutes.
Please note that during formatting you cannot write data to the
CD-RW or capture images!
❏
To eject the formatted CD-RW, use menu command
Extras –
Eject CD
. Unformatted blanks can be ejected only by pushing the
Eject button on the CD-R/RW drive.
Note
Self-written CDs are readable on computers with Windows 2000
and Windows XP operating systems. On older systems (Windows
9x/ME) it is necessary to install a UDF reader first. You can find it
on the support CD that comes with the CD-R/RW drive.
Please also observe the user’s manual of the used CD-R/RW drive.
Notes on export with USB Flash Drive
❏
The connecting cable to the USB Flash Drive may not be unplugged
and plugged when the system is being run up or down or when the
red LED on the USB Flash Drive is alight. The instrument must be
switched off when plugging or unplugging the USB cable.
Fig. 29 Available export file types


