ZPrinter
®
650 Hardware Manual
Setup And Print The Build
zcentral.zcorp.com
24
All Rights Reserved
10/21/08
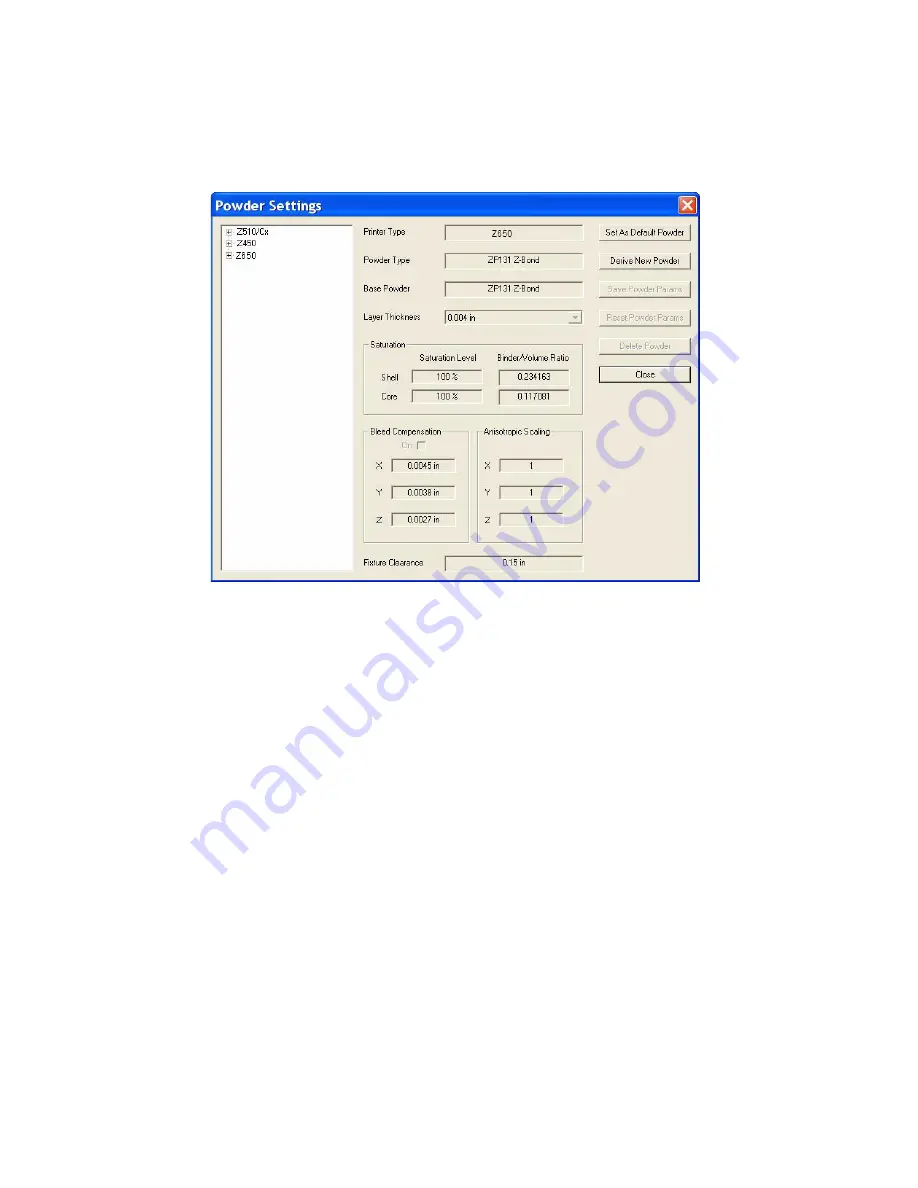
2.7 Check The Default Powder Settings
1. Select
Settings
>
Powder Settings
to display the
Powder Settings
dialog.
2. Select the printer and the powder type from the left-side panel to view the settings for that combination.
•
ZPrint defaults to the recommended powder settings for the
Layer Thickness
,
Saturation Lev-
els
,
Binder/Volume Ratio
,
Bleed Compensation
,
Anisotropic Scaling
and
Fixture Clearance
.
Important:
Most of the powder settings cannot be changed, but you can override the settings for
the
Layer Thickness,
Bleed Compensation
,
Anisotropic Scaling,
and the
Fixture Clearance
for the
current build only.
We do not recommend changing these, but should you need to:
•
Select
File
>
3D Print Setup
to disable the Bleed Compensation, or to change the Layer Thick-
ness.
•
Select
Transform
>
Anisotropic Scaling
to change the values for Anisotropic Scaling.
•
Select
Edit
>
Make Fixture
to change the Fixture Clearance amount. This value is the smallest
amount of space between the Fixture and the part, without actually touching.
2.7.1 Create A New Powder Type
You can create a new powder type and enter new data in the fields that are activated in the
Powder Set-
tings
dialog. The new settings must be saved under a unique powder name and will be added to the left-
side panel after saving. See the
ZPrint™ Software Manual
for complete instructions on how to create a
new powder type.
2.8 Transform The Part in ZPrint
The ZPrint
Transform
menu has several options for transforming parts. Following is a brief overview to
help familiarize you with some of these options. For a complete description of the
Transform
menu, please
refer to the
ZPrint™ Software Manual
.


