


118
6.2 Alarm history
1/3:
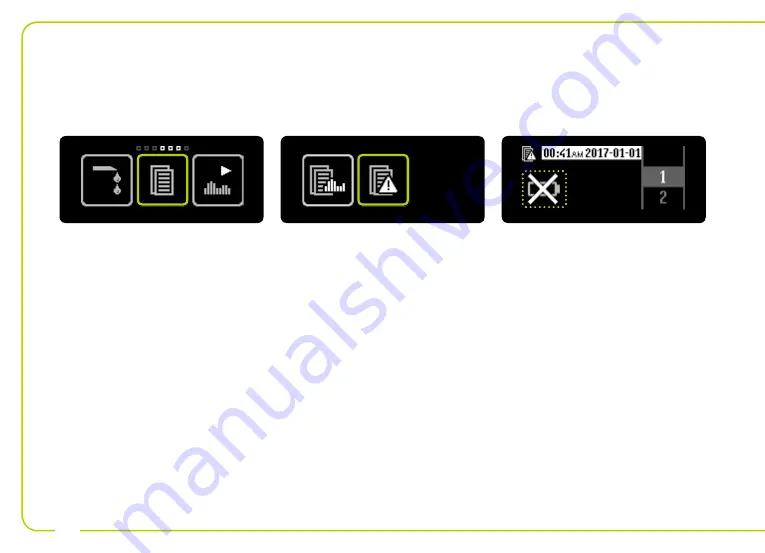
Open the main menu and tap the
“Data” icon.
2/3:
Tap the “Alarm history” icon.
3/3:
For each event, the time of day
and date are displayed inverted. As a
result you can distinguish the event
from a current display.
The icon for the event appears on the
left of the screen. By swiping to the
right you can quit the alarm history at
any time. All the possible events are
listed in the table on page 119.
Summary of Contents for YpsoPump
Page 1: ...More freedom More confidence With Ypsomed User Guide Insulin Pump ...
Page 2: ......
Page 54: ...54 4 4 The status screen appears with the basal rate originally programmed ...
Page 202: ...Notes 202 ...
Page 203: ...203 ...


