User Guide for the SIP-T19P IP Phone
20
4.
Press the Save soft key to accept the change.
The date and time displayed on the LCD screen will change accordingly.
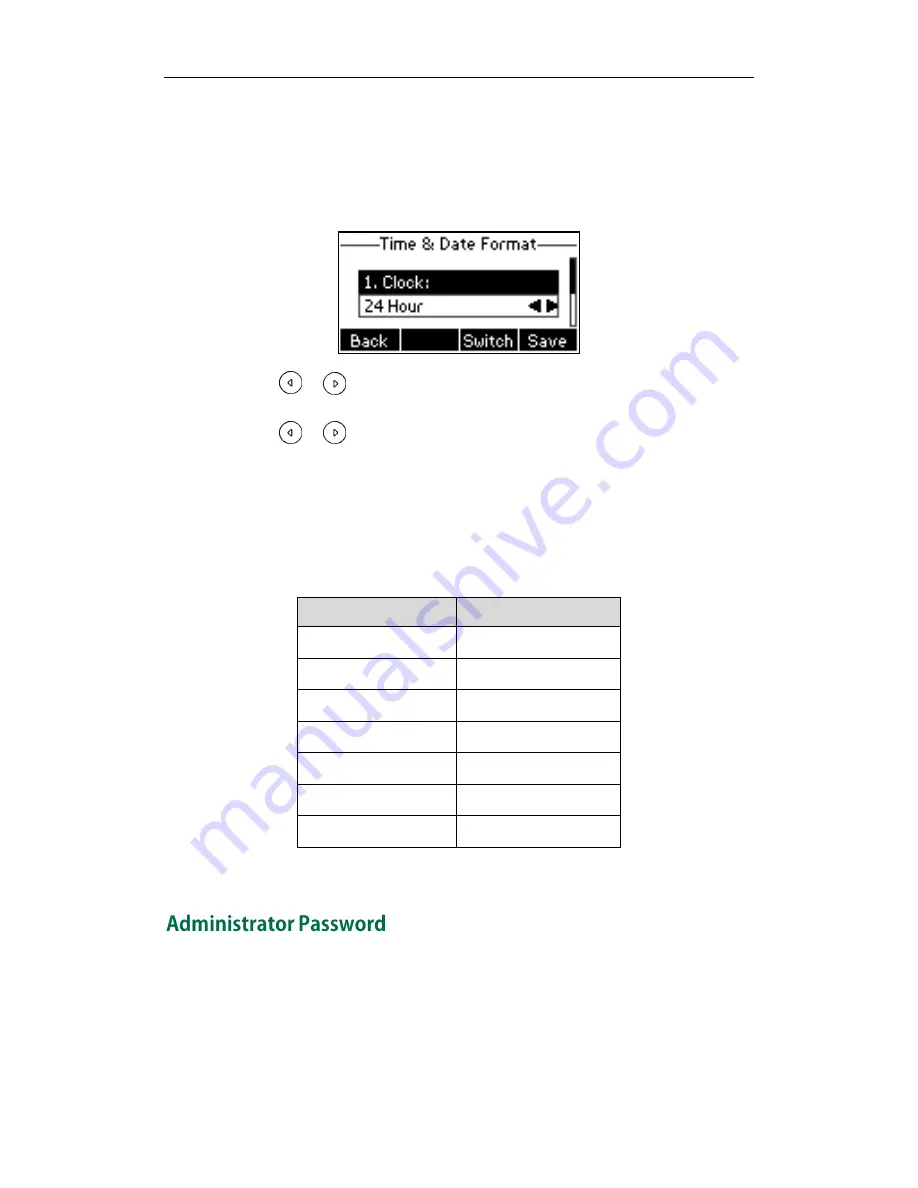
To configure the time and date format via phone user interface:
1.
Press Menu->Settings->Basic Settings->Time & Date->Time & Date Format.
2.
Press or , or the Switch soft key to select the desired time format from the
Clock field.
3.
Press or , or the Switch soft key to select the desired date format from the
Date Format field.
4.
Press the Save soft key to accept the change or the Back soft key to cancel.
There are 7 available date formats. For example, for the date format “WWW DD MMM”,
“WWW” represents the abbreviation of the week, “DD” represents the two-digit day,
and “MMM” represents the first three letters of the month.
The date formats you need to know:
Date Format
Example(2013-1-16)
WWW MMM DD
Wed Jan 16
DD-MMM-YY
16-Jan-13
YYYY-MM-DD
2013-01-16
DD/MM/YYYY
16/01/2013
MM/DD/YY
01/16/13
DD MMM YYYY
16 Jan 2013
WWW DD MMM
Wed 16 Jan
Time and date is configurable via web user interface at the path Settings->Time & Date.
The Advanced Settings option is only accessible to the administrator. The default
administrator password is “admin”. For security reasons, you should change the default
administrator password as soon as possible.
Summary of Contents for SIP-T19P
Page 1: ...i ...
Page 10: ...User Guide for the SIP T19P IP Phone x ...
Page 18: ...User Guide for the SIP T19P IP Phone 8 ...
Page 94: ...User Guide for the SIP T19P IP Phone 84 ...


